Glass blowing experience at the glass studio "Tickleglass" in Tajimi City

Table of Contents
Glassblowing is an experience of blowing hot, molten glass into a shape by blowing into it. Many people would like to try it someday, wouldn't they?
"Tickleglass" in Tajimi City, Gifu Prefecture is a place where you can experience blowing glass. This is the workshop of Yuko Matsushita, who is active as a glass artist.
This time, we tried blowing glass for the first time in our life at Tickleglass!

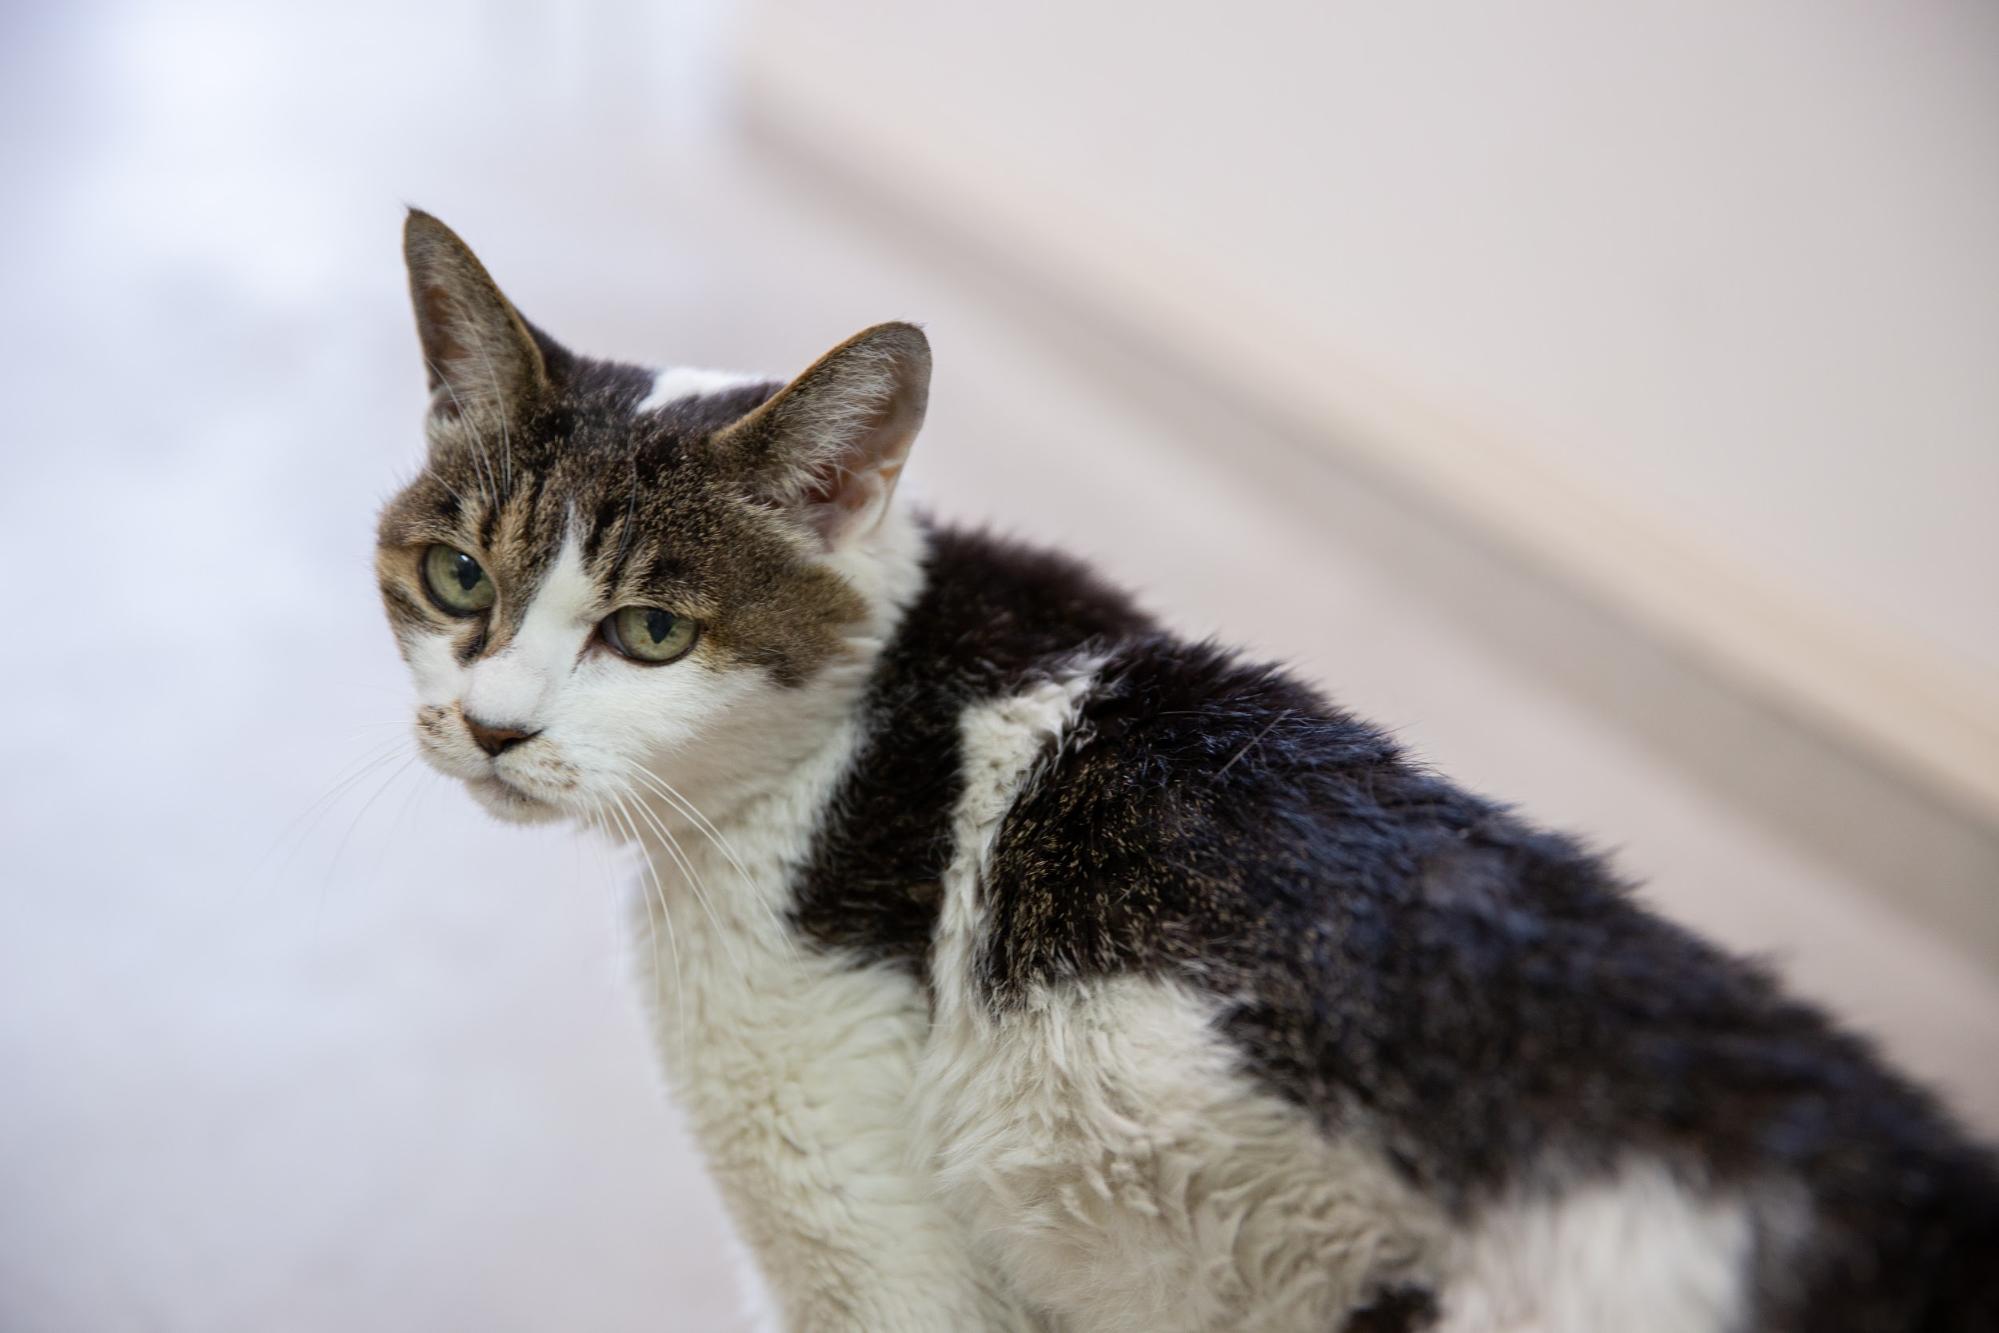
Matsu-chan, the 22-year-old grandmother signature cat, welcomed us!
We came to Tickleglass at once. About 15 minutes by car from Tajimi Interchange on the Chuo Expressway, and about 10 minutes on foot from Hime Station on the JR Tata Line. It is located in a place rich in nature surrounded by fields.
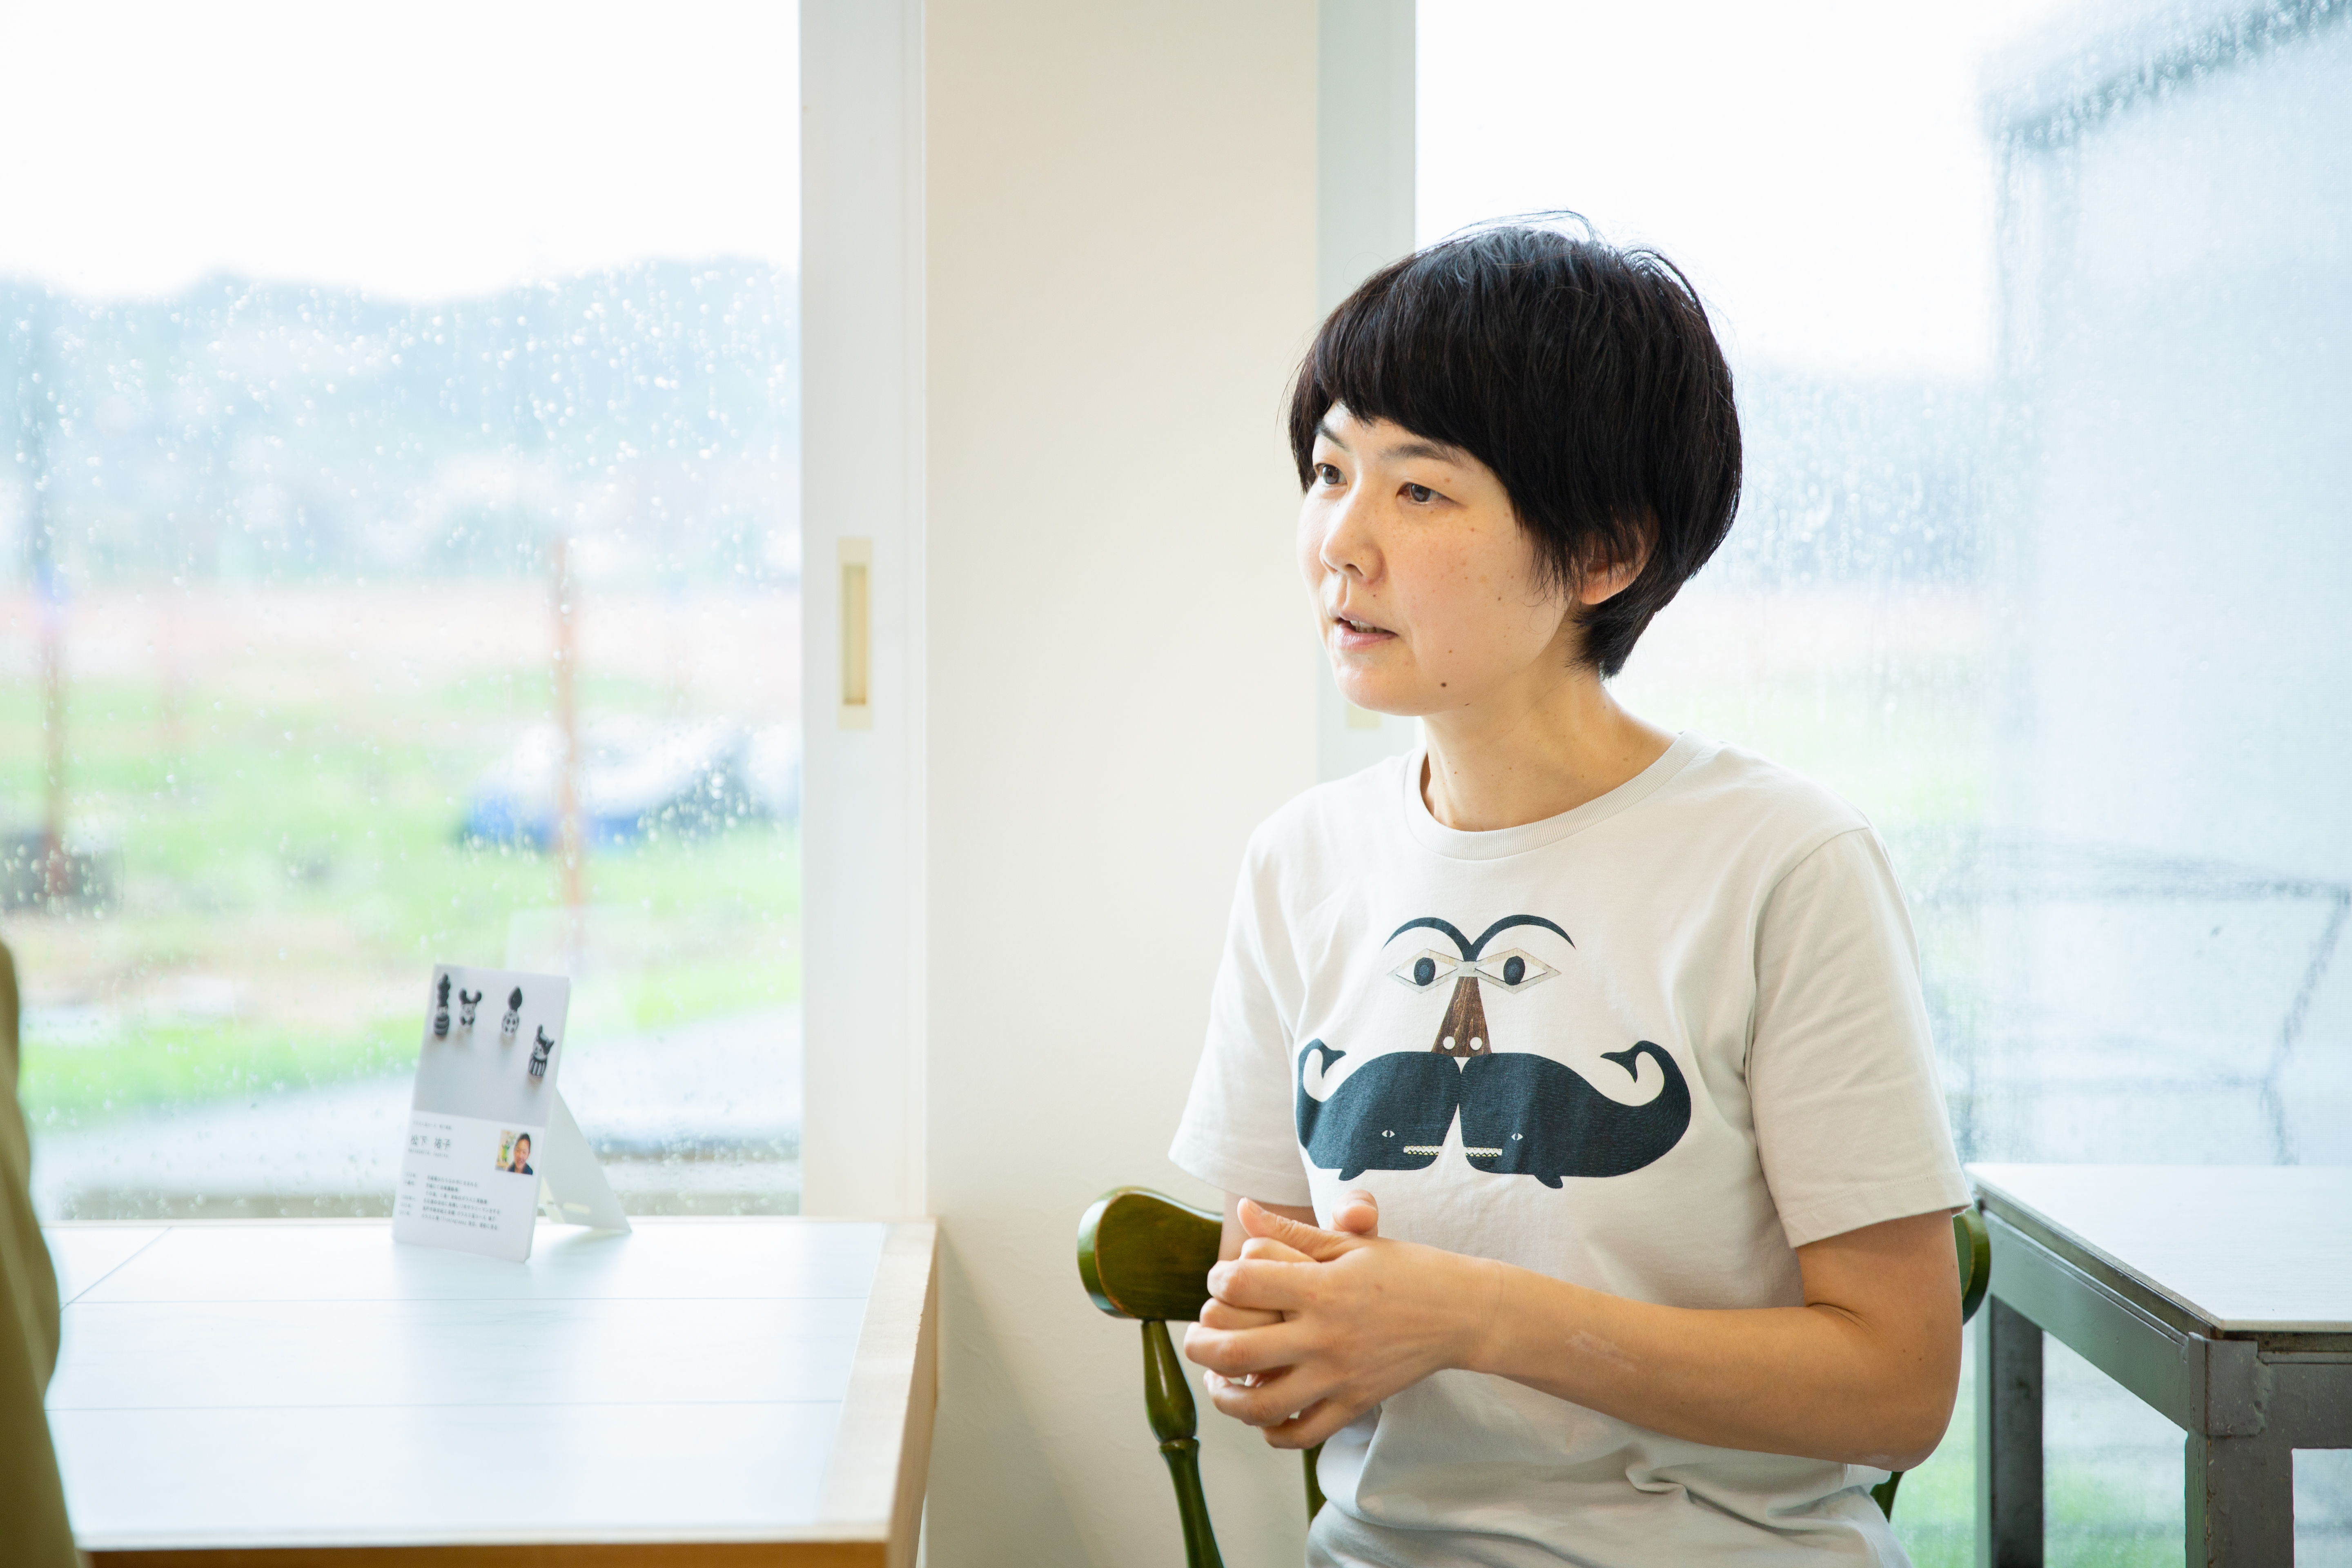
Instructor Yuko Matsushita
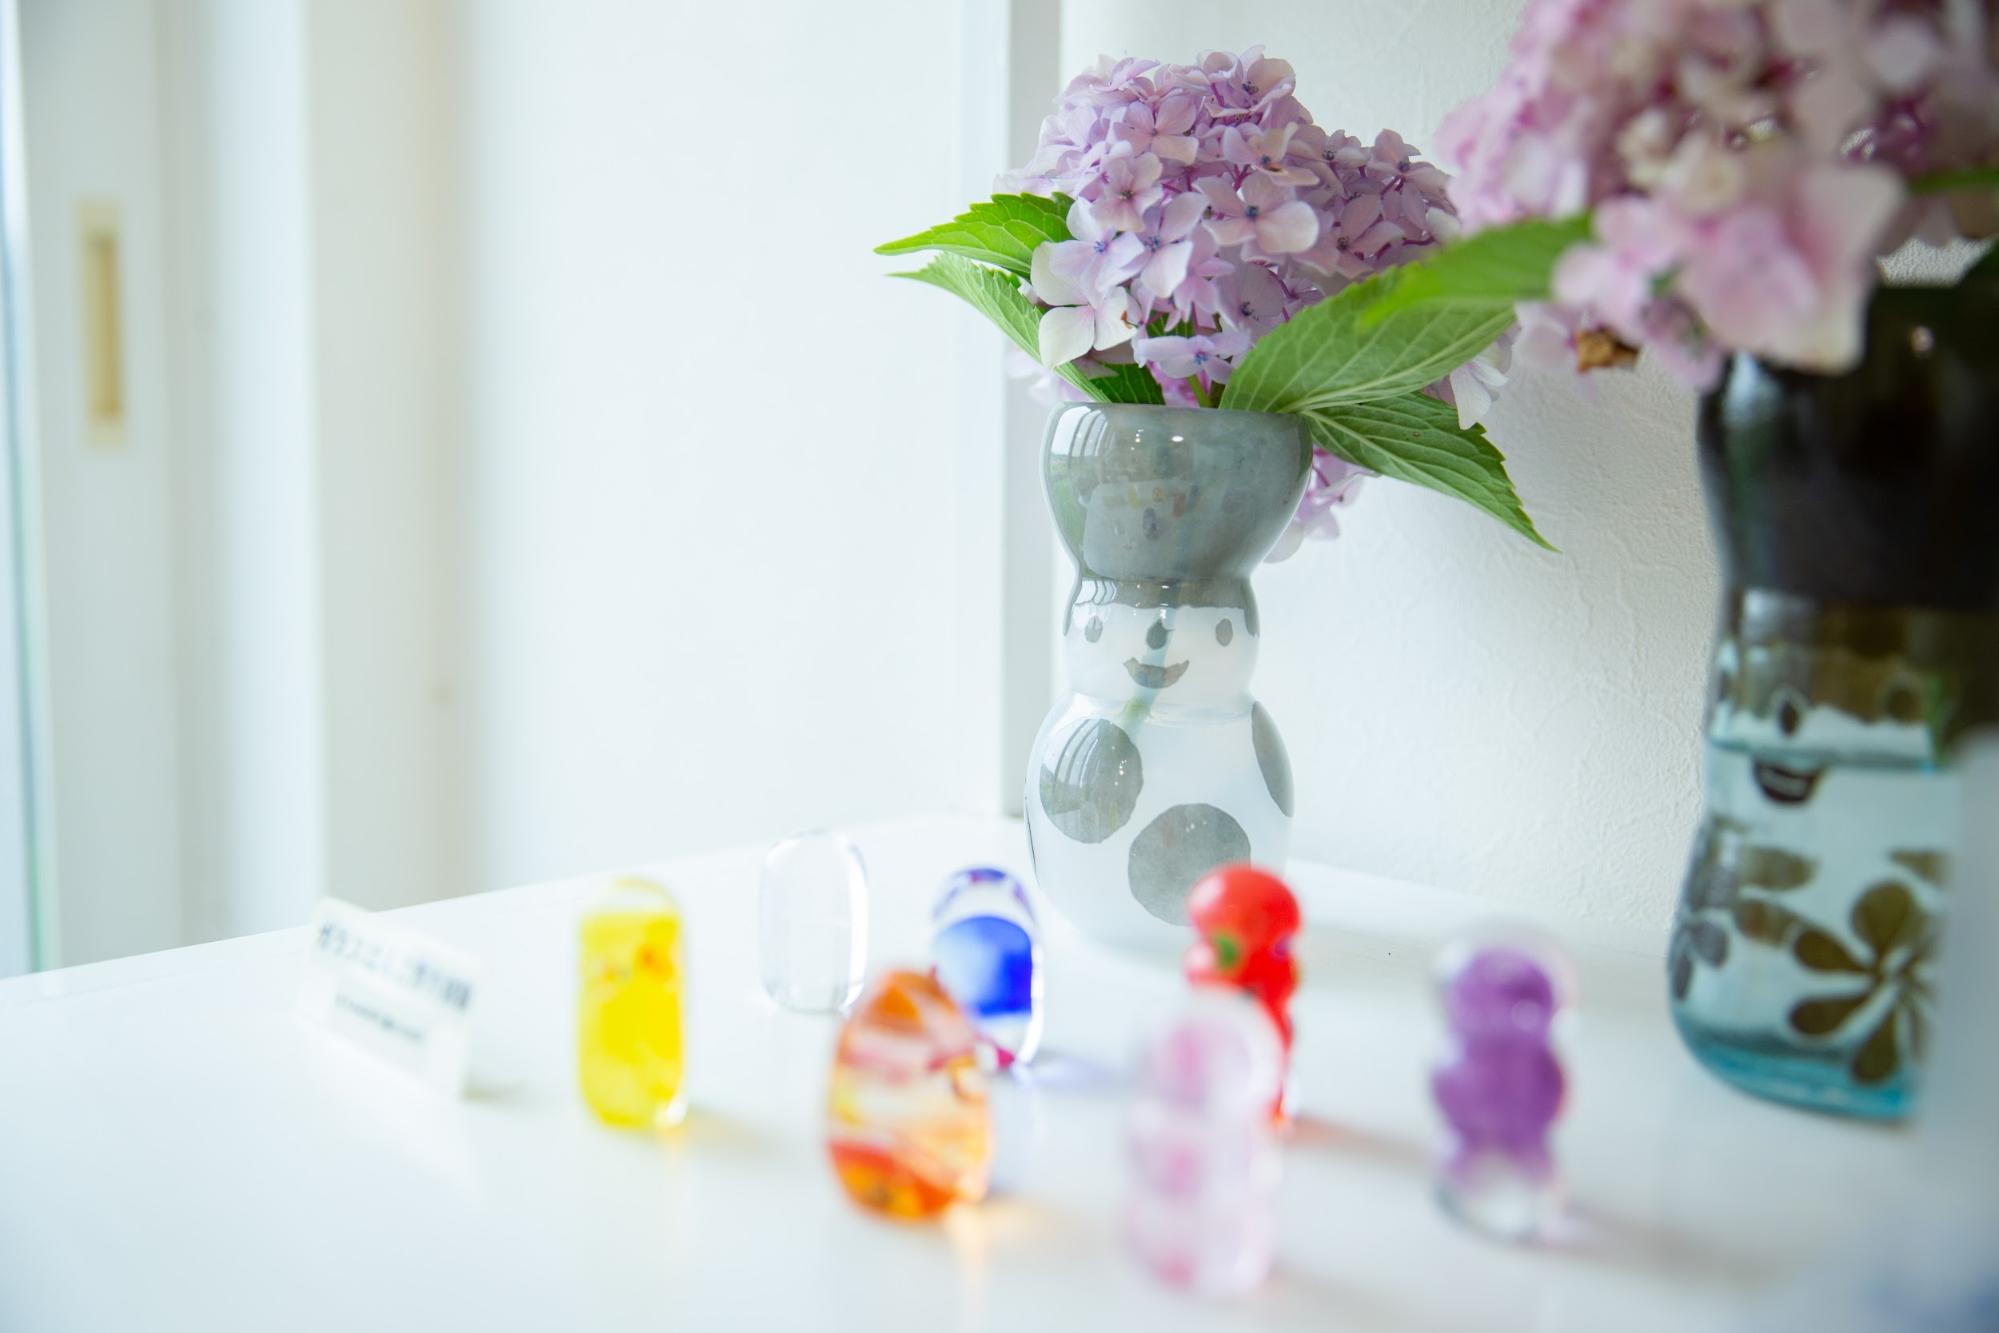
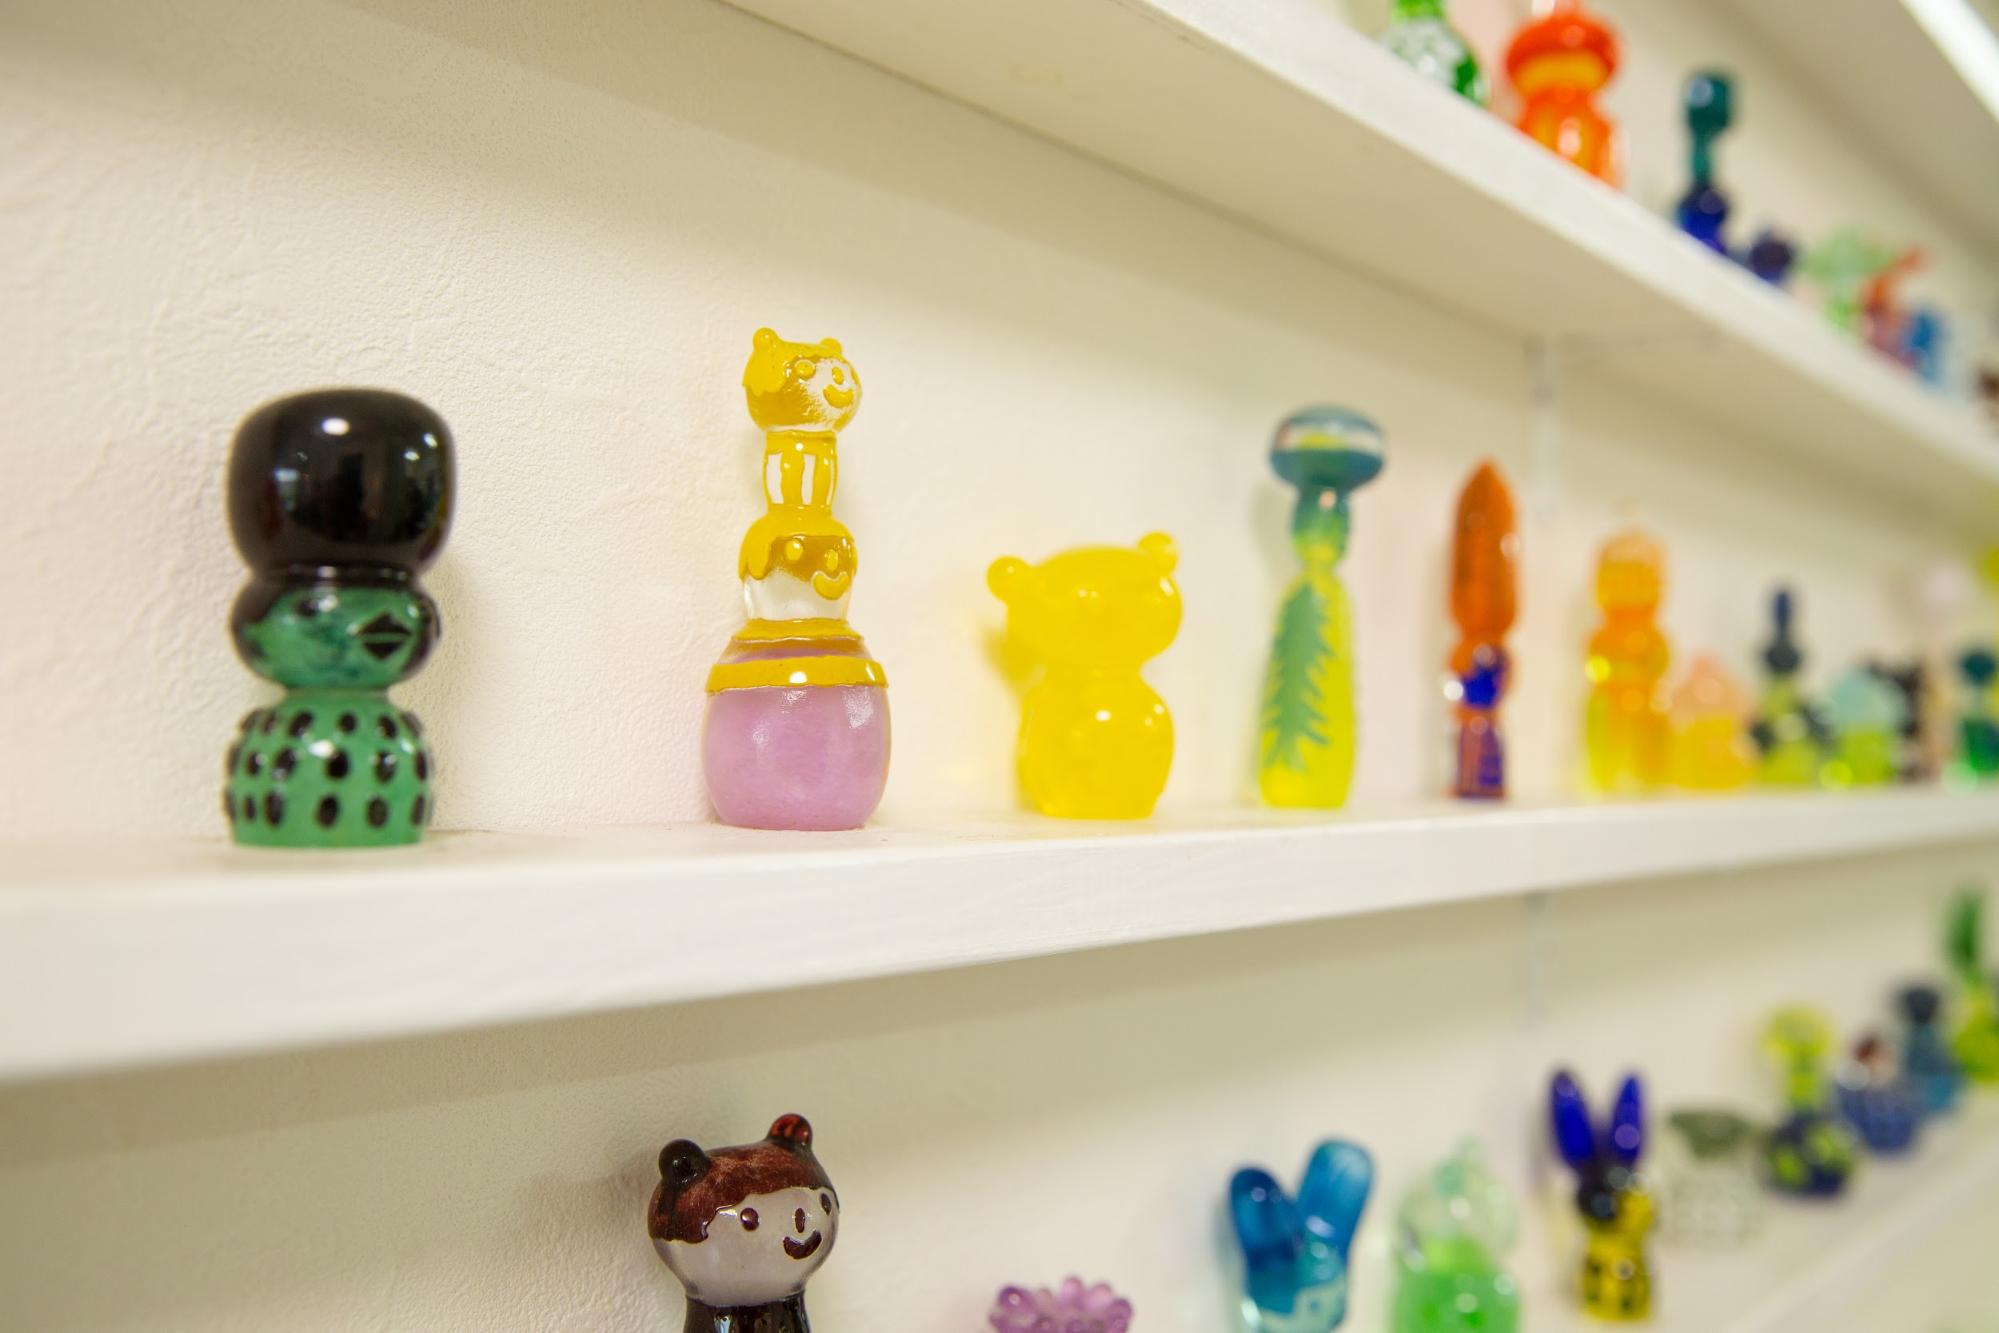
Inside the workshop, Ms. Matsushita's colorful and warm works are lined up. Just looking at it is exciting!
Let's start blowing glass experience!
Step 1 Decide on the design you want to make


First, decide on the design you want to make. Besides glasses, you can also make wind chimes, chopsticks, and polka-dot bowls.
<Blowing glass experience menu>
●Glass and vase production●
"Light course"
3,500 yen per piece
12 colors, 2 patterns, 1 pattern each"Original course"
1 piece 4,000 yen Colors 50 colors/patterns 3 types/shapes 6 patterns●Bowl production●
4,000 yen per piece (12 colors, 2 patterns)
4,500 yen per piece (50 colors, 3 patterns)●Paper weight production●
Round type 1 piece 2,800 yen
1 apple 3,500 yen
Apple (large) 1 piece 3,800 yen
1 apple (with leaves) 4,000 yen[Seasonal production]
●Summer (from May) ●
Wind chimes 4,000 yen per piece (12 colors, 2 patterns)
4,500 yen per piece (50 colors, 3 patterns)
●Winter (from January)
Hina doll production 7,500 yen (2 pairs, pedestal, box included)<Option>
Colored glass +500 yen
Glass with pedestal +500 yen
Mouth-rolled glass +500 yen
Chopsticks 500 yen each
A lot of marble color +500yen
More polka dots +500 yen
Quite a lot of polka dots +1,000 yen
Gold red/pink color grain +500 yen
Gold leaf 2 cm square +1,000 yen
Glass bottom polishing (polishing + name engraving) +500 yen
Step 2 Color arrangement
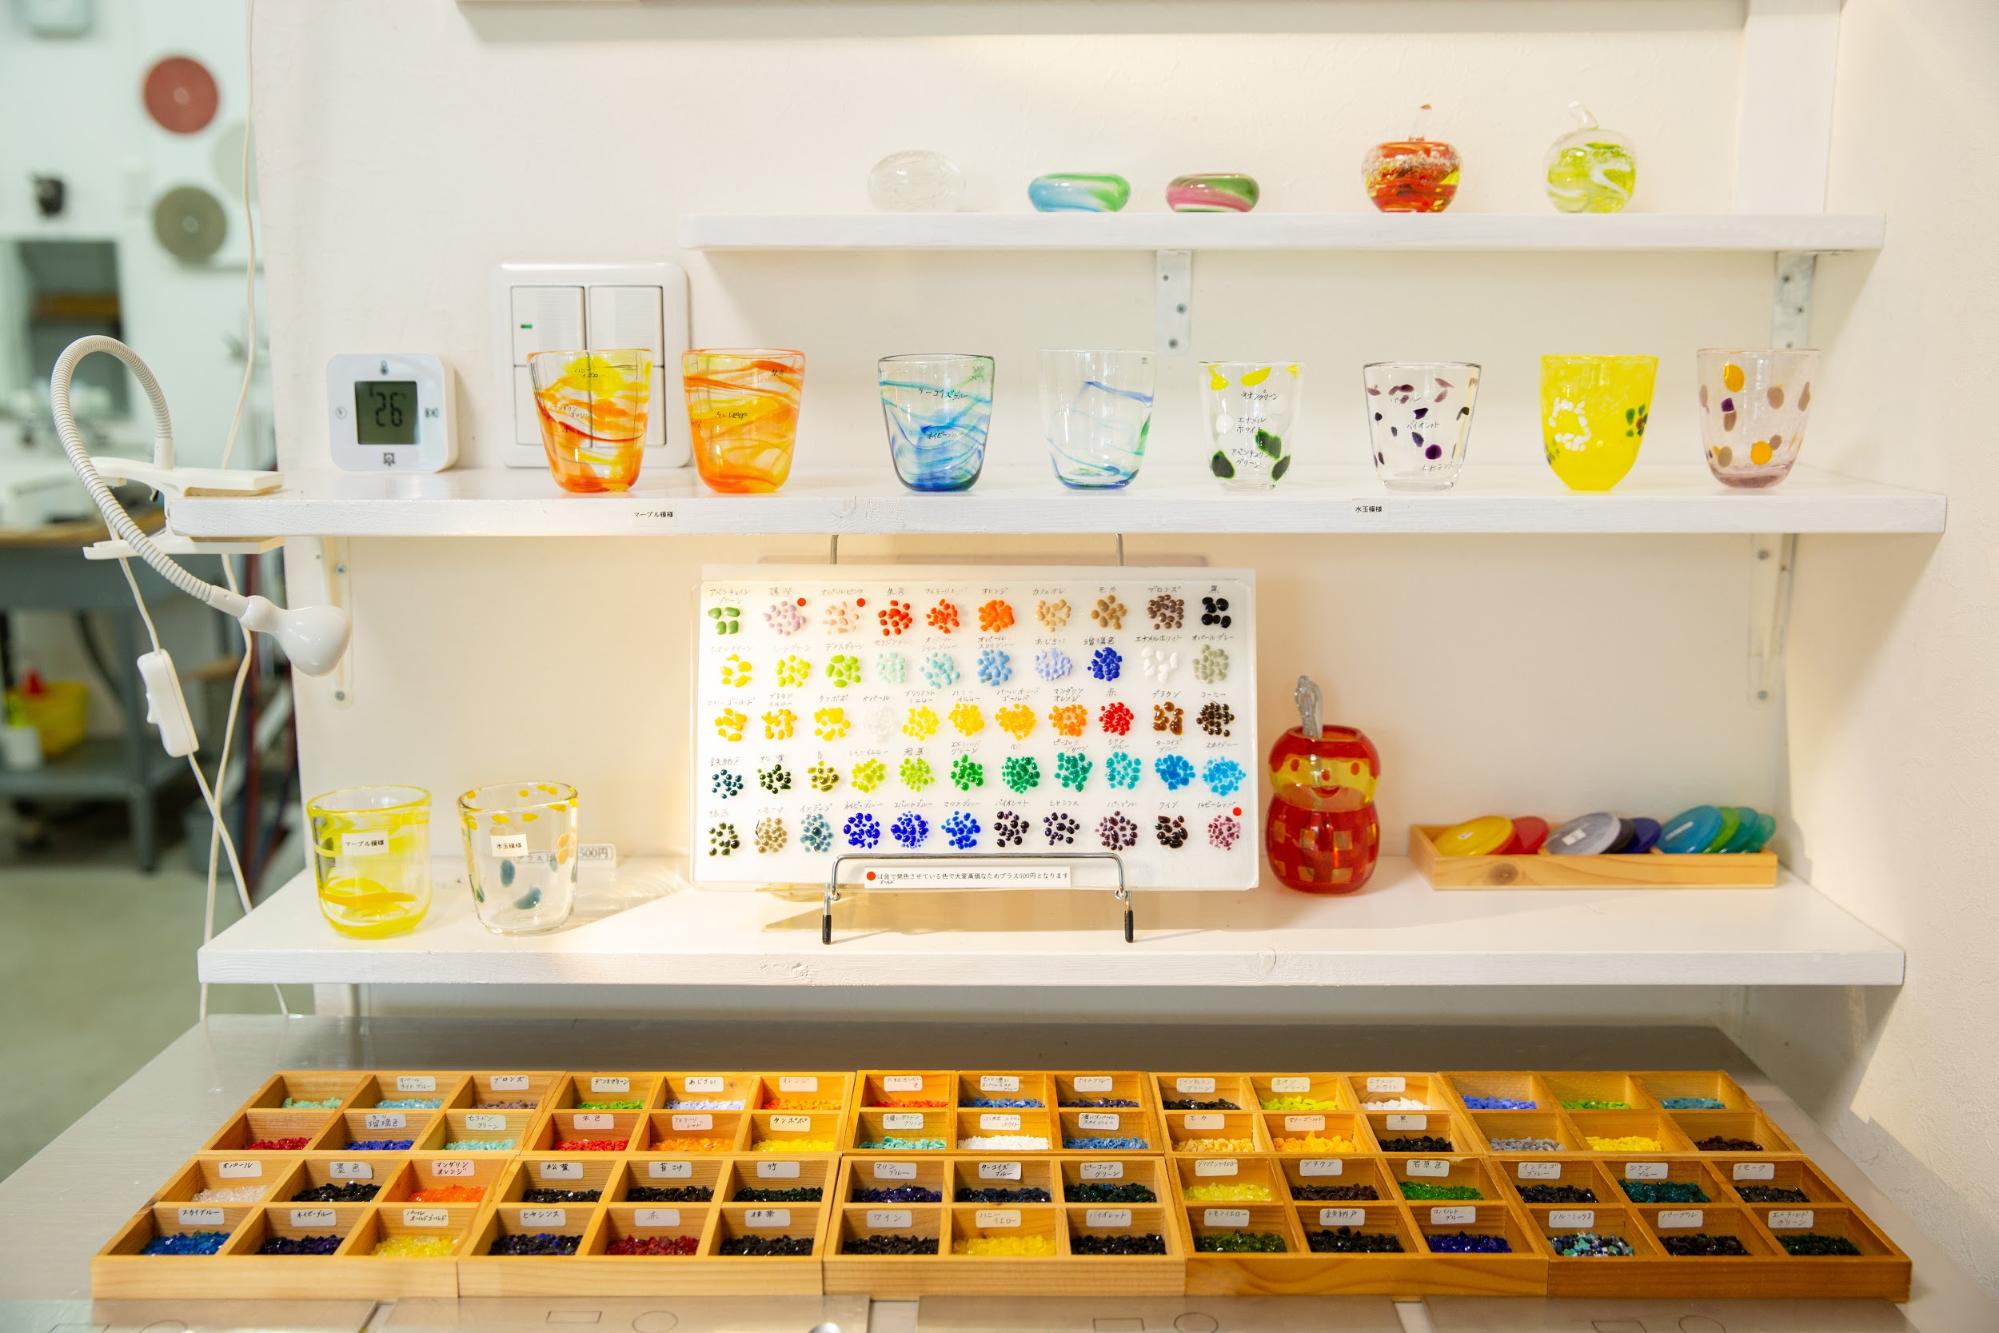
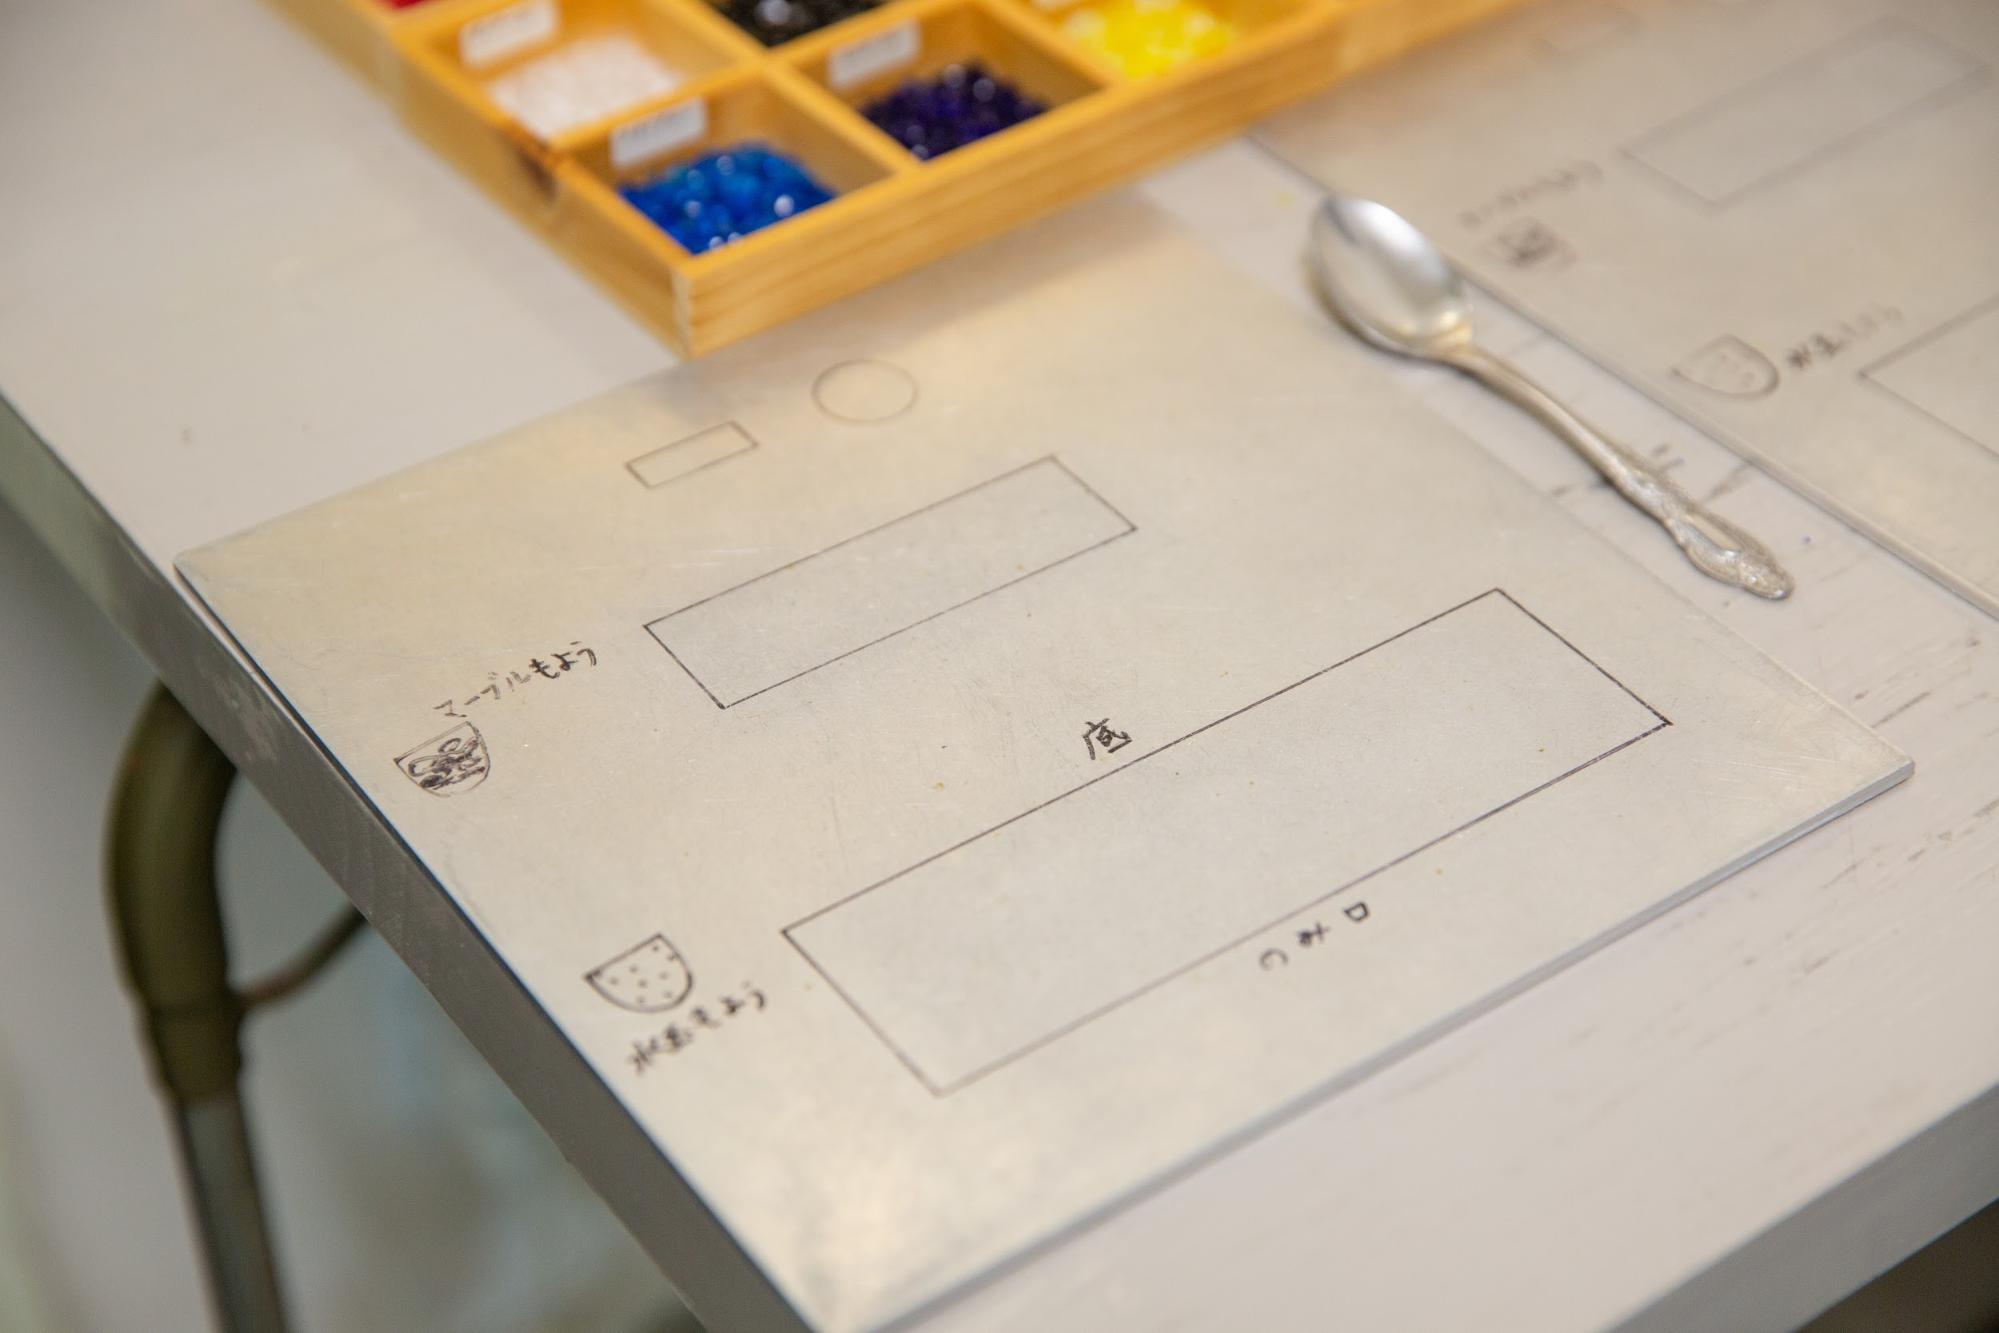
Once the design is decided, the next step is to arrange the colors. Select either "marble pattern" or "polka dot pattern" and choose the color grains that color the glass.
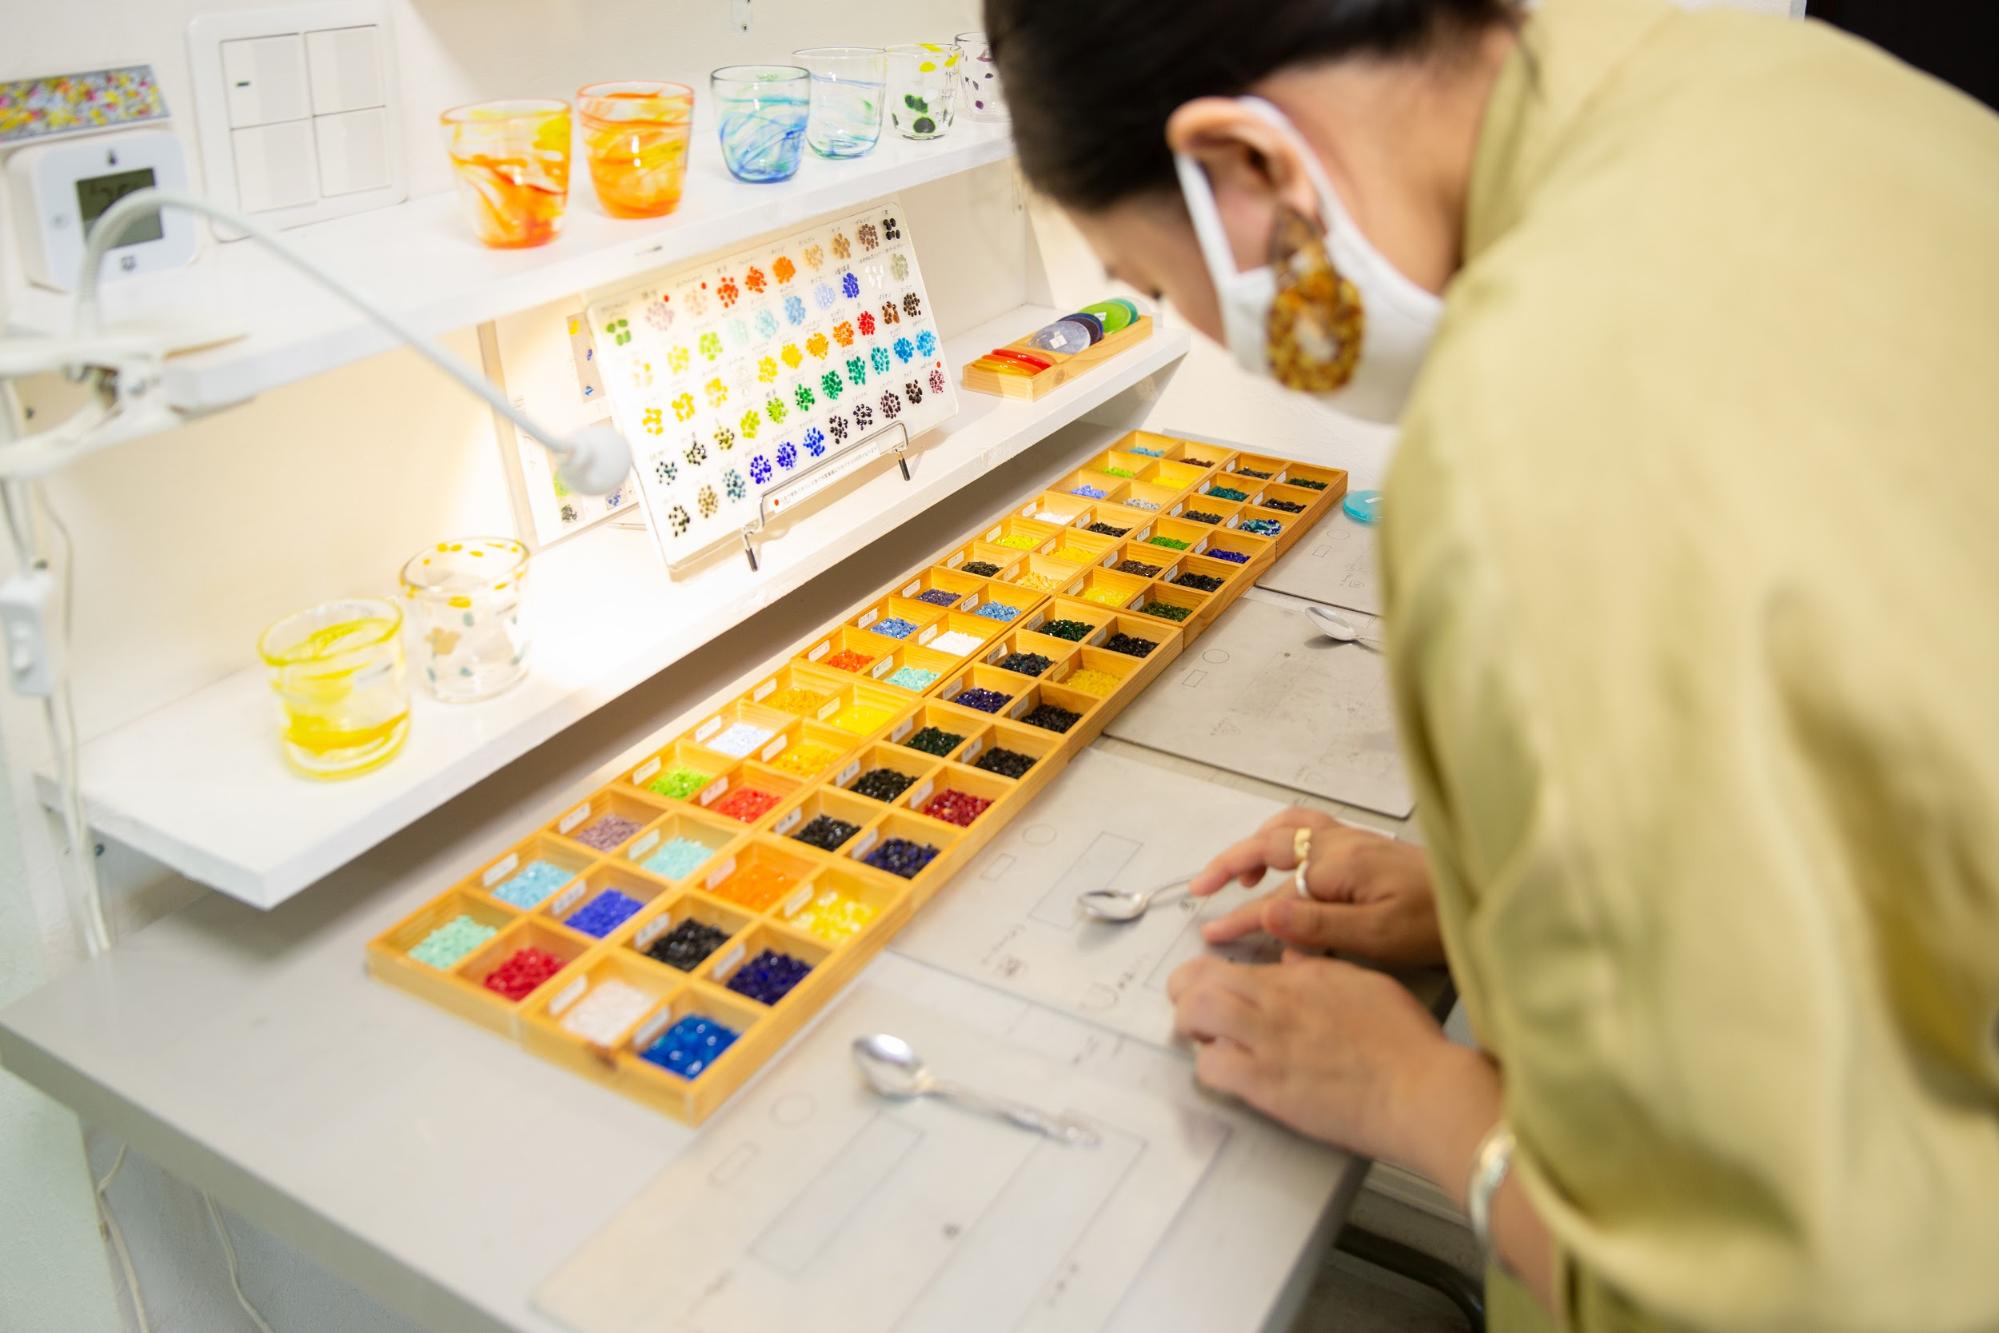
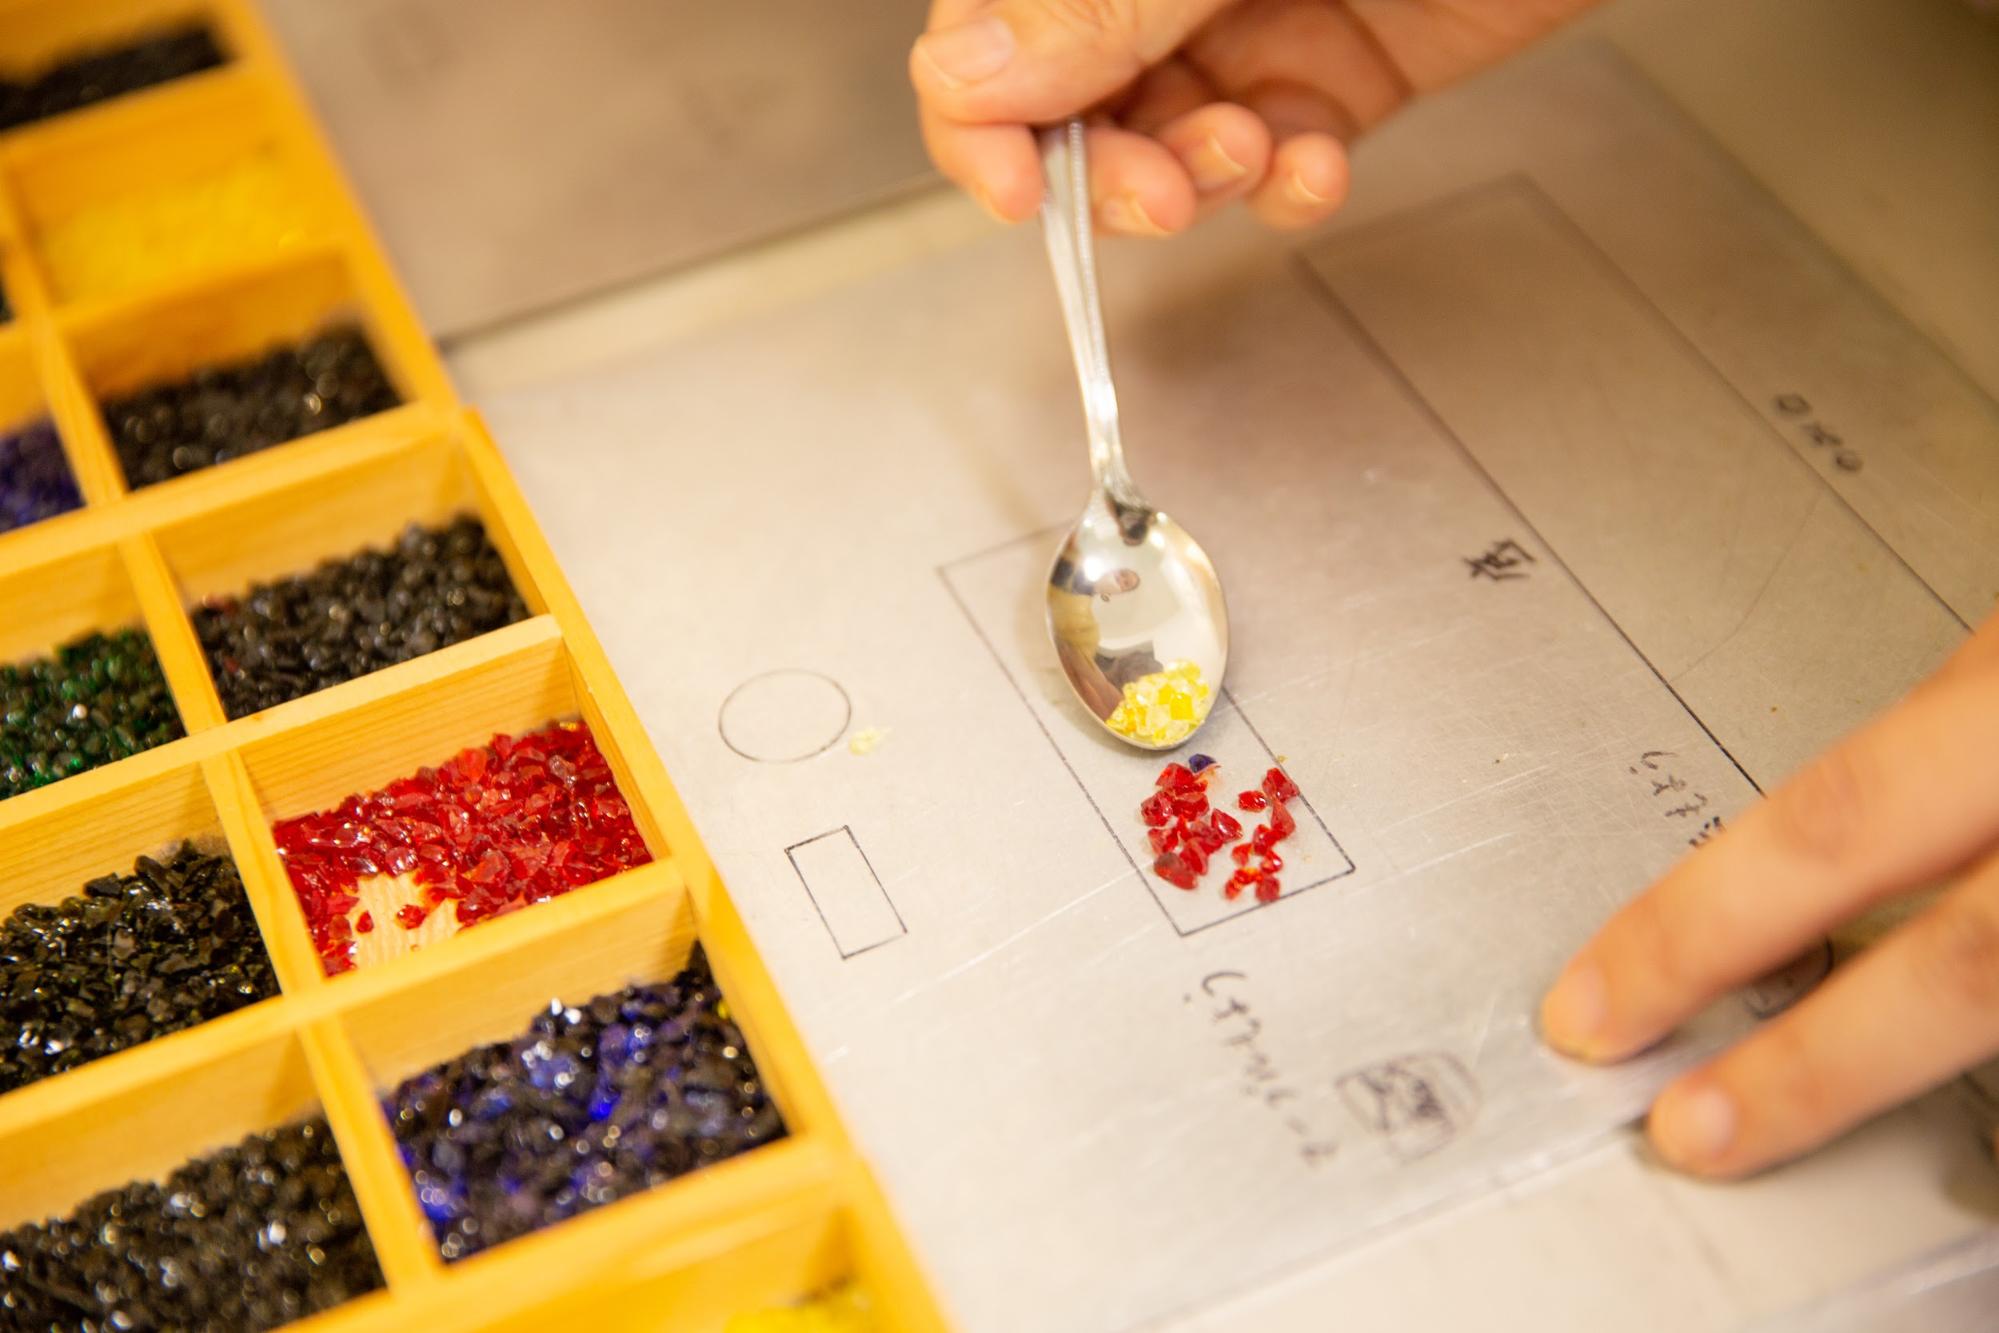
There are about 50 kinds of colors including transparent and opaque. Every color is wonderful and I get lost.
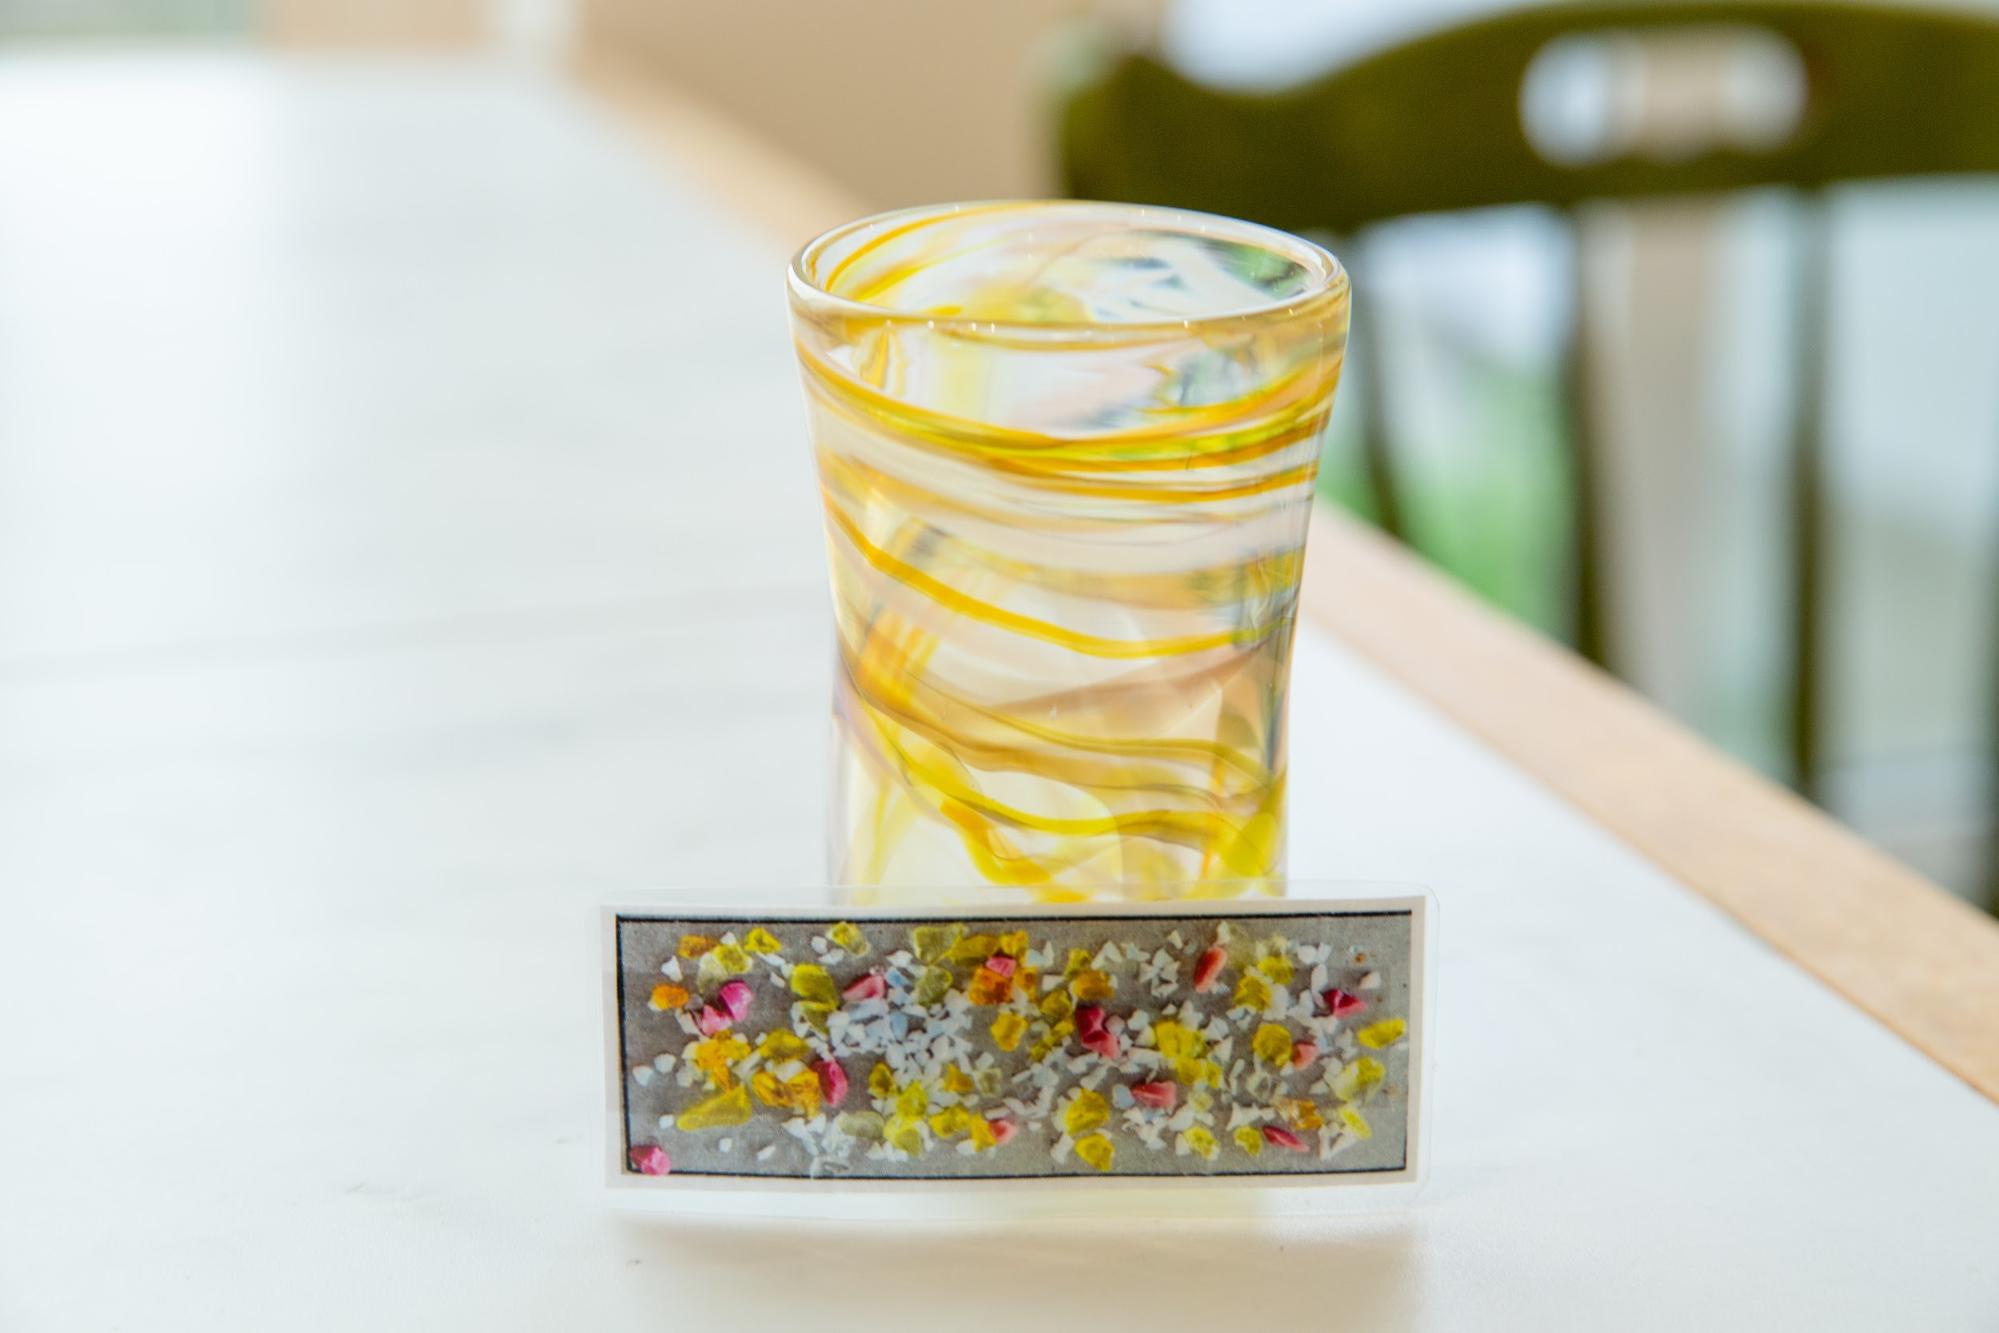
By the way, warm colors (due to the balance of minerals that produce colors) will turn brown if colors other than warm colors overlap, so be careful.
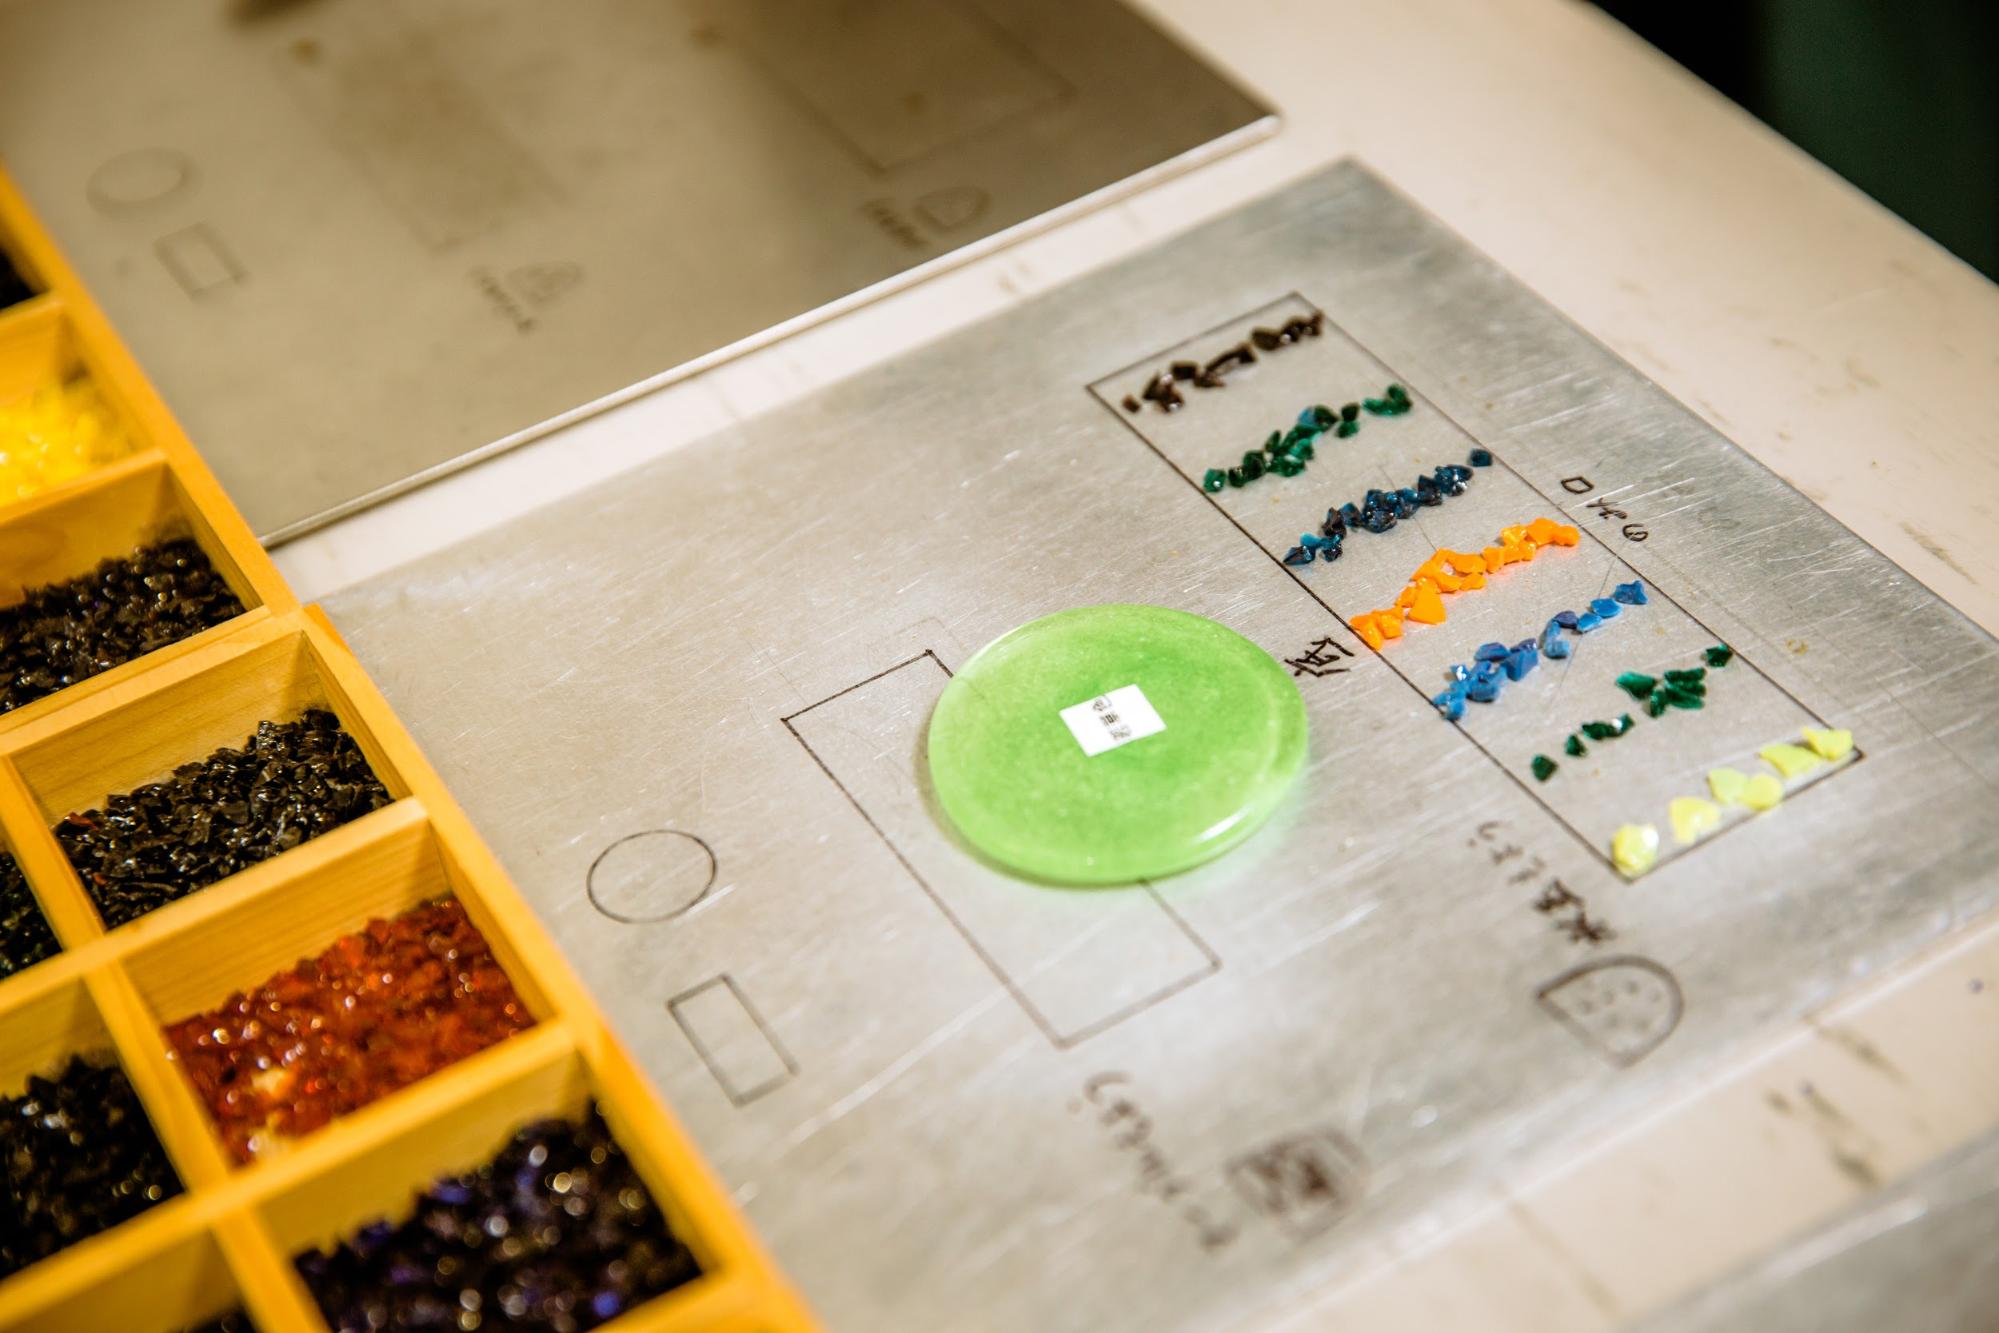
Color sorting is complete. I decided to add a bright green lip to the striped polka dot pattern.
Step 3 Production
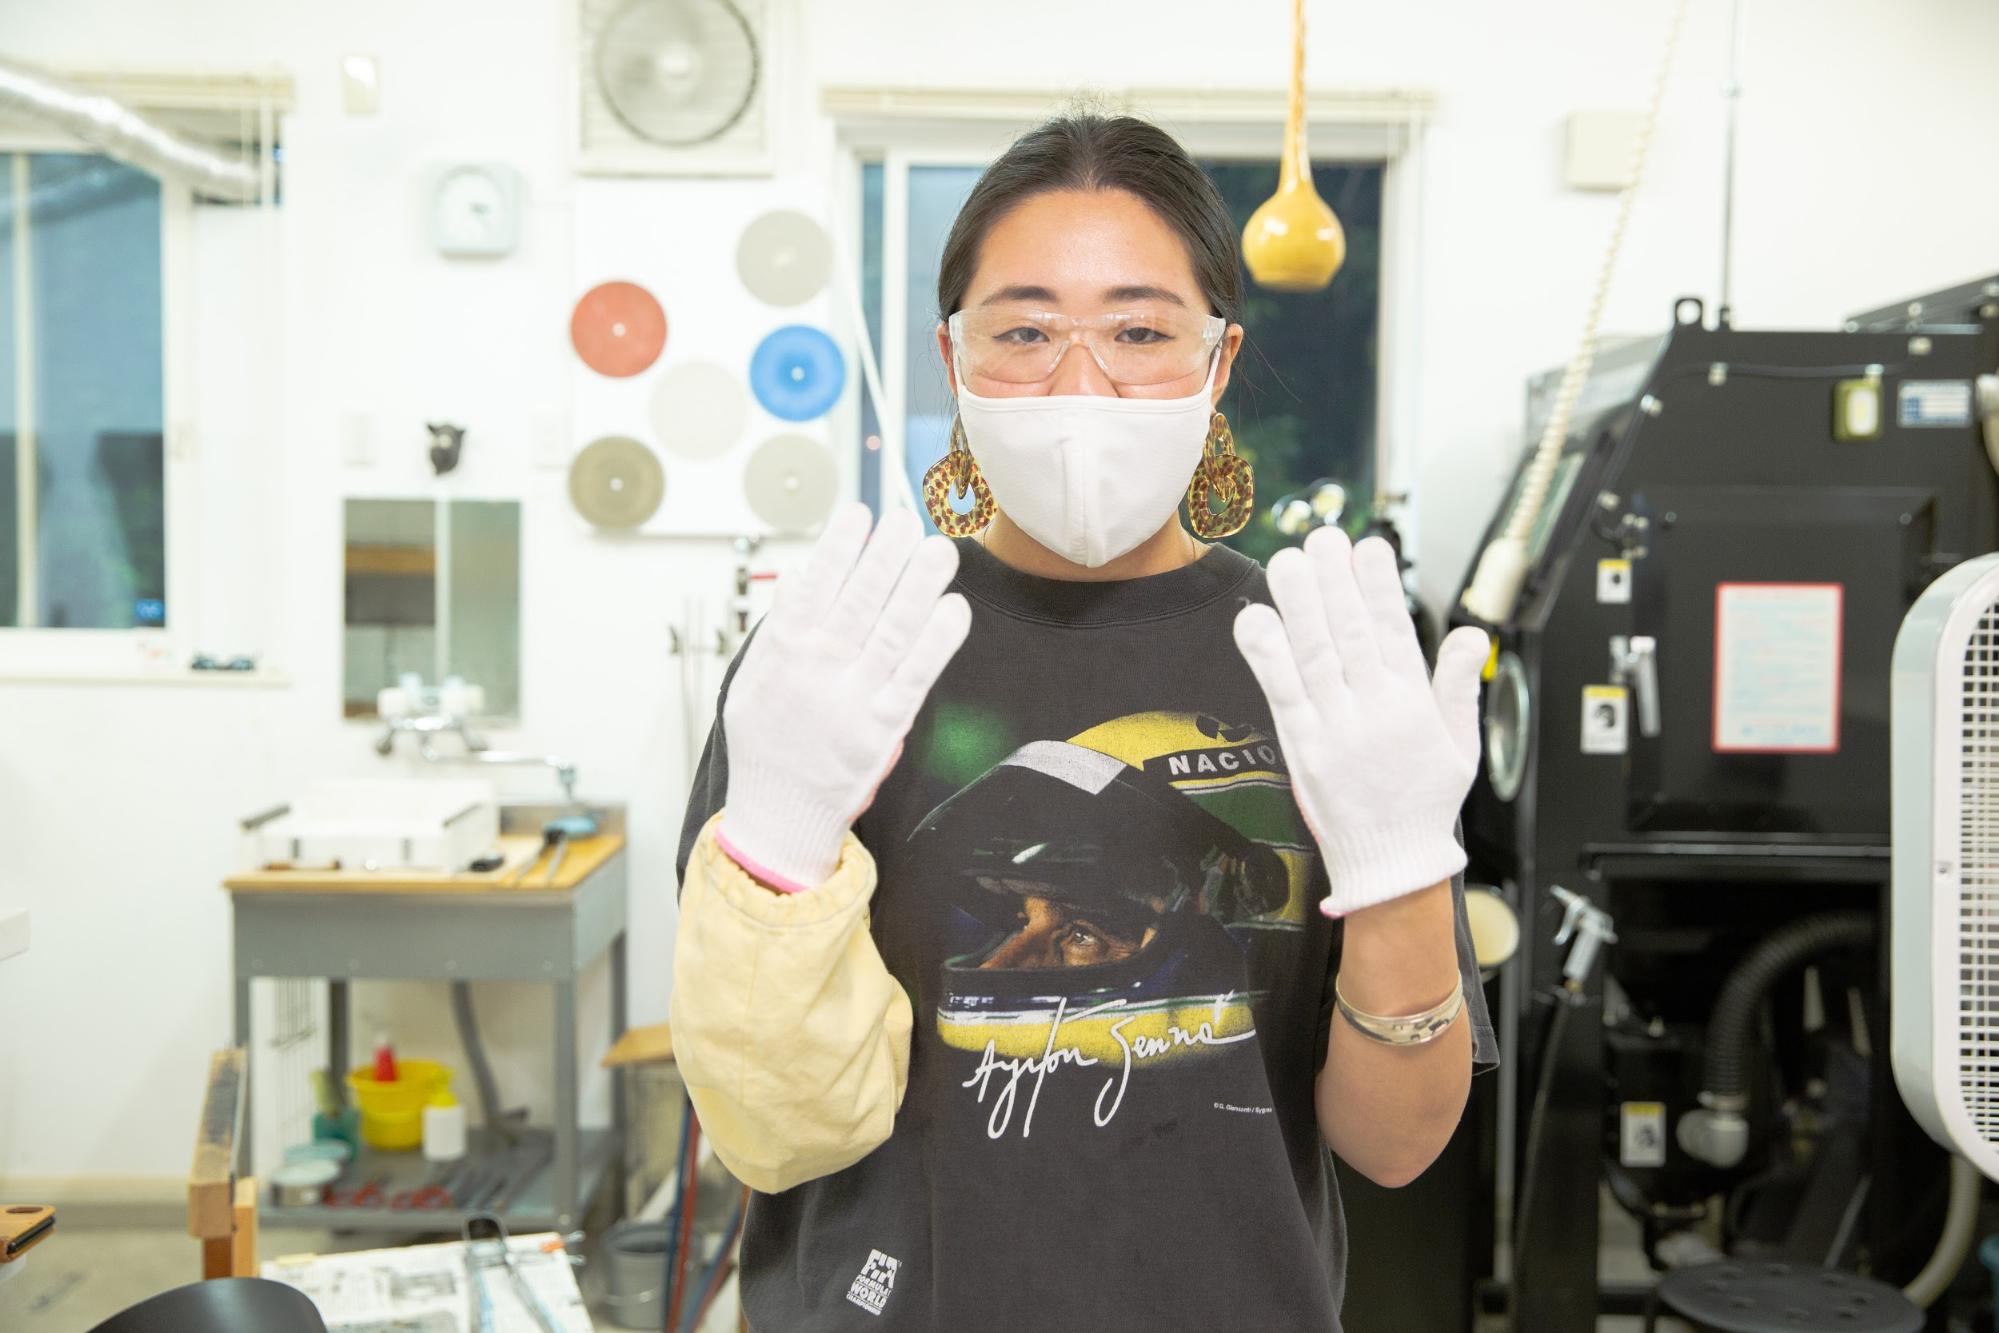

After putting on goggles, gloves, and arm covers, it was time to start blowing glass! I wonder if I will be able to do it well. ......
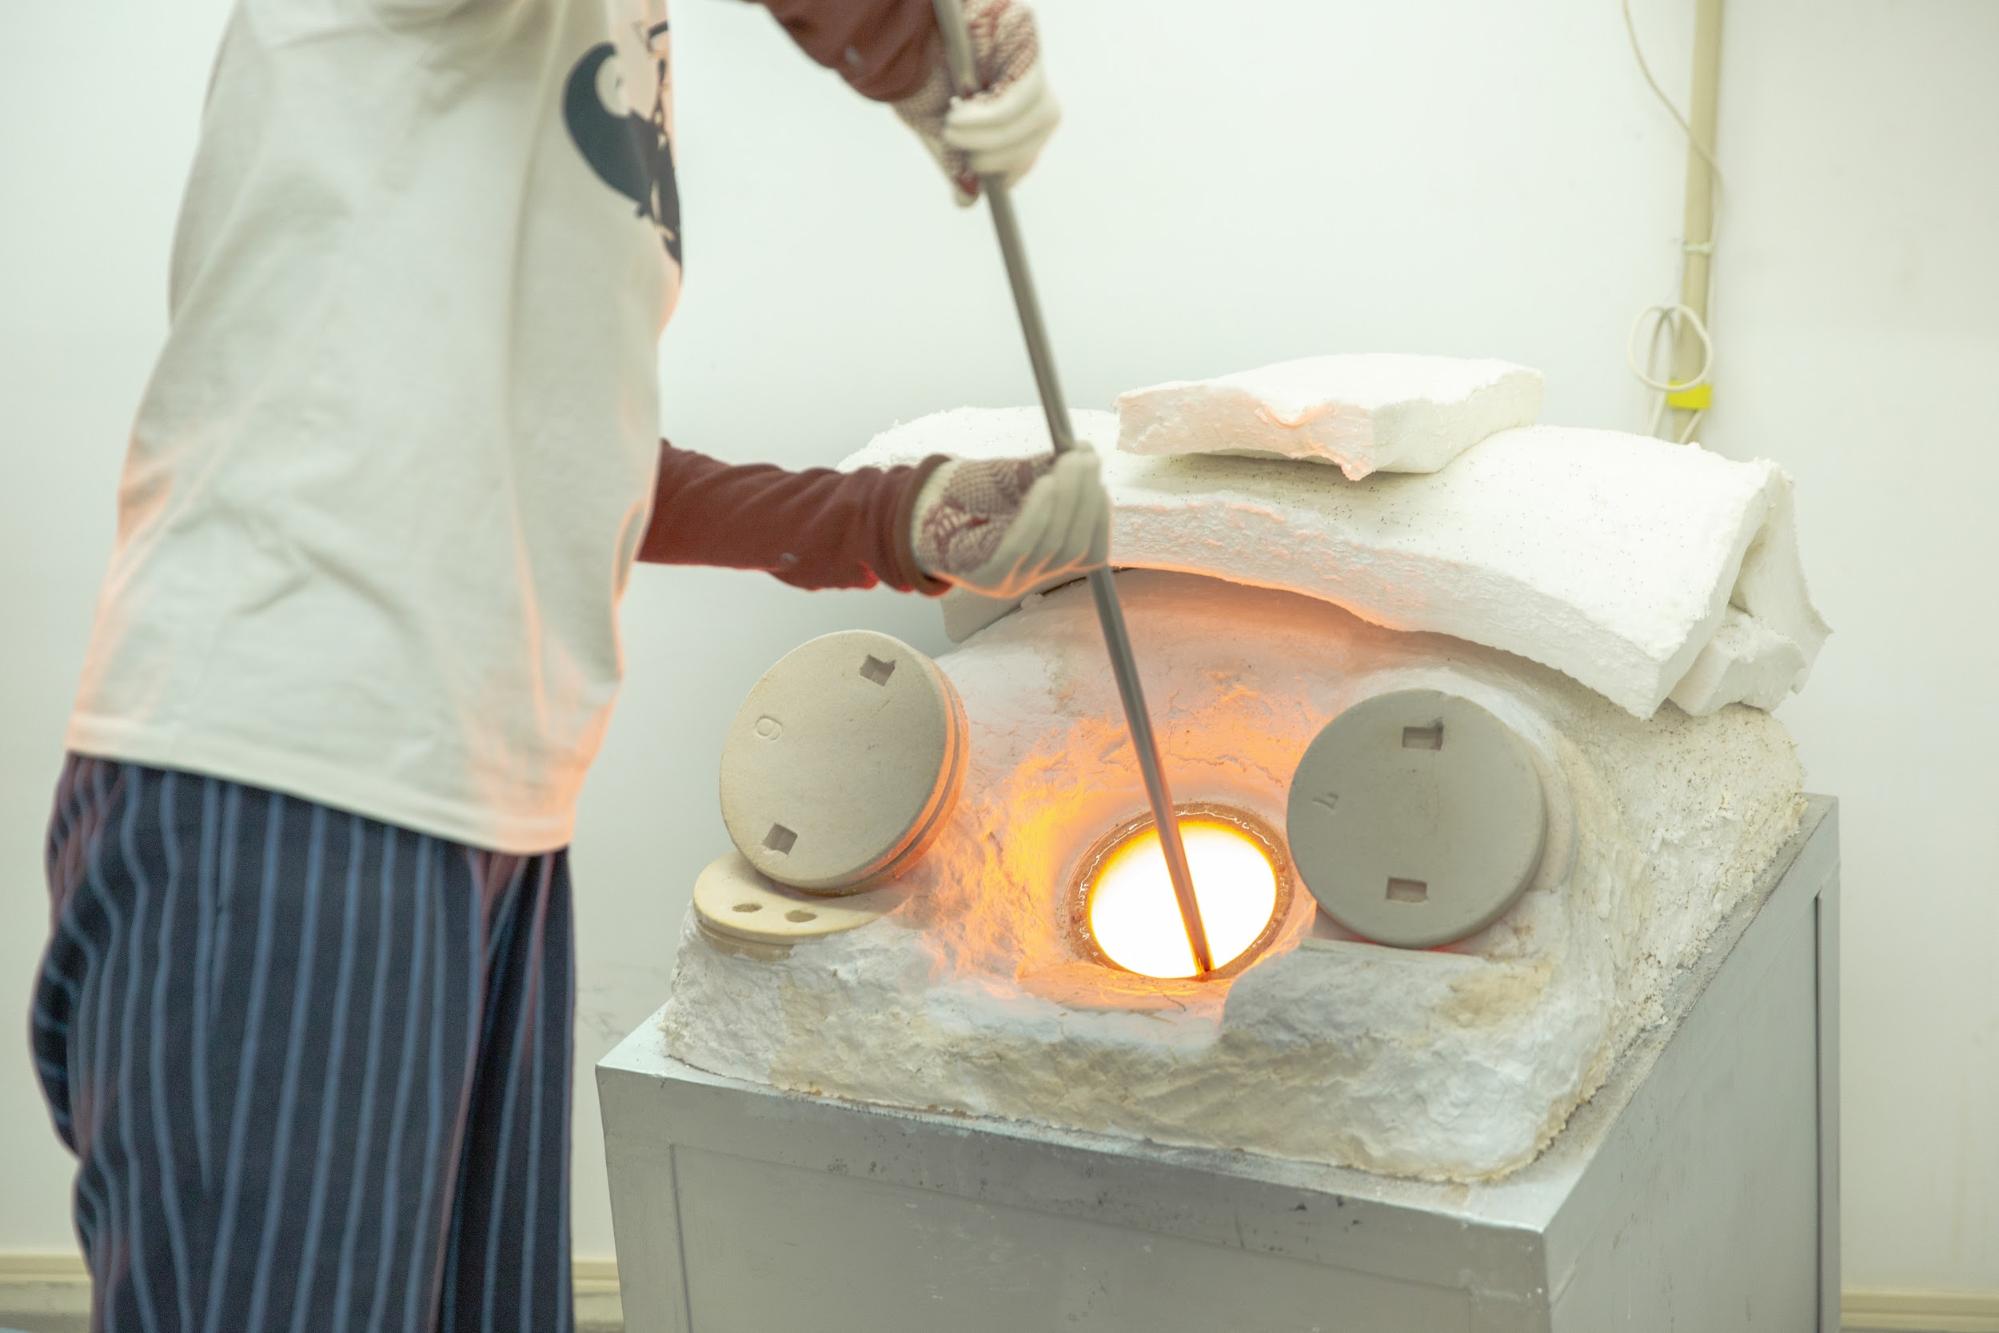

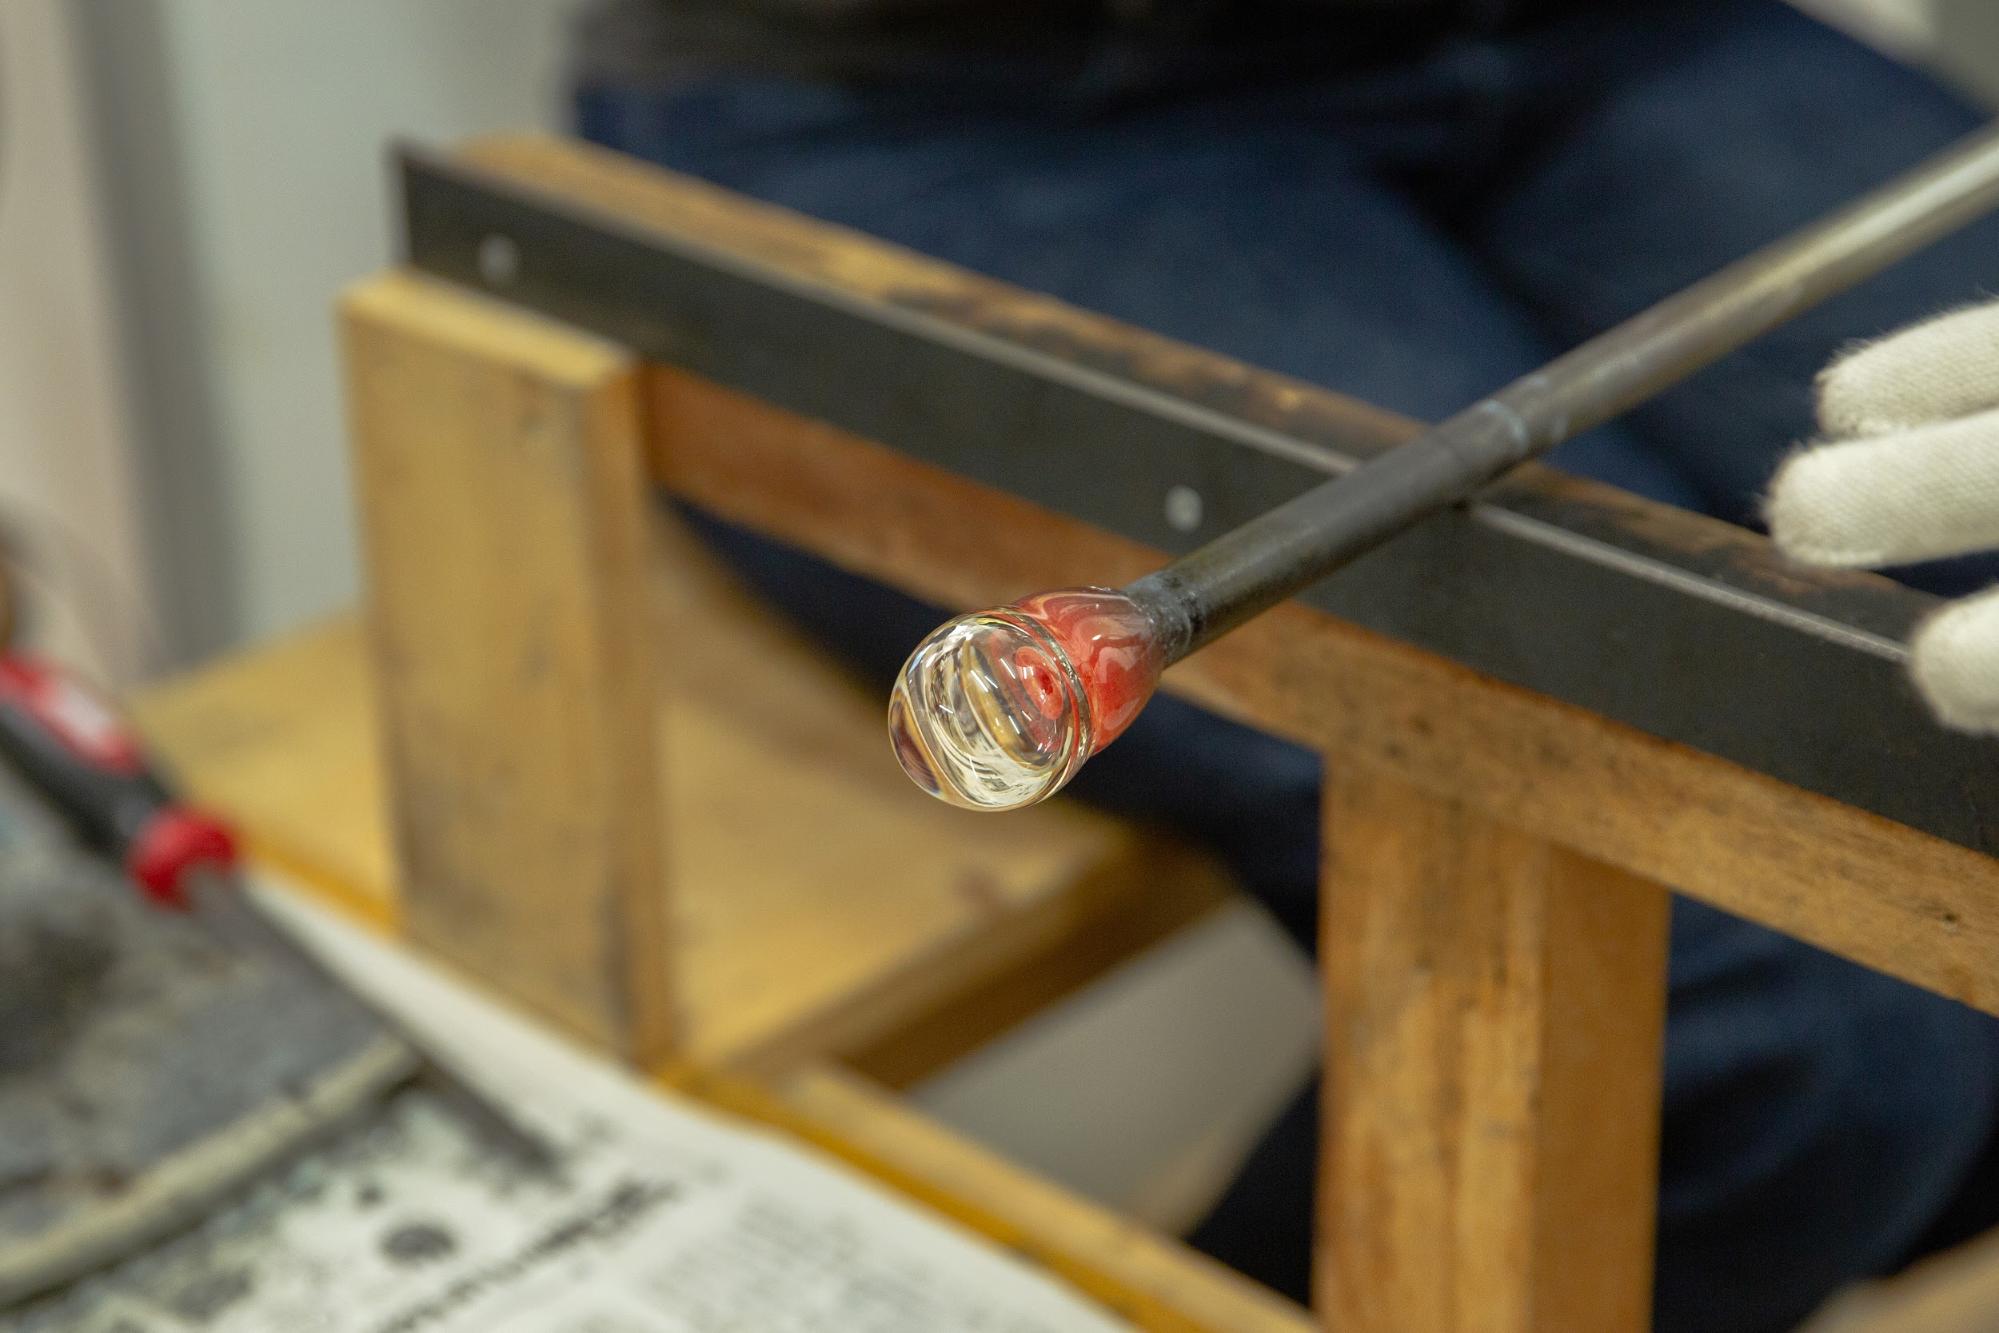
Glass are removed from the melting furnace at 1,155°C and blown gently. The glass is then blown several times to expand it little by little.
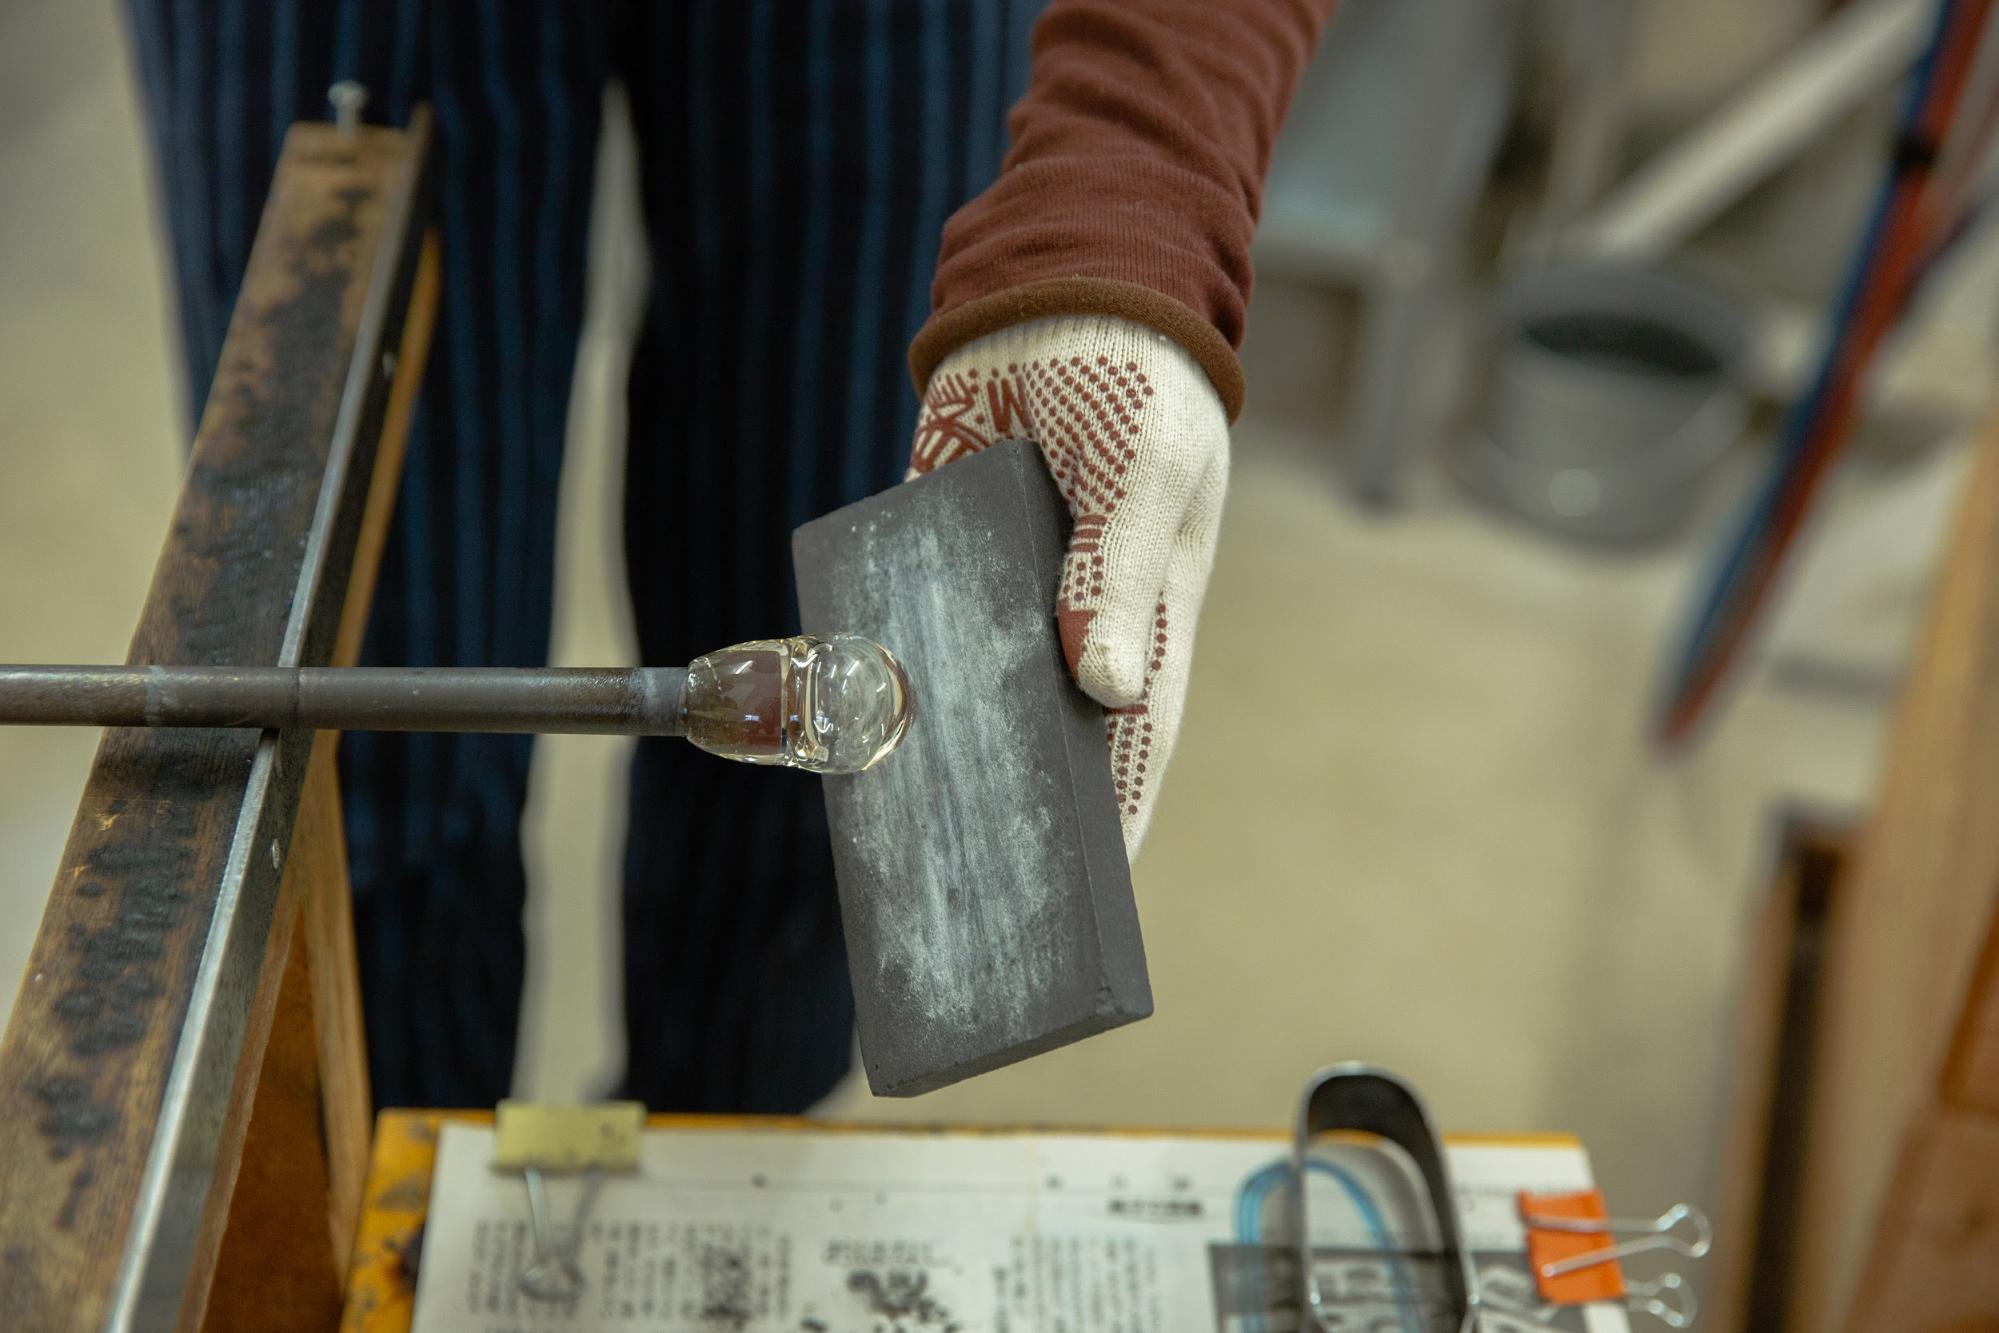
Next, add baking soda to the surface to add air bubbles to the glass. After adding baking soda, if you cover it with glass, the baking soda sandwiched between the glass will foam and become bubbles.
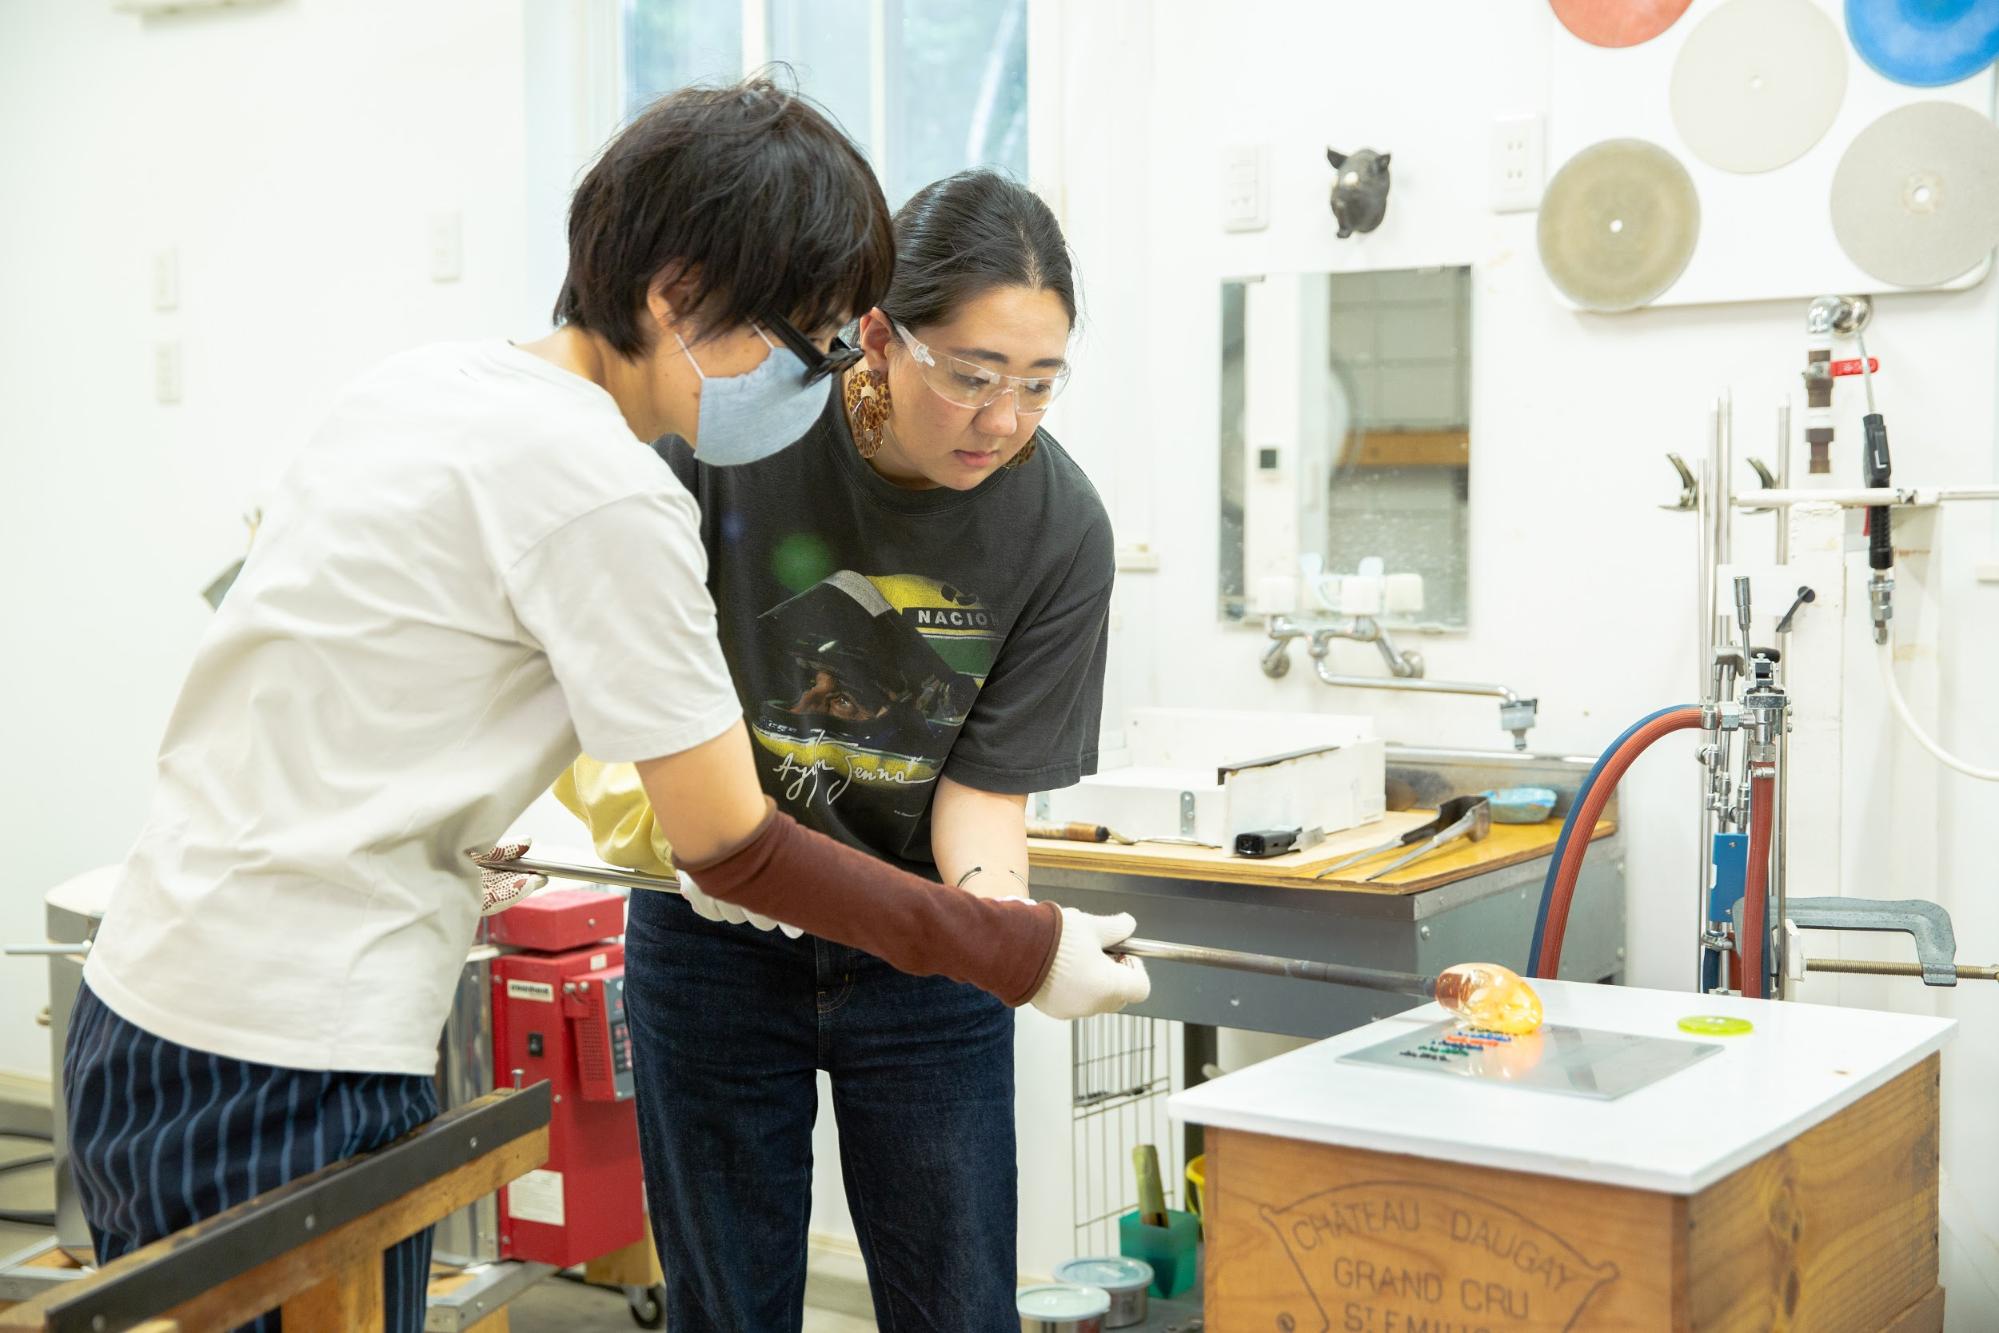
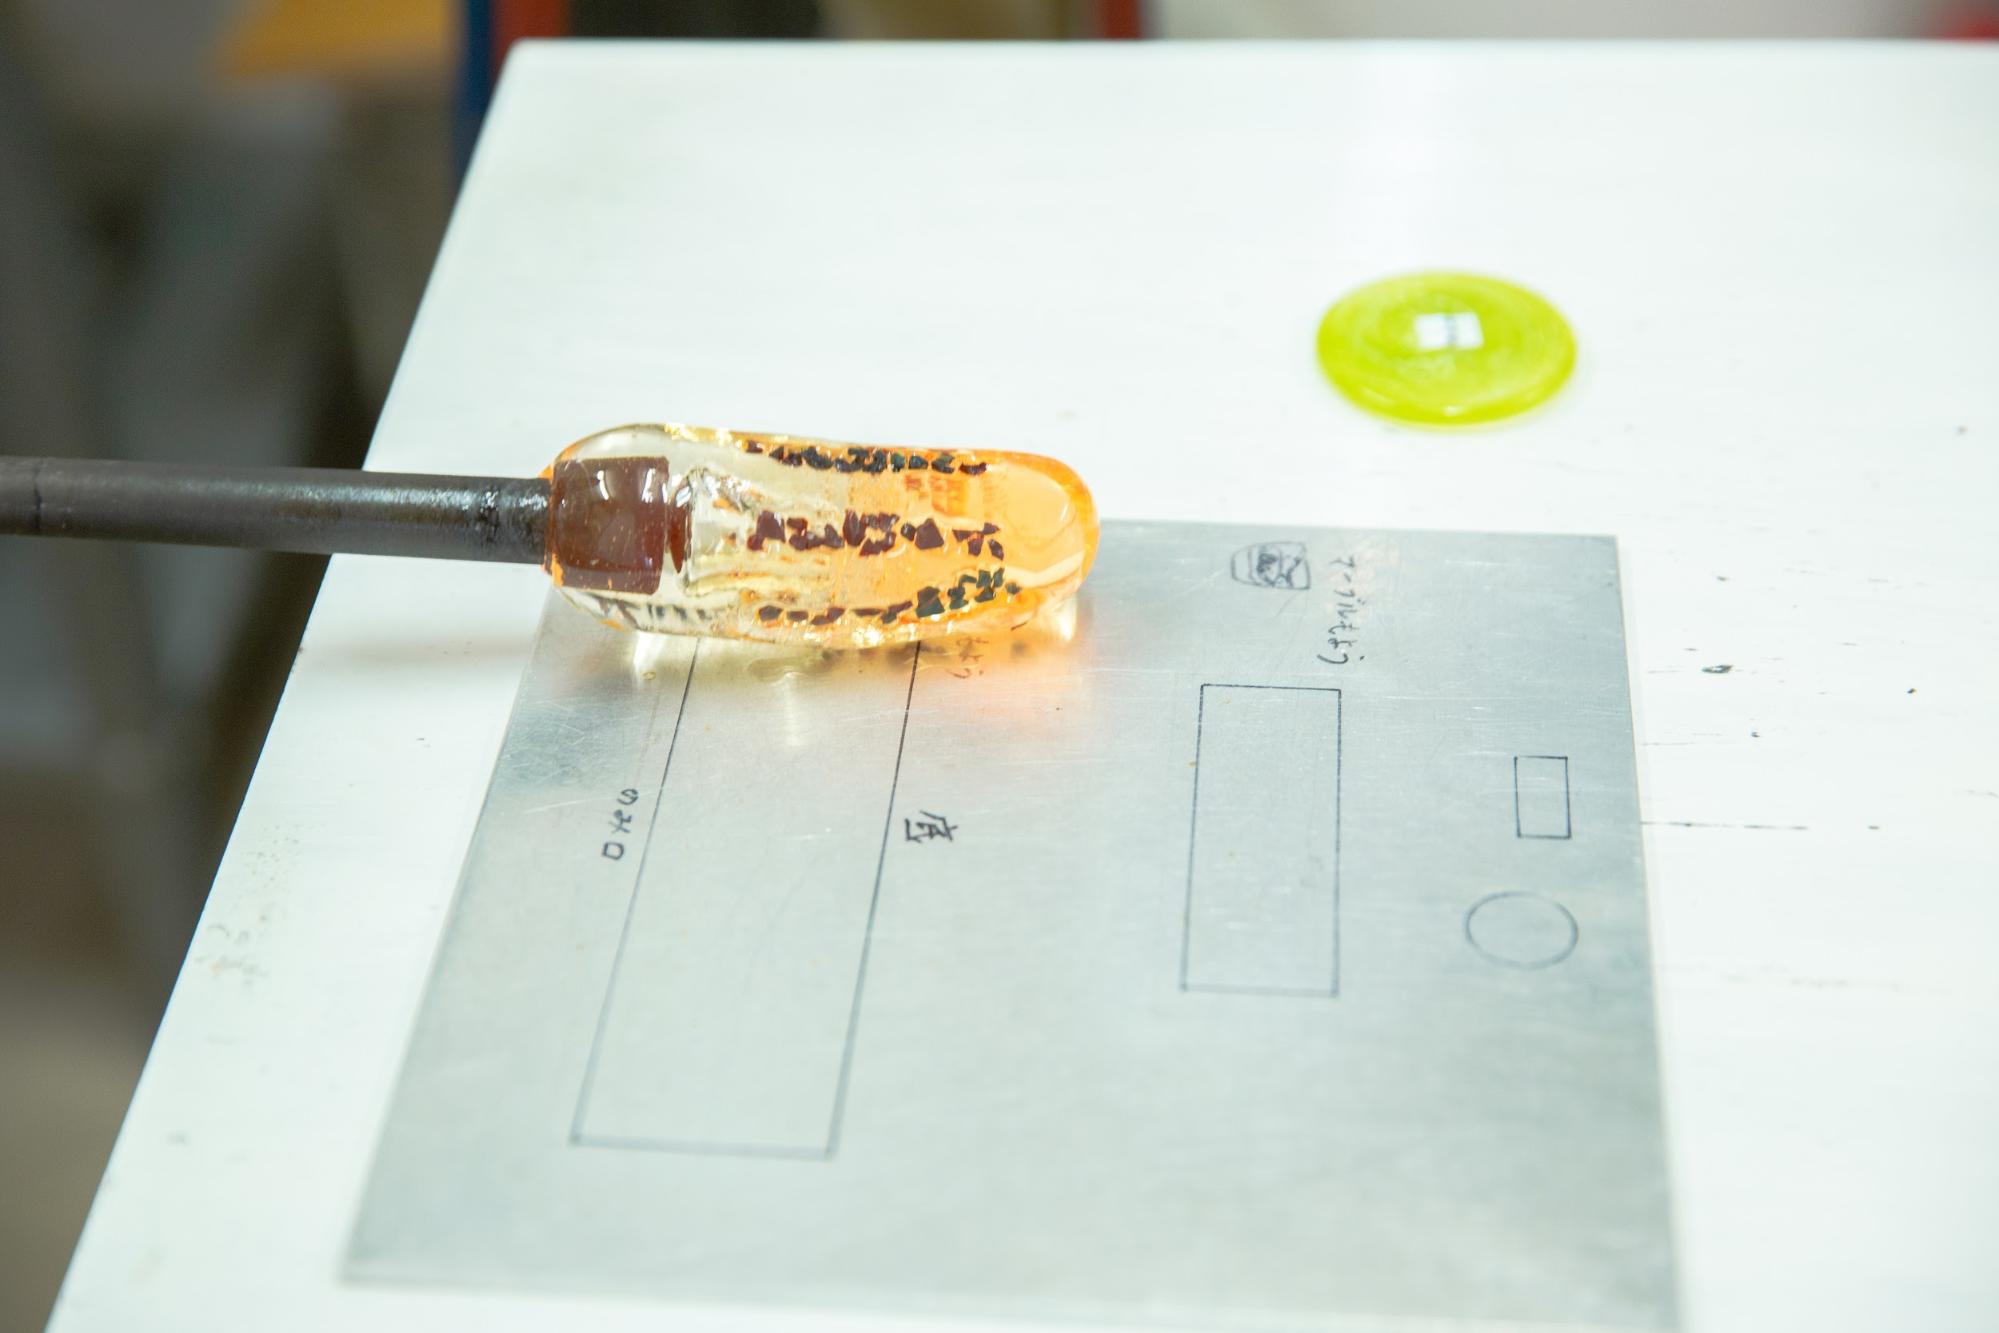
Add the colored grains arranged earlier. The polka dot pattern will be the pattern as it is, so be careful. Roll the glass on the iron plate and let it adhere.
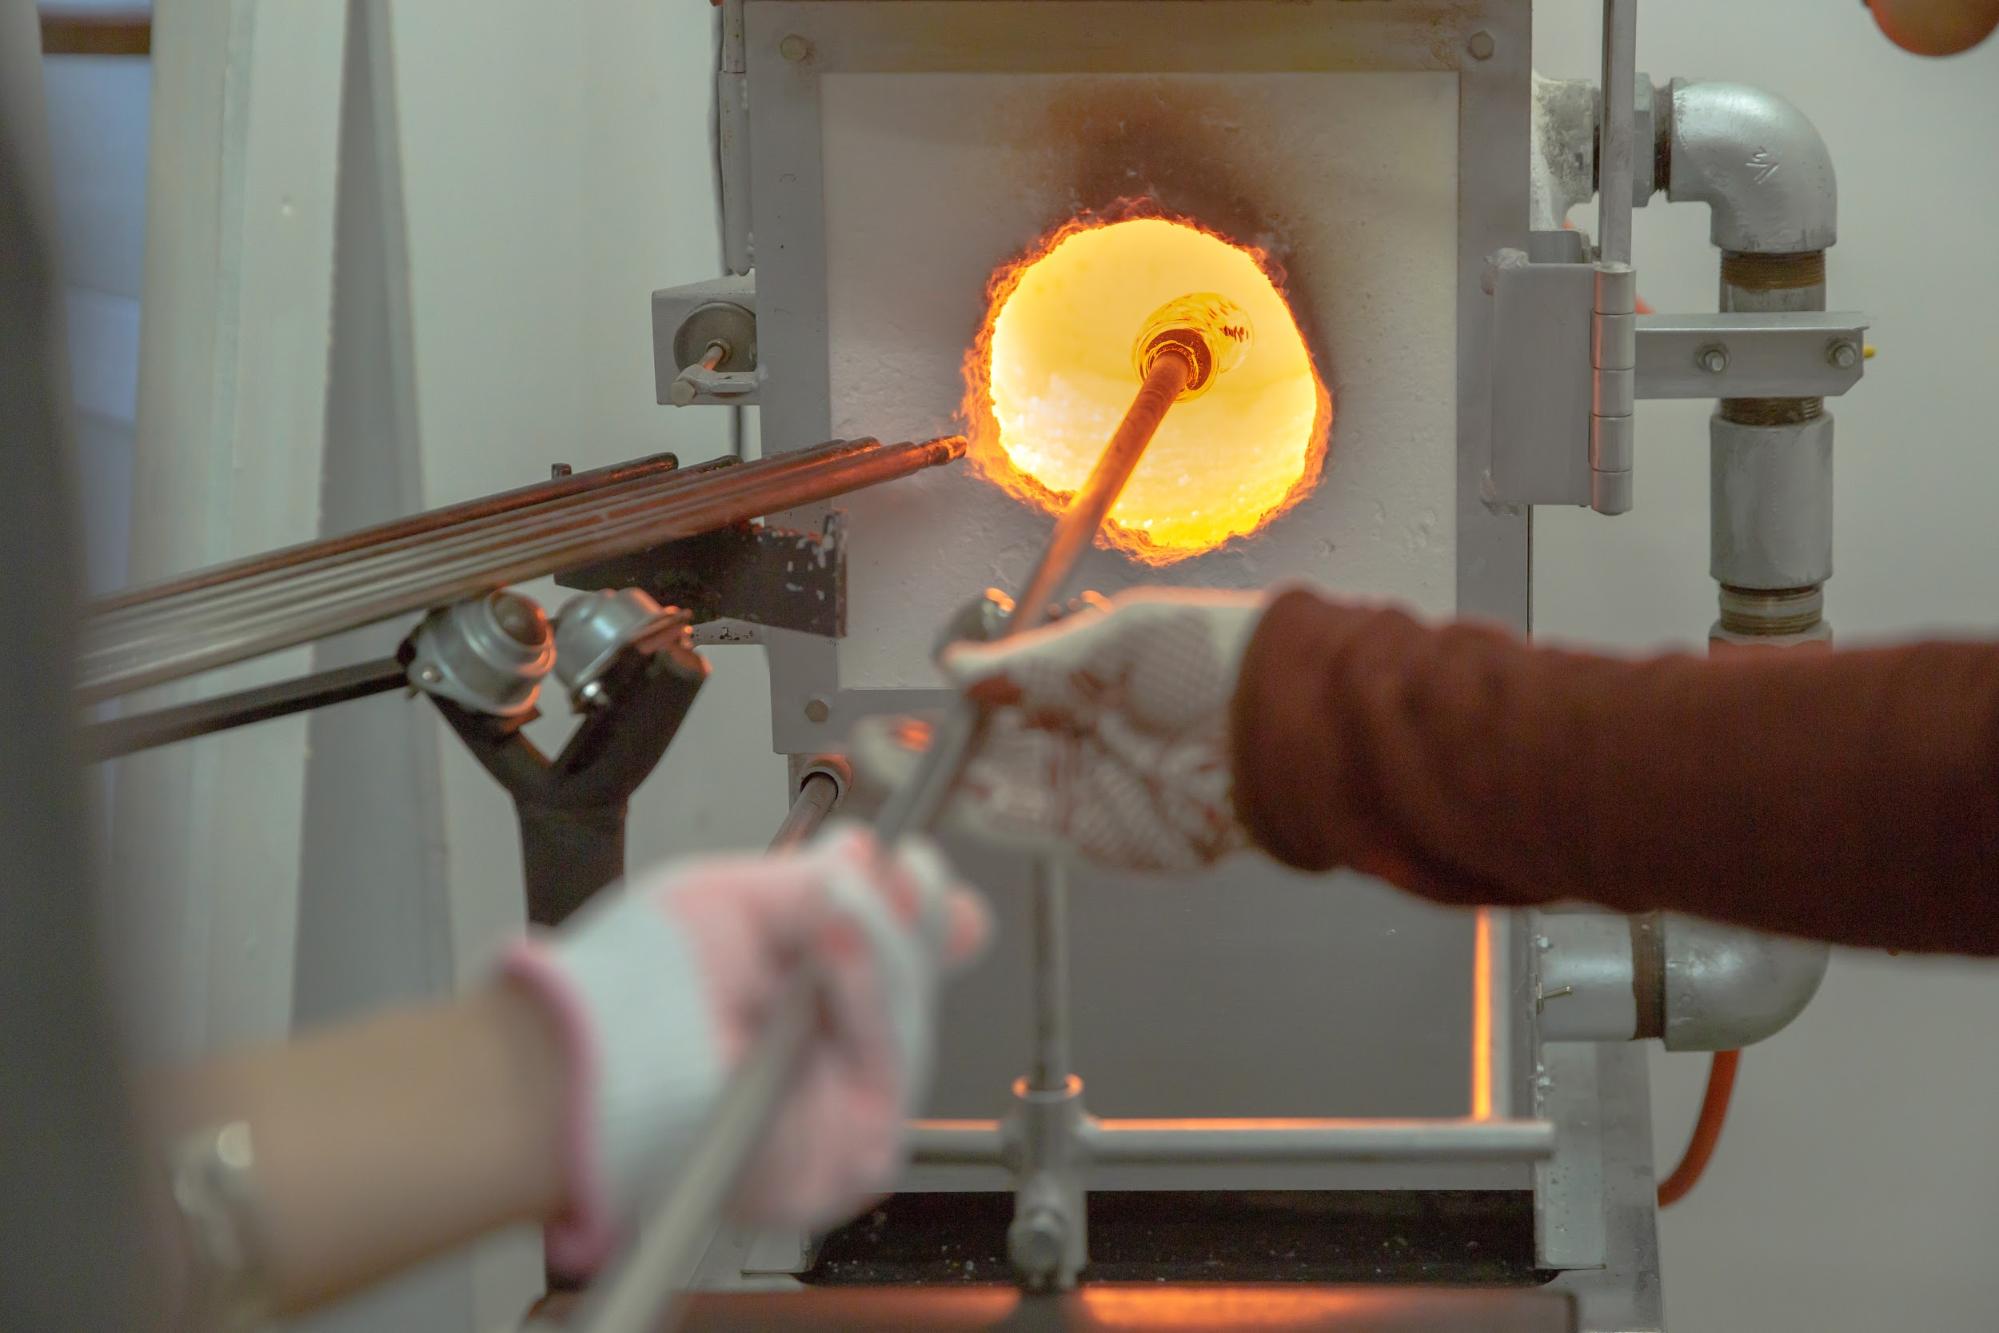
Place it in a gas kiln at 1,200°C to blend the color grains. When you get close to the kiln, it's hotter than you can imagine!
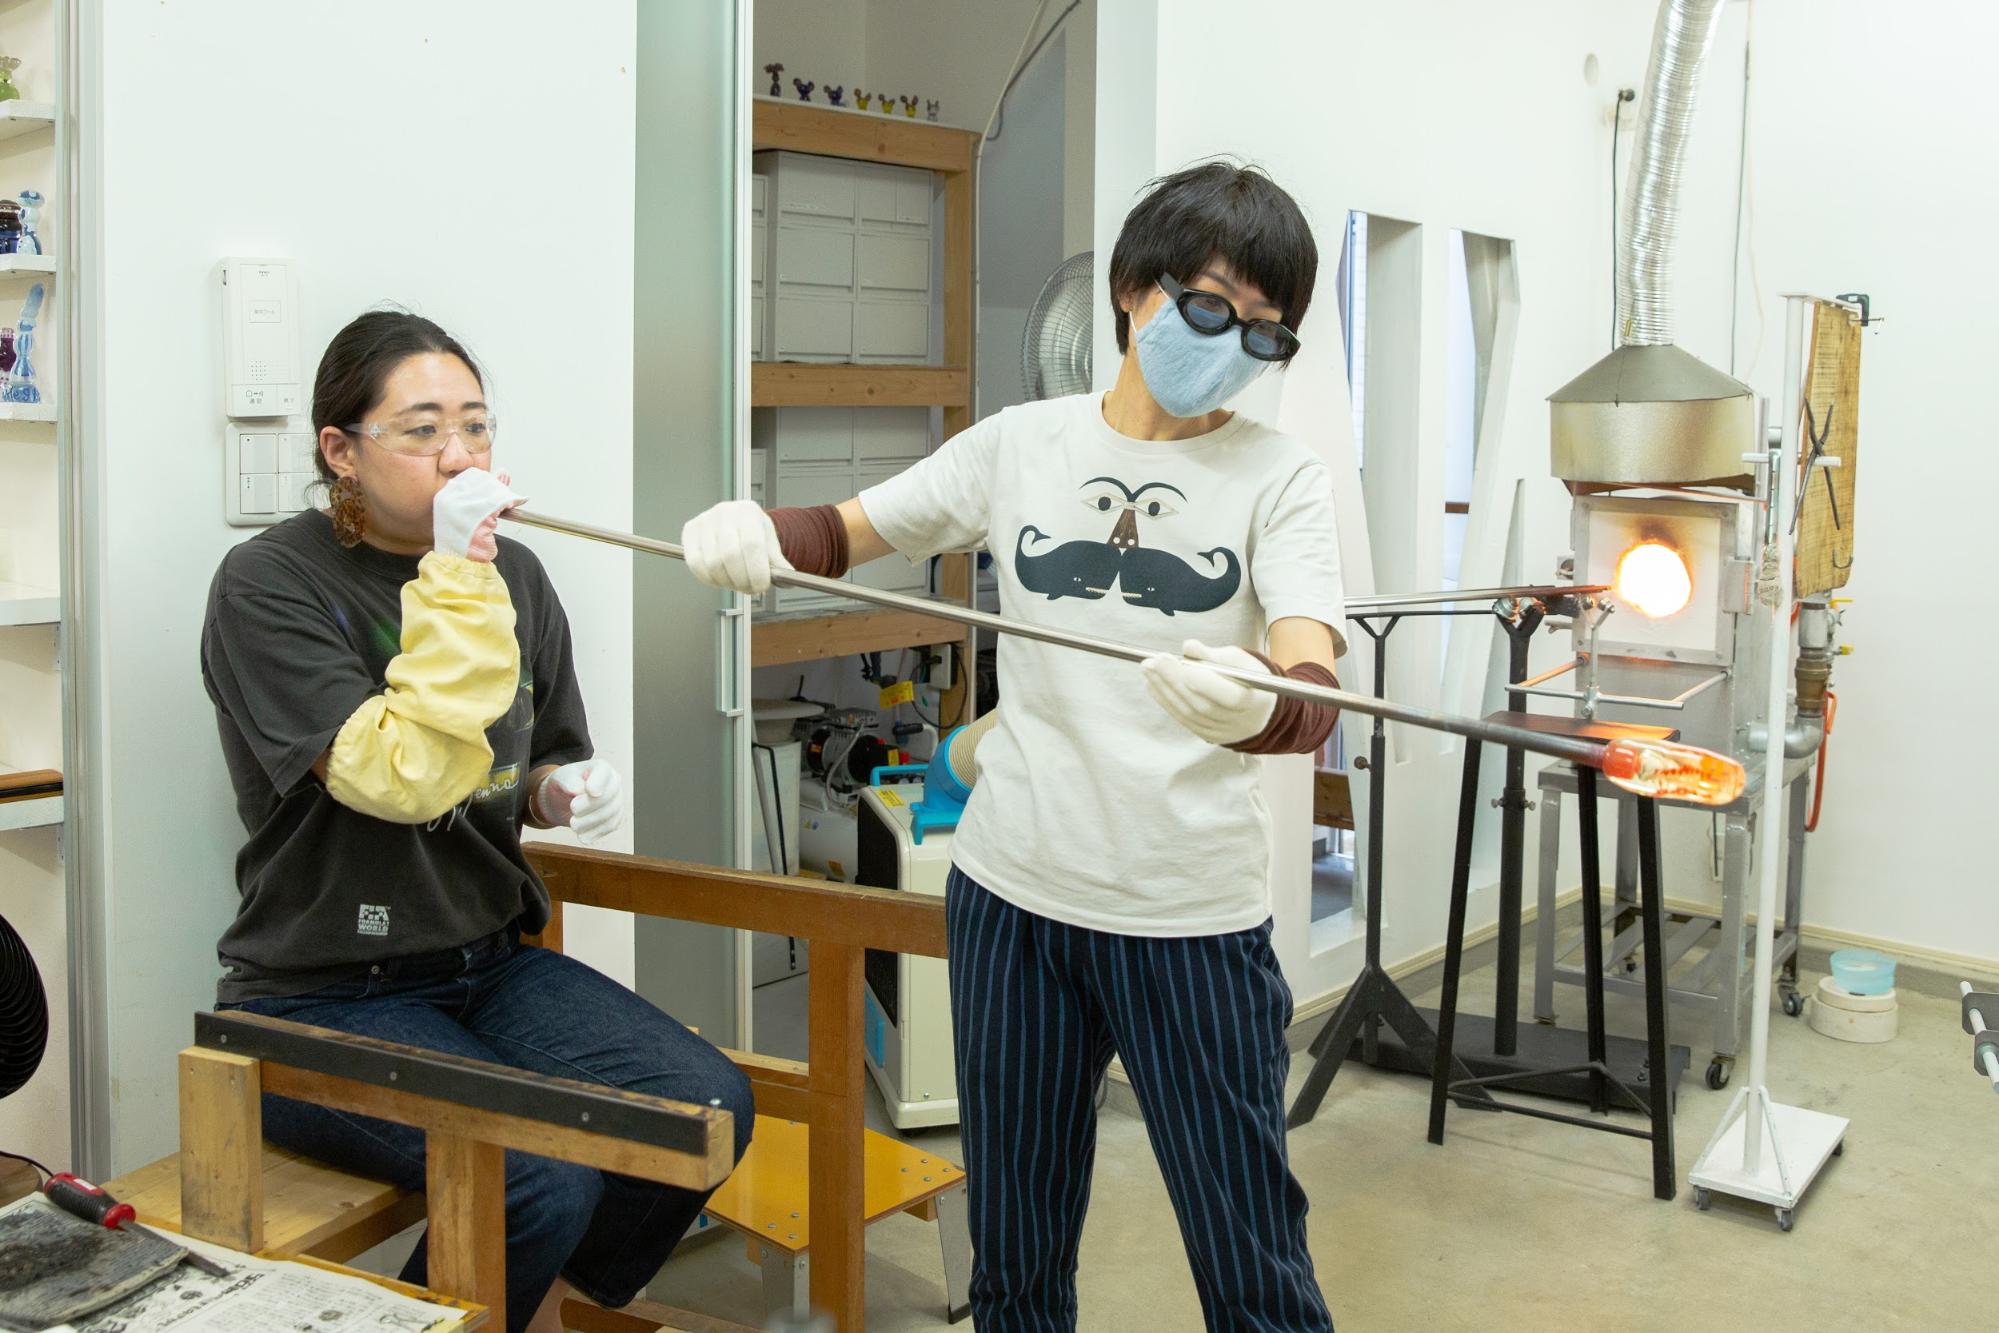
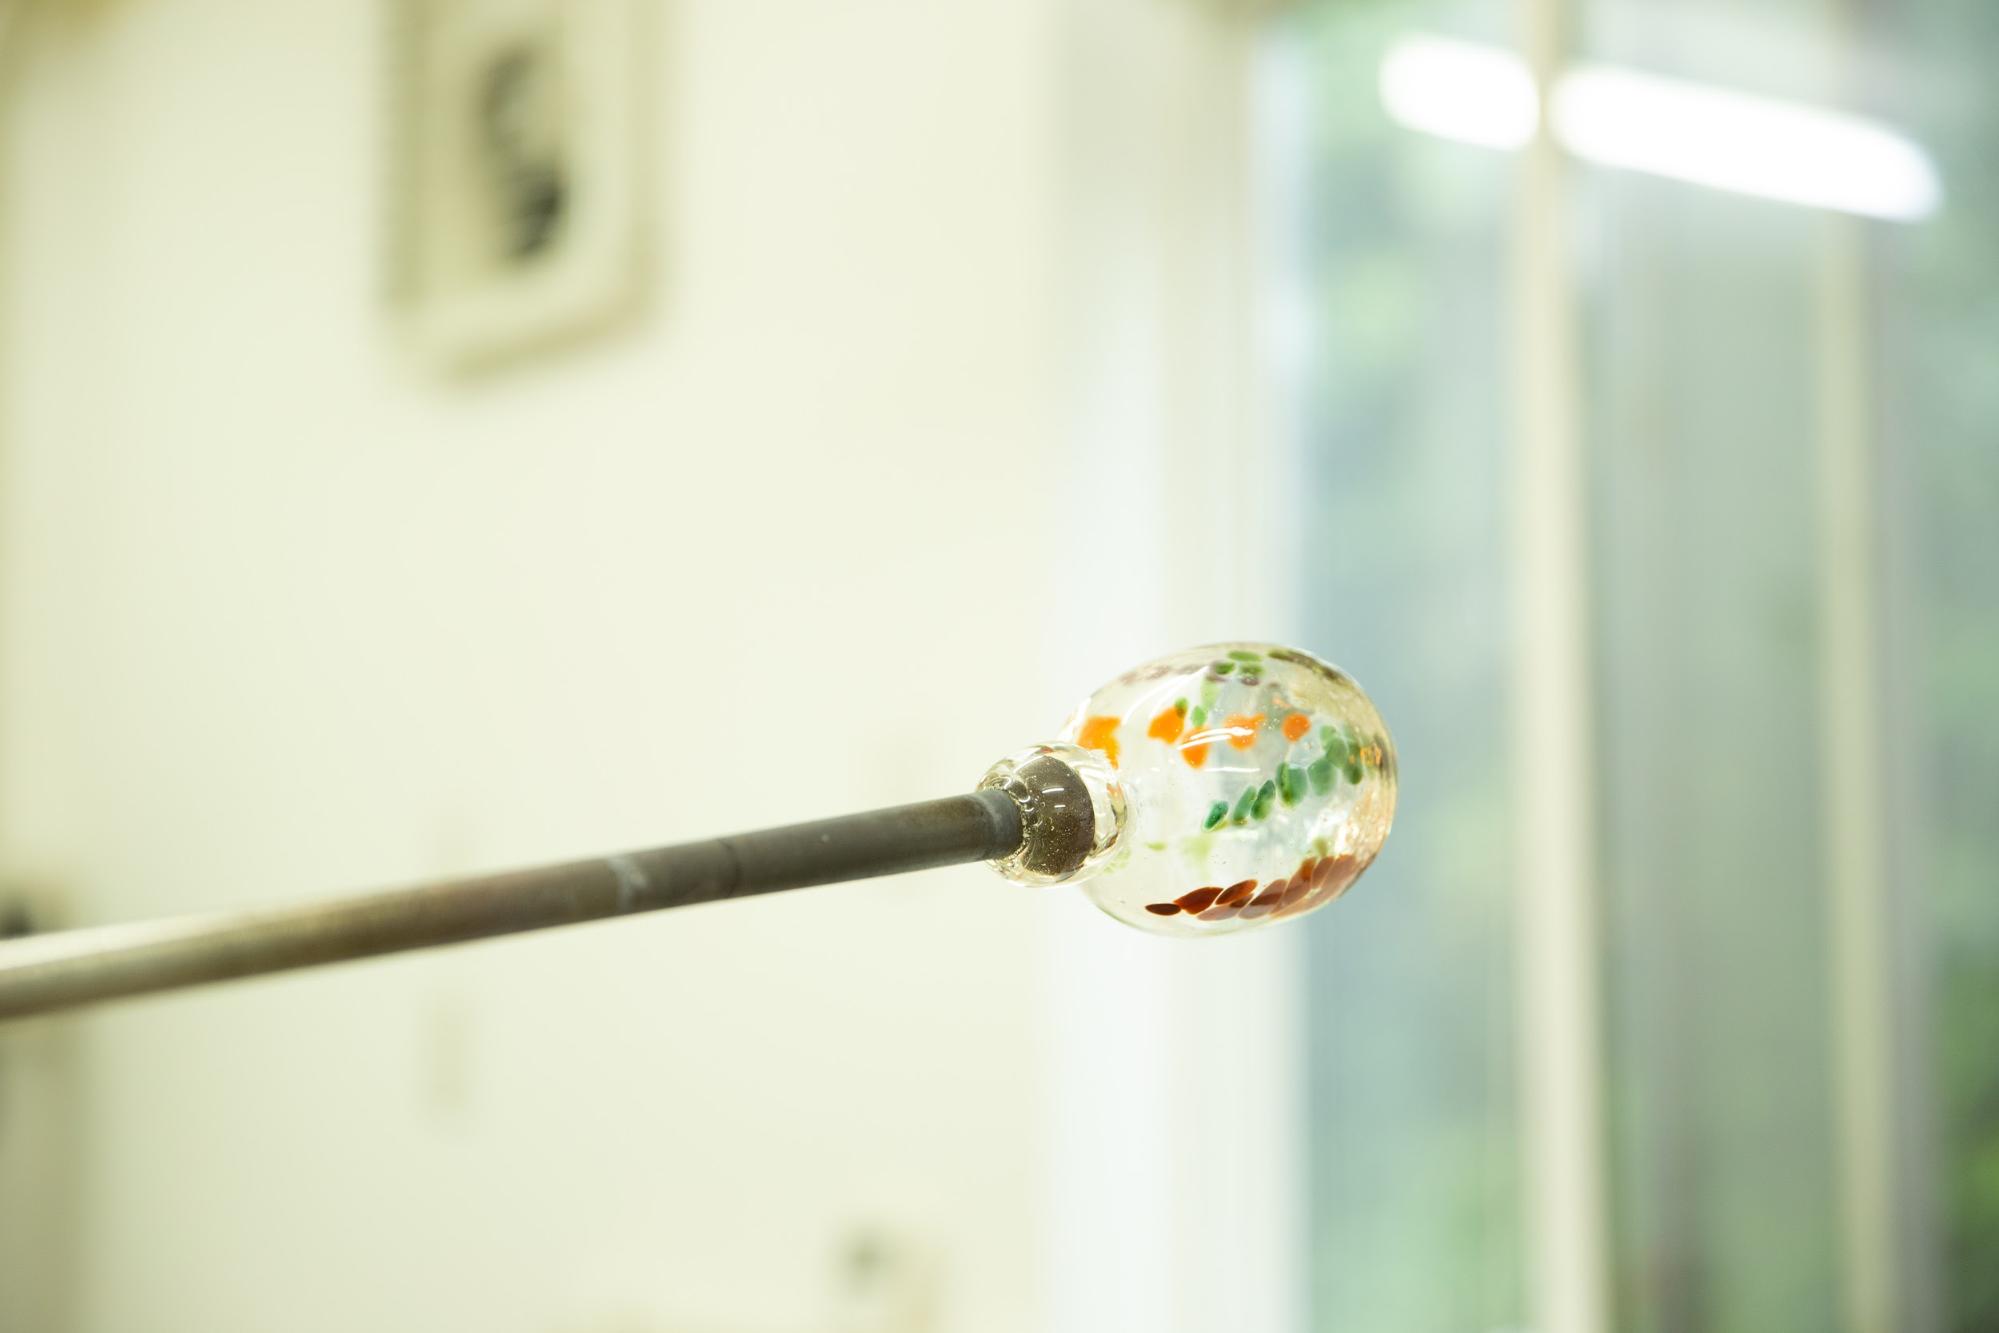
Blow again to make the glass larger. The teacher will advise you to "blow hard" and "blow a little less this time", so it will blow up nicely. It's getting closer to the shape of a glass!
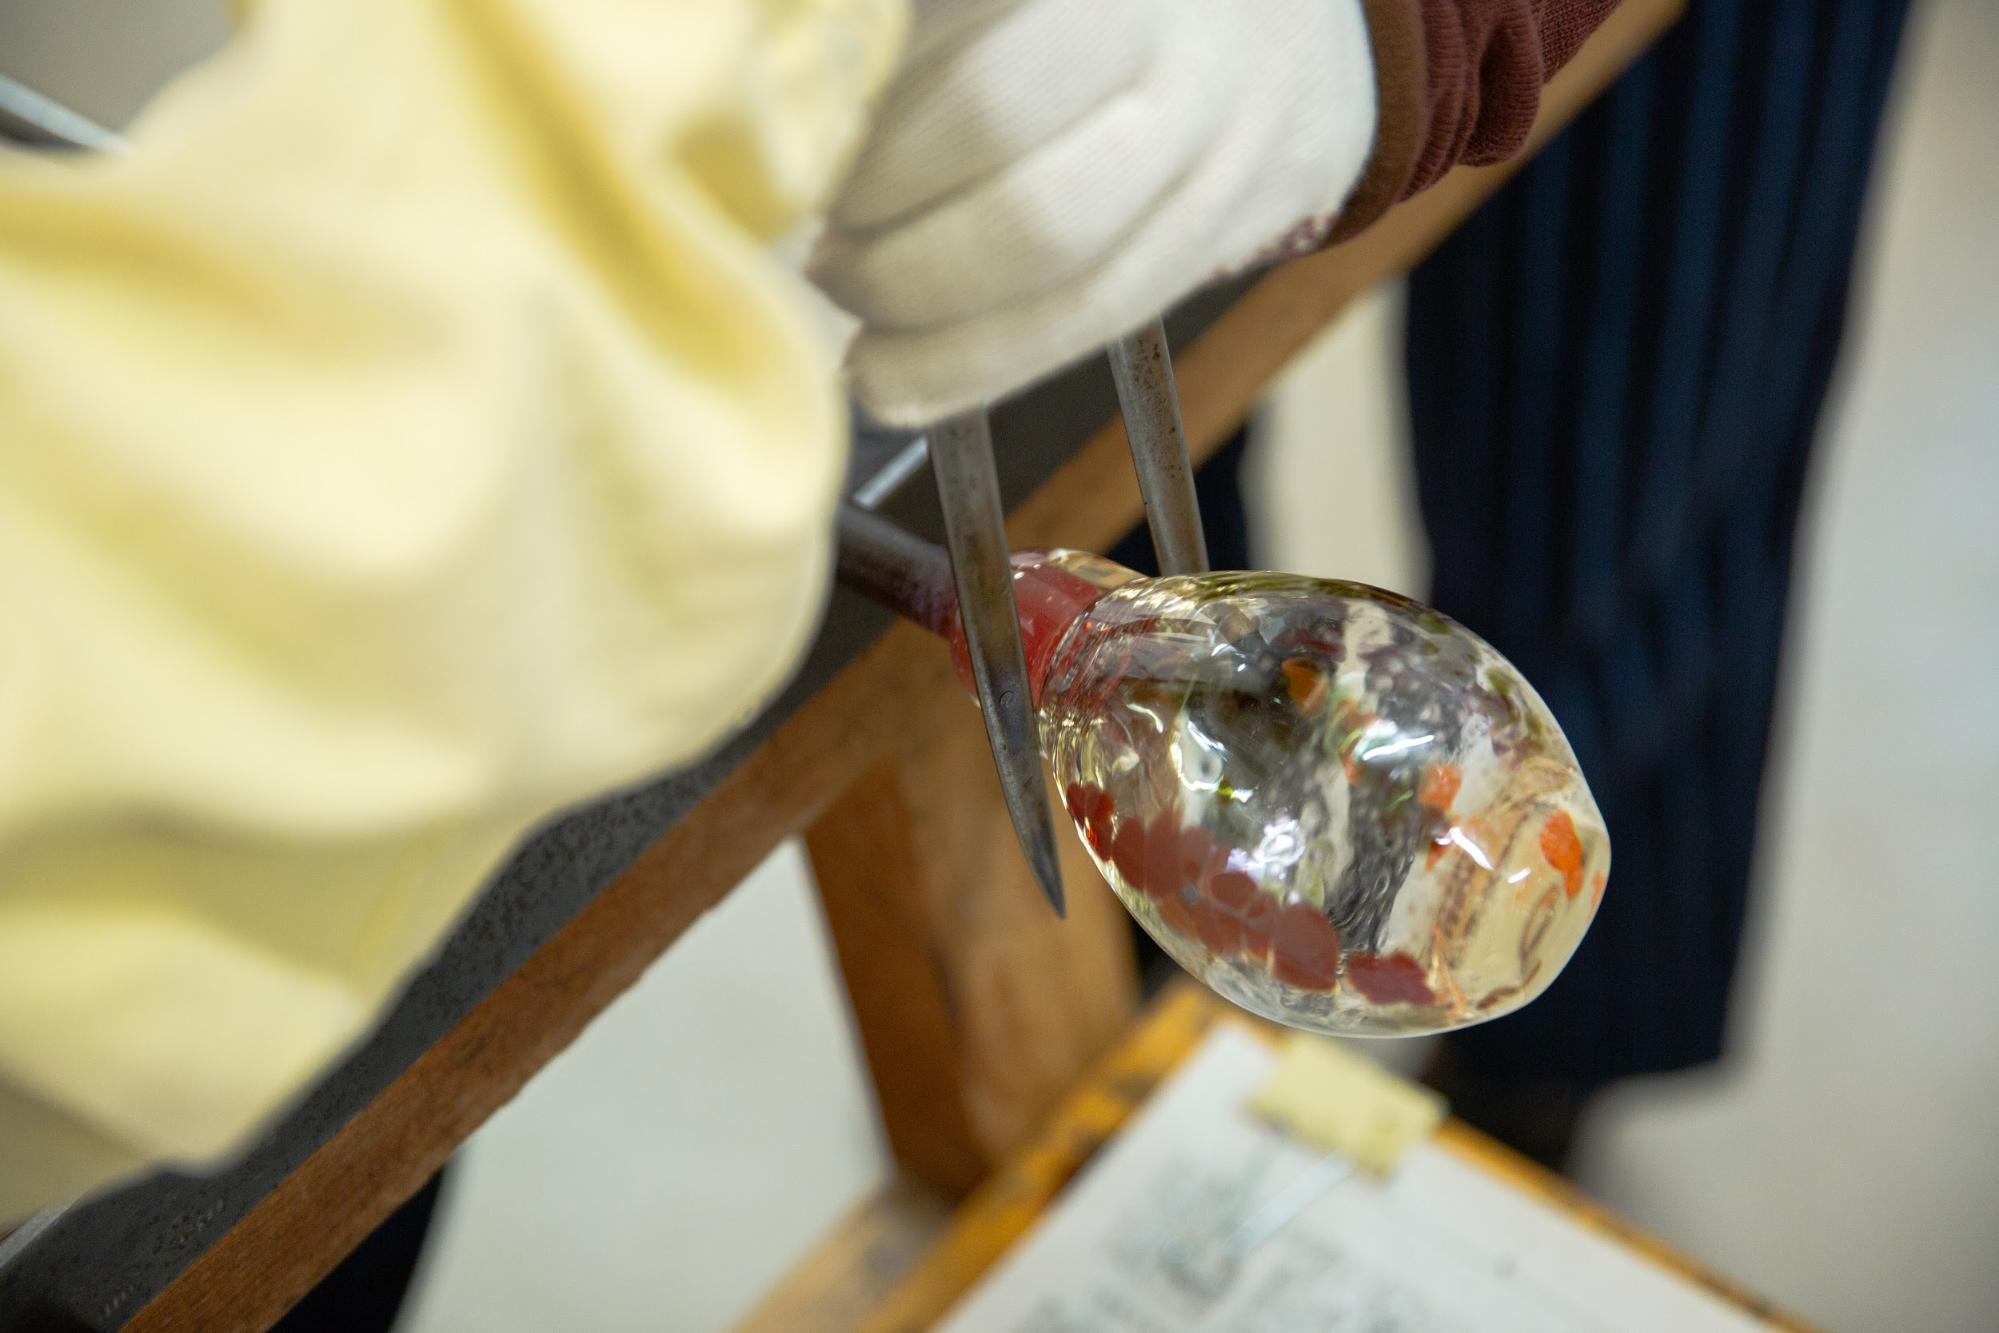
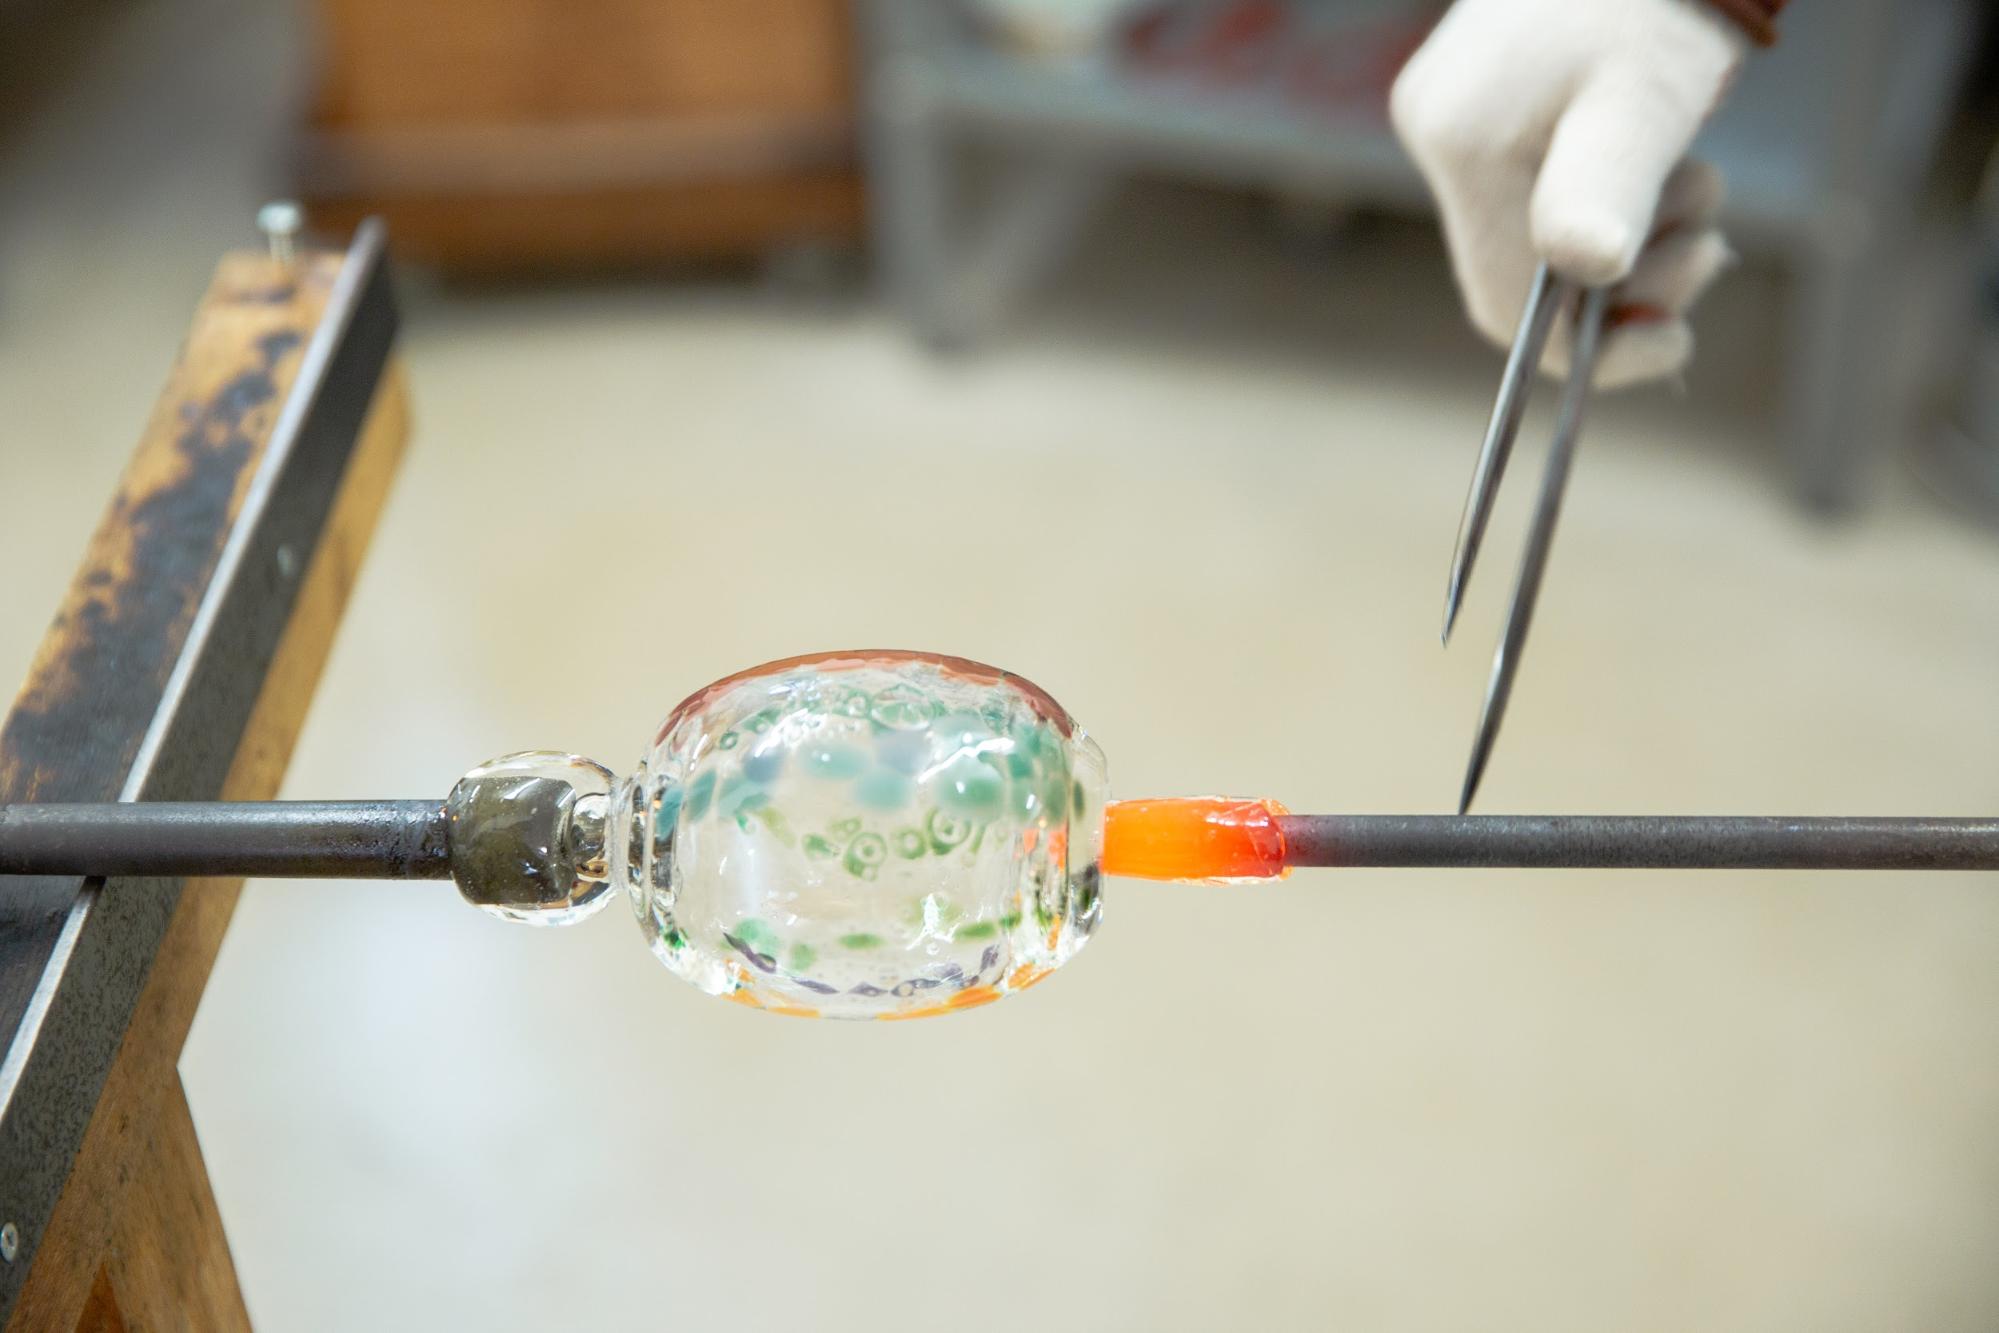
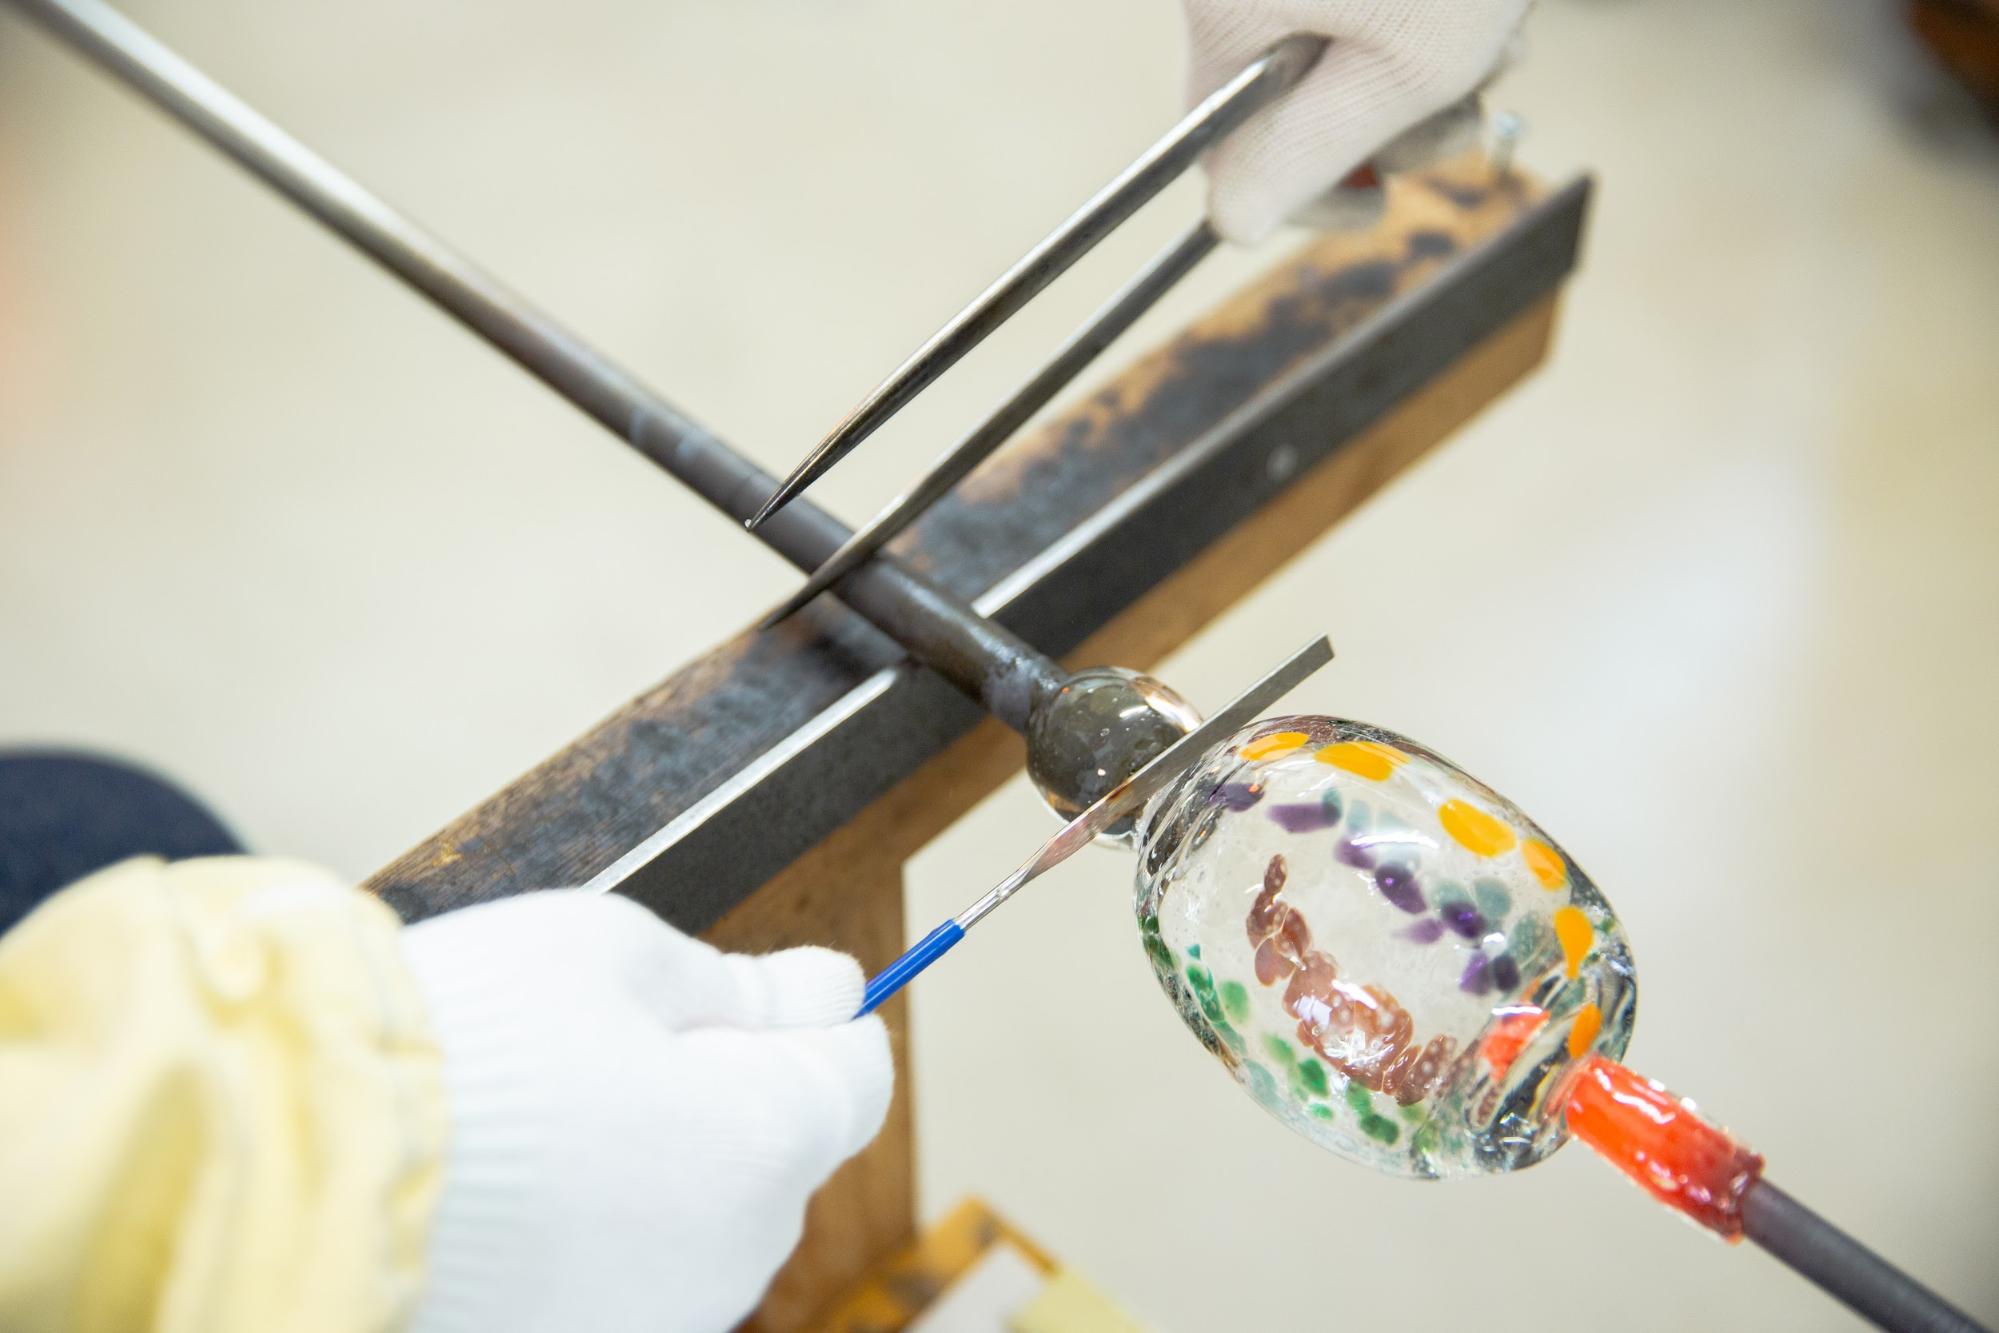
Next, the process of moving to another rod. Scraping the root part with a file and finally hitting it with a hammer, I was able to move it safely.
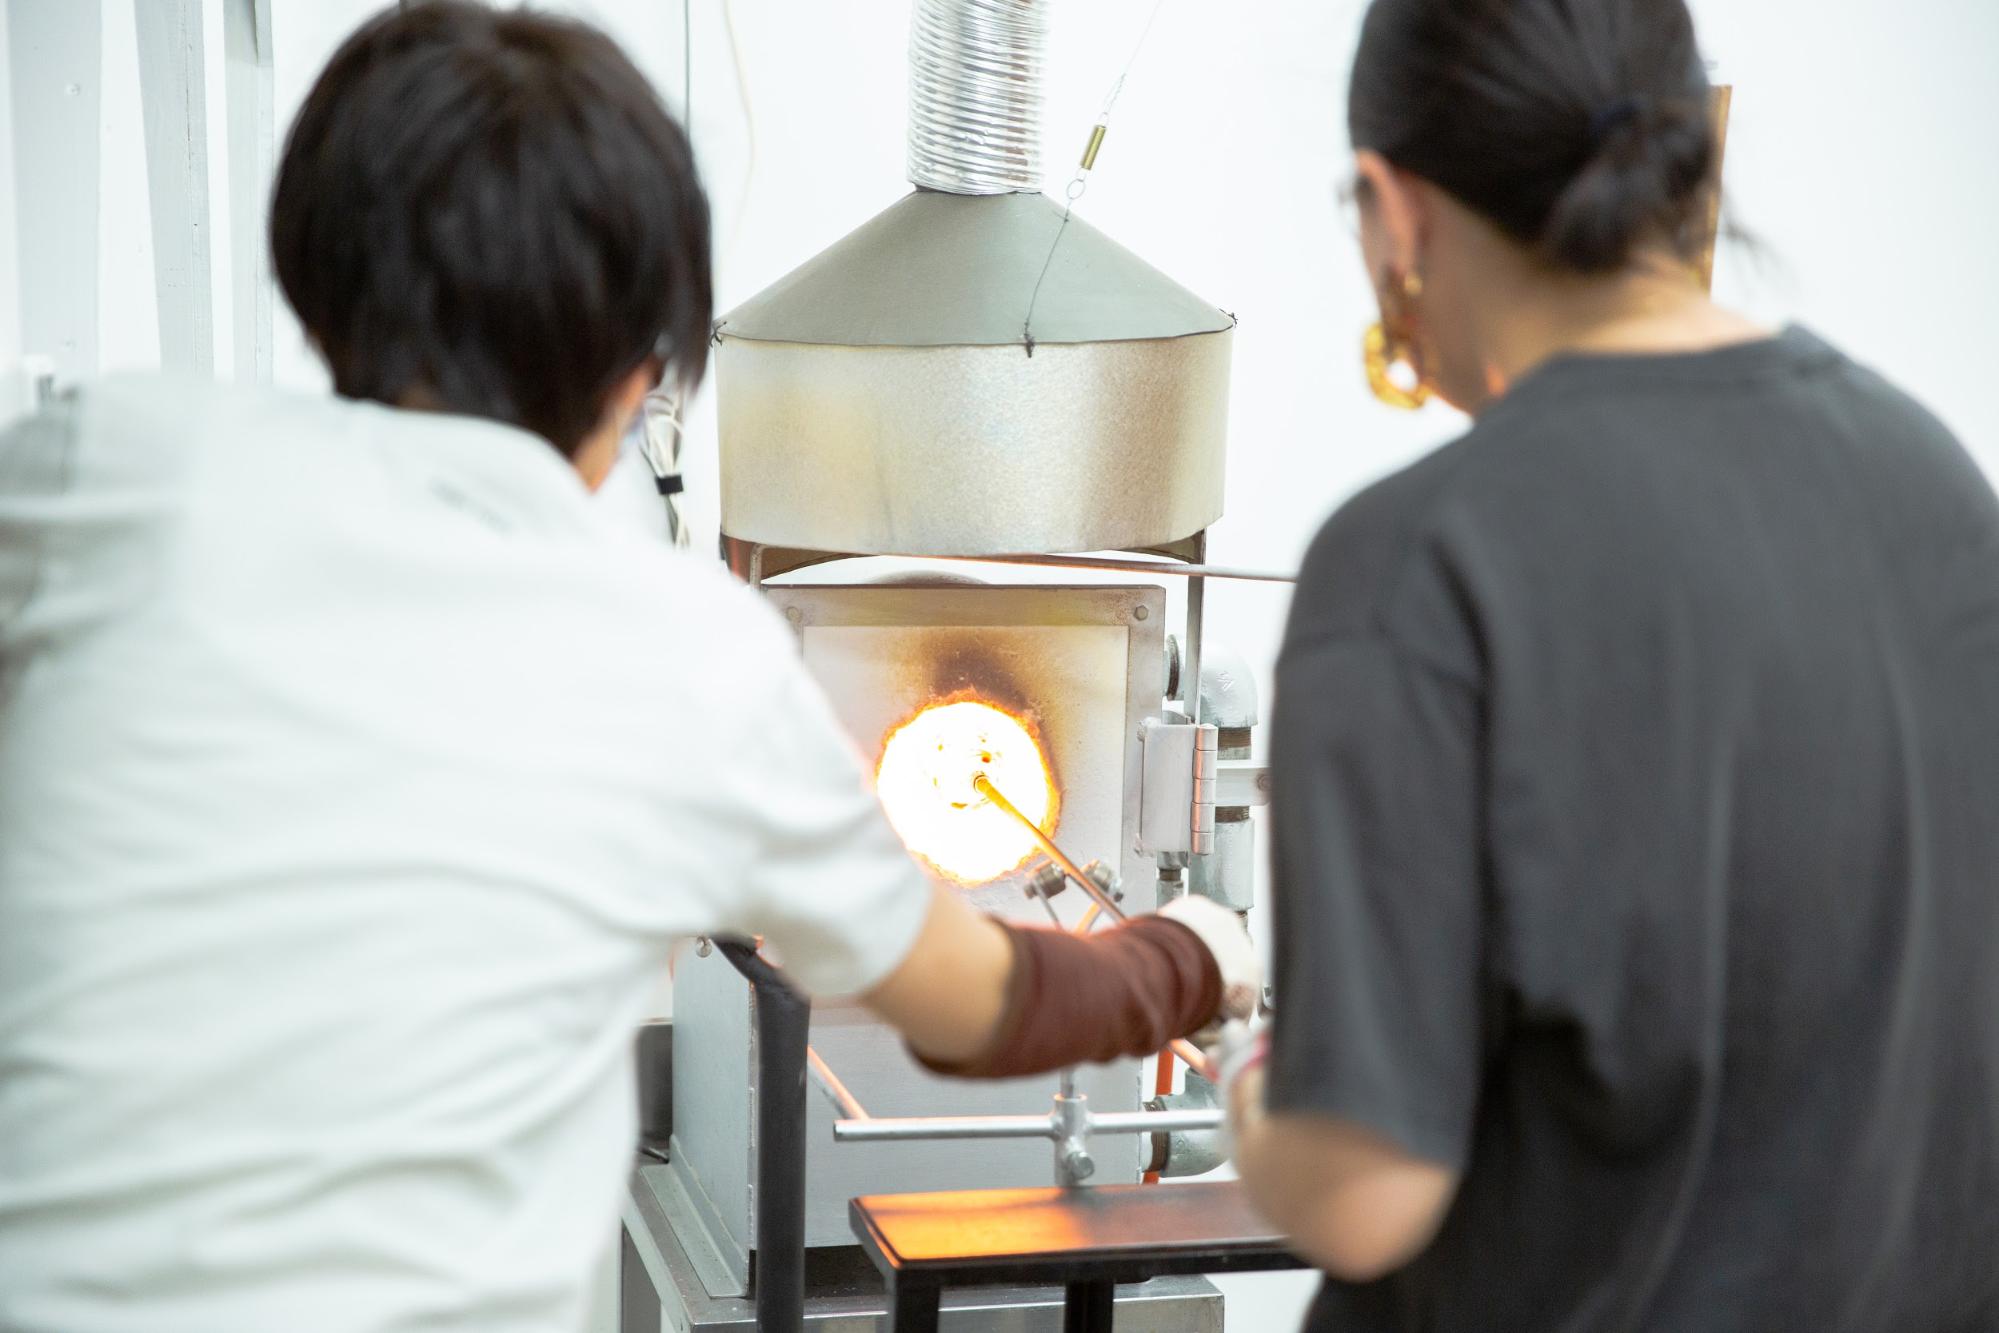
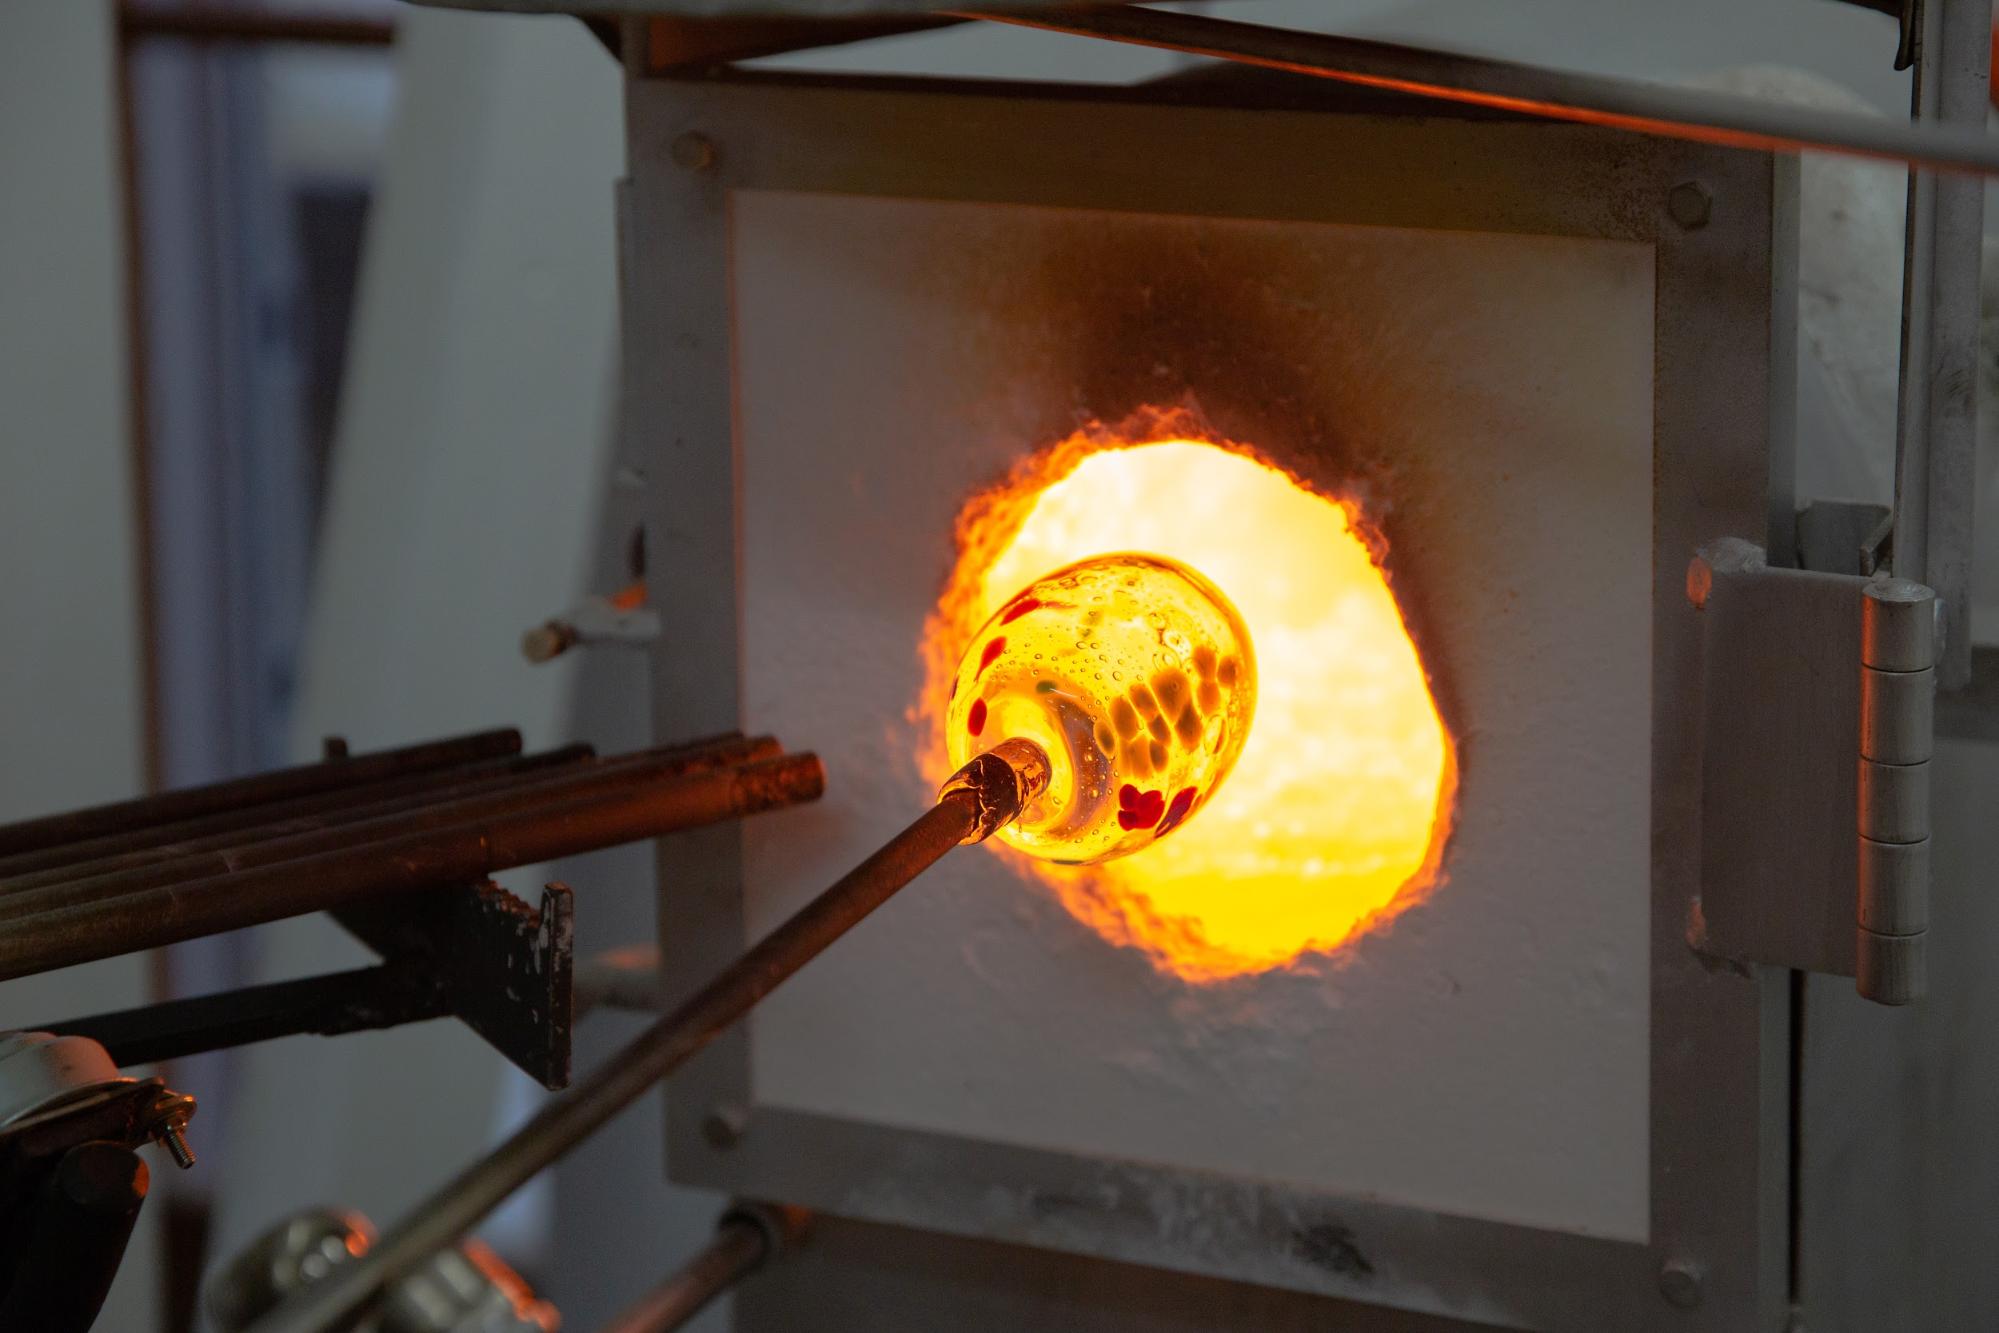
Heat again in a gas kiln. Repeat taking out and putting in while turning the rod at a constant speed.
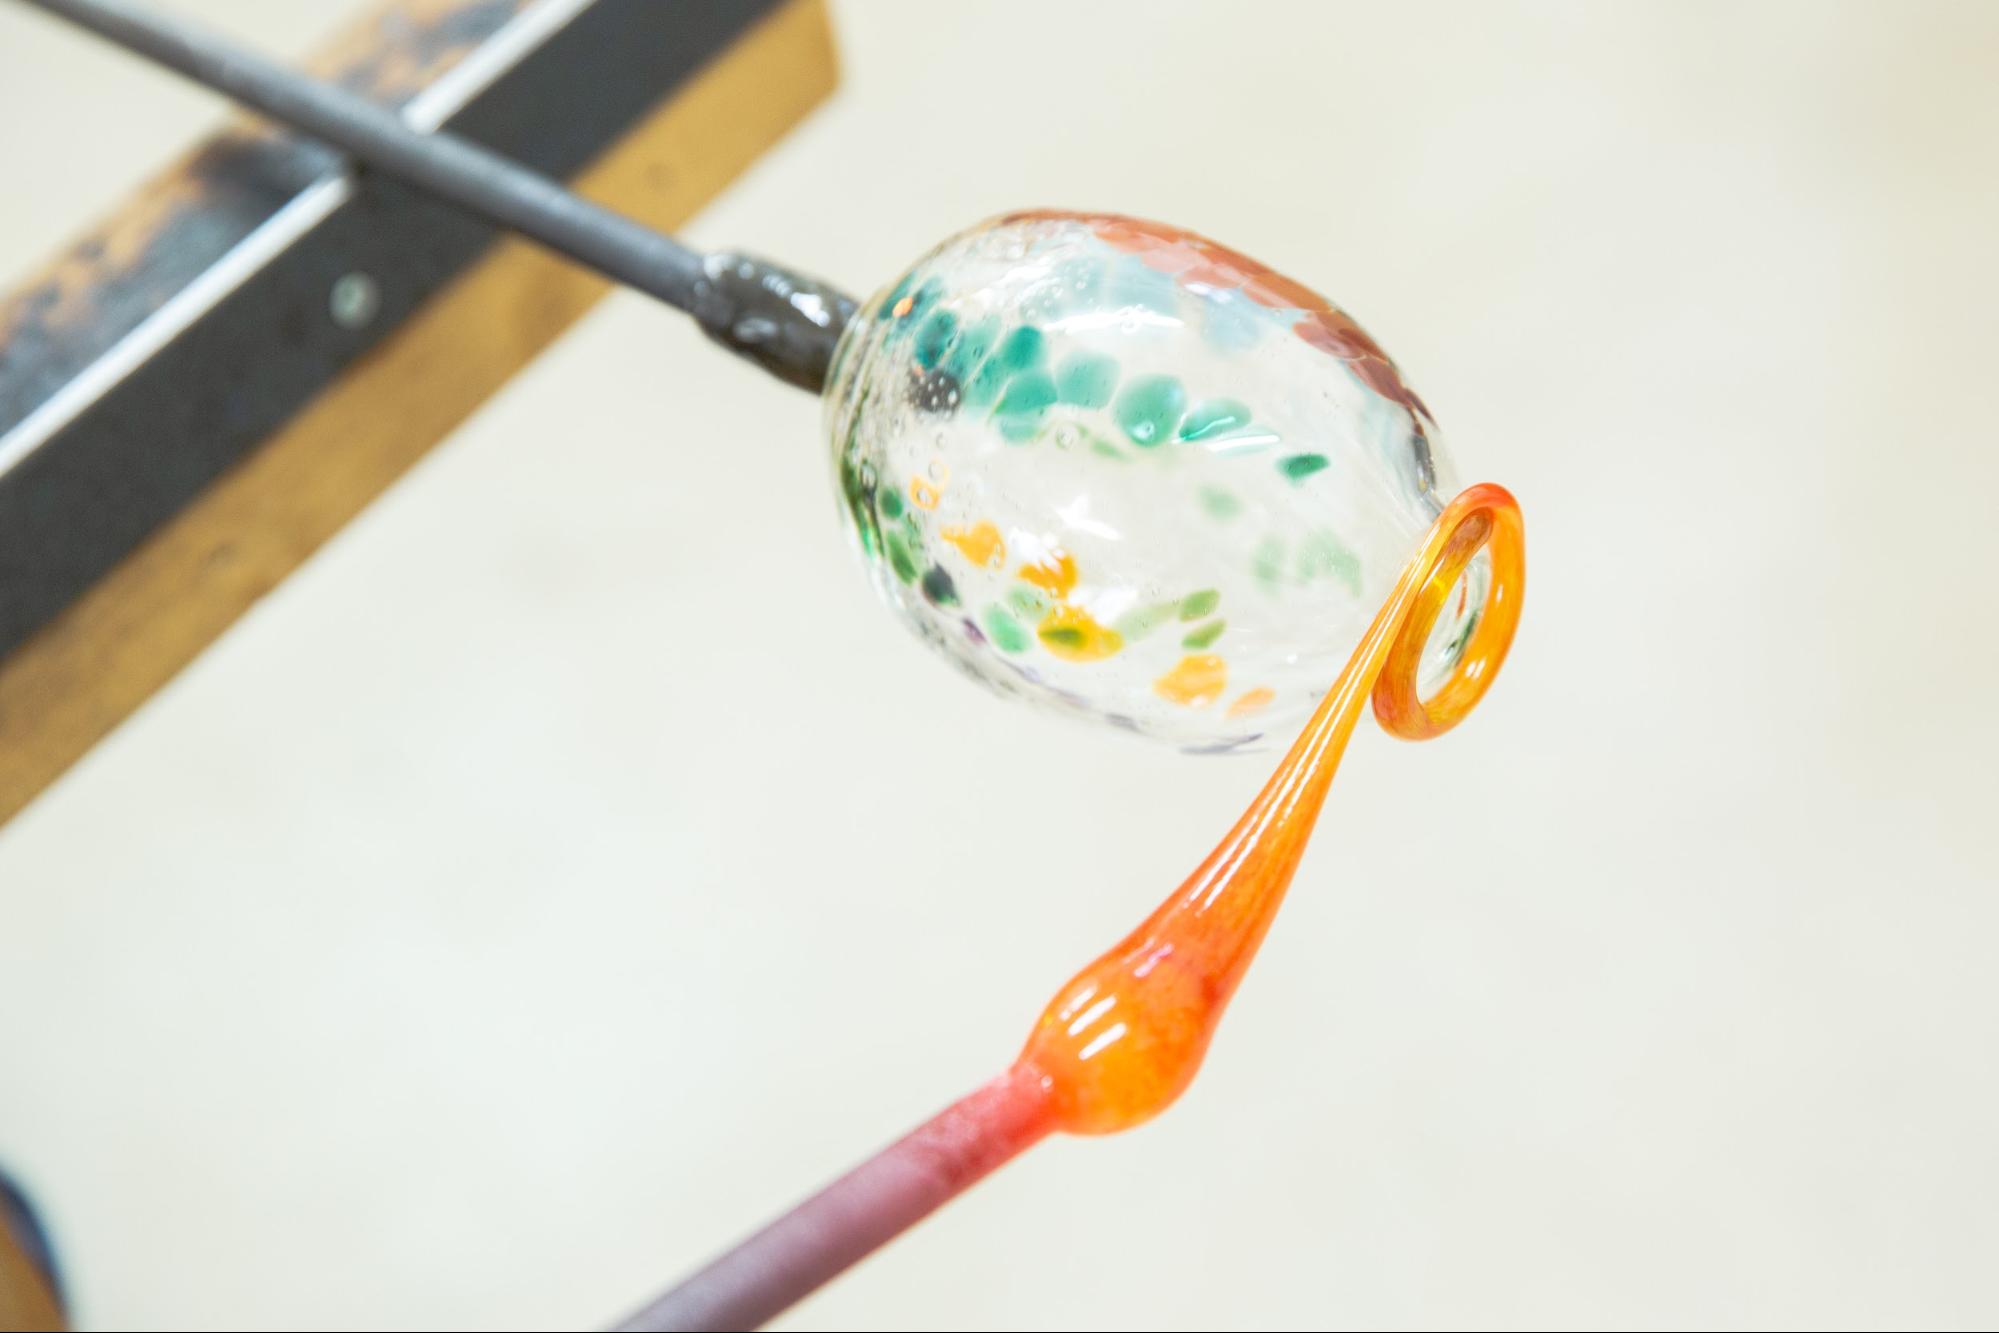
Next, apply lipstick. This process is difficult, so leave it to the teacher.
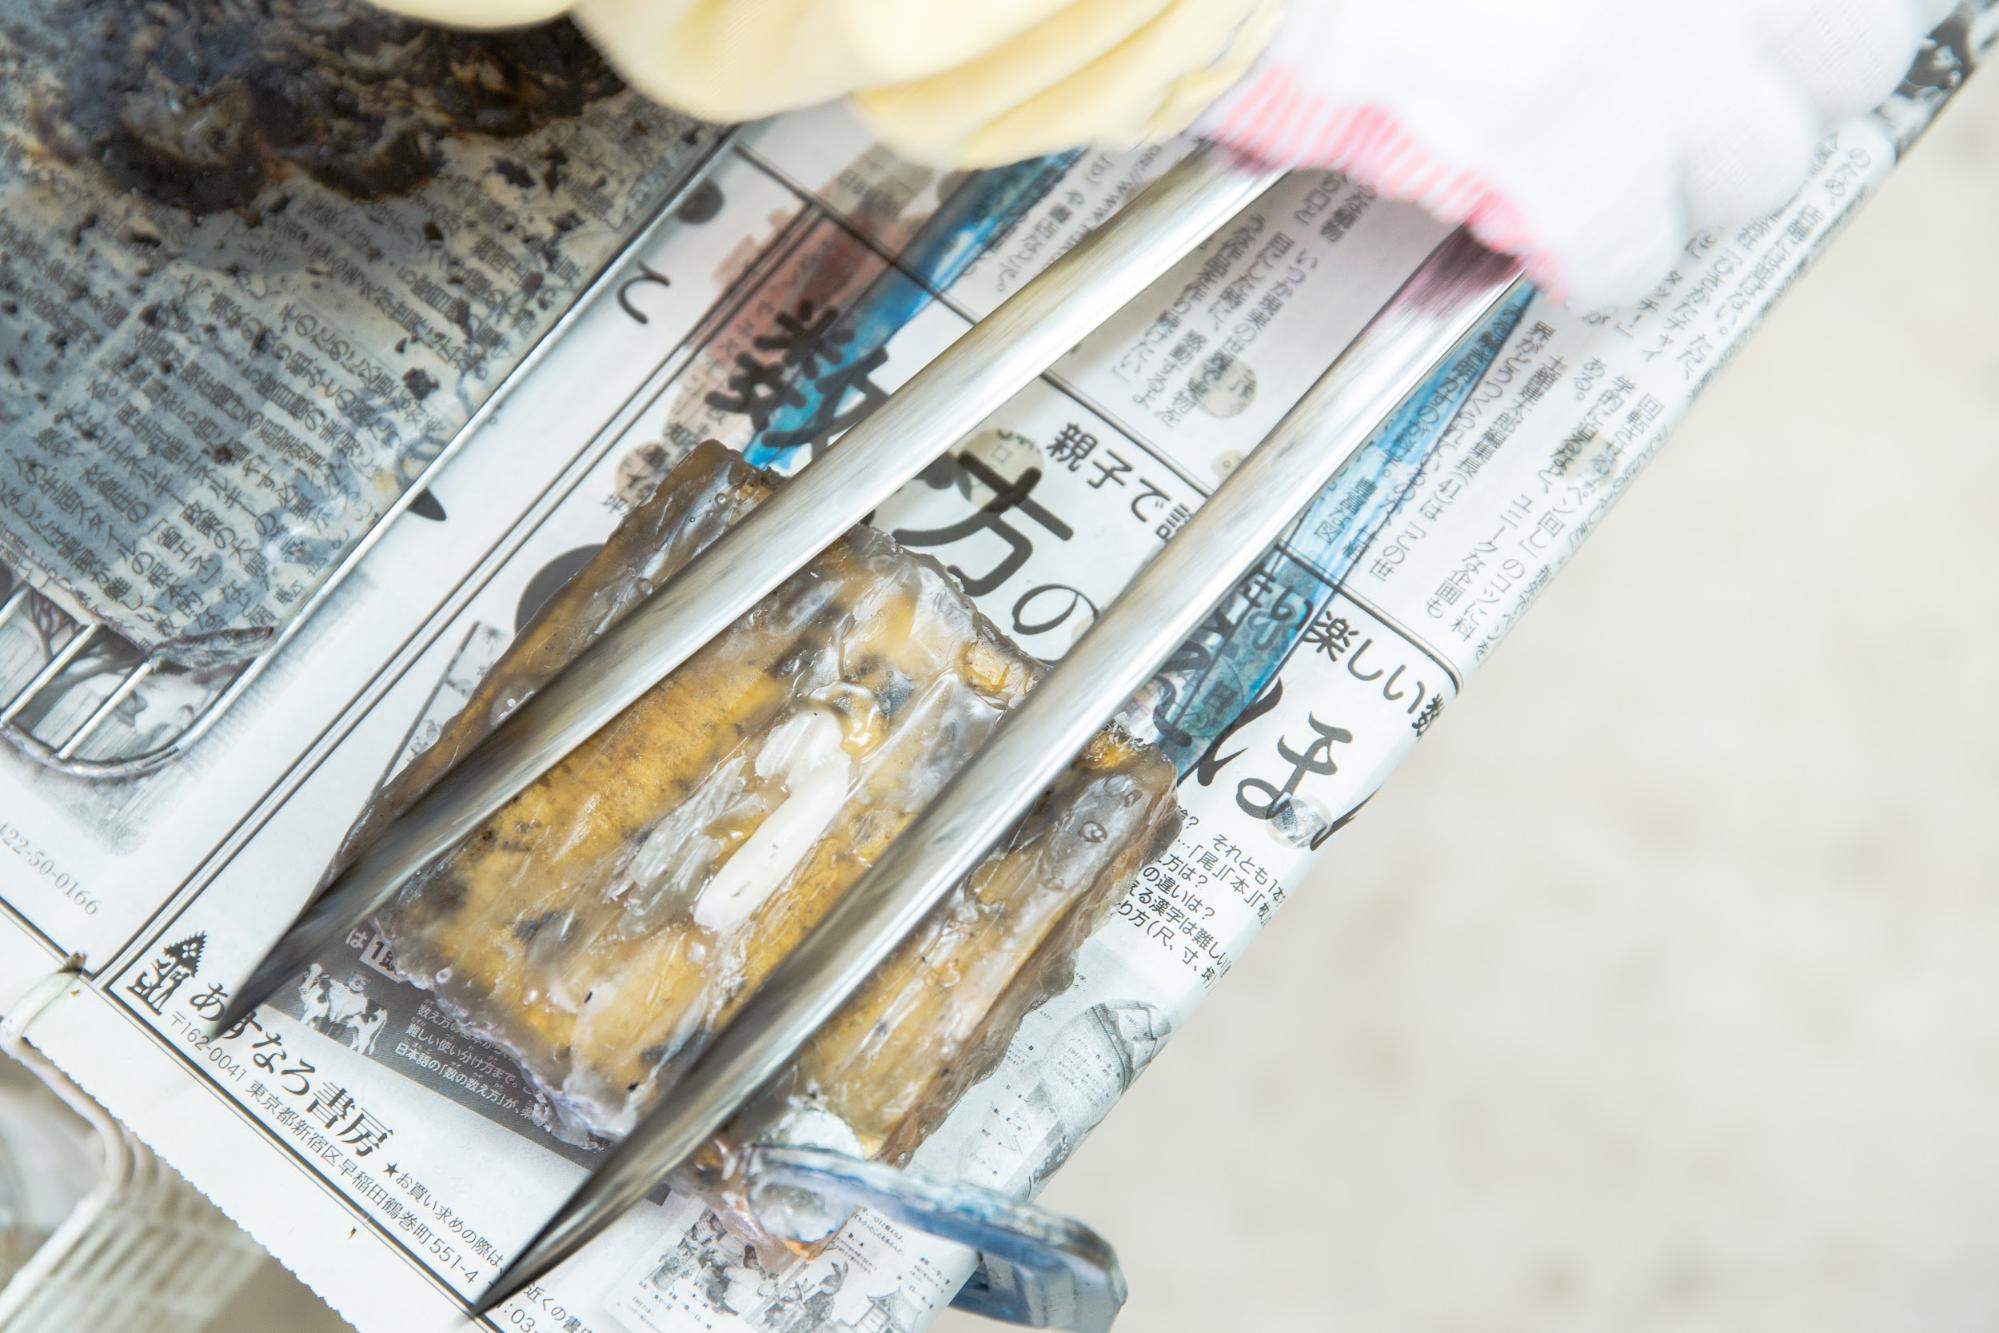
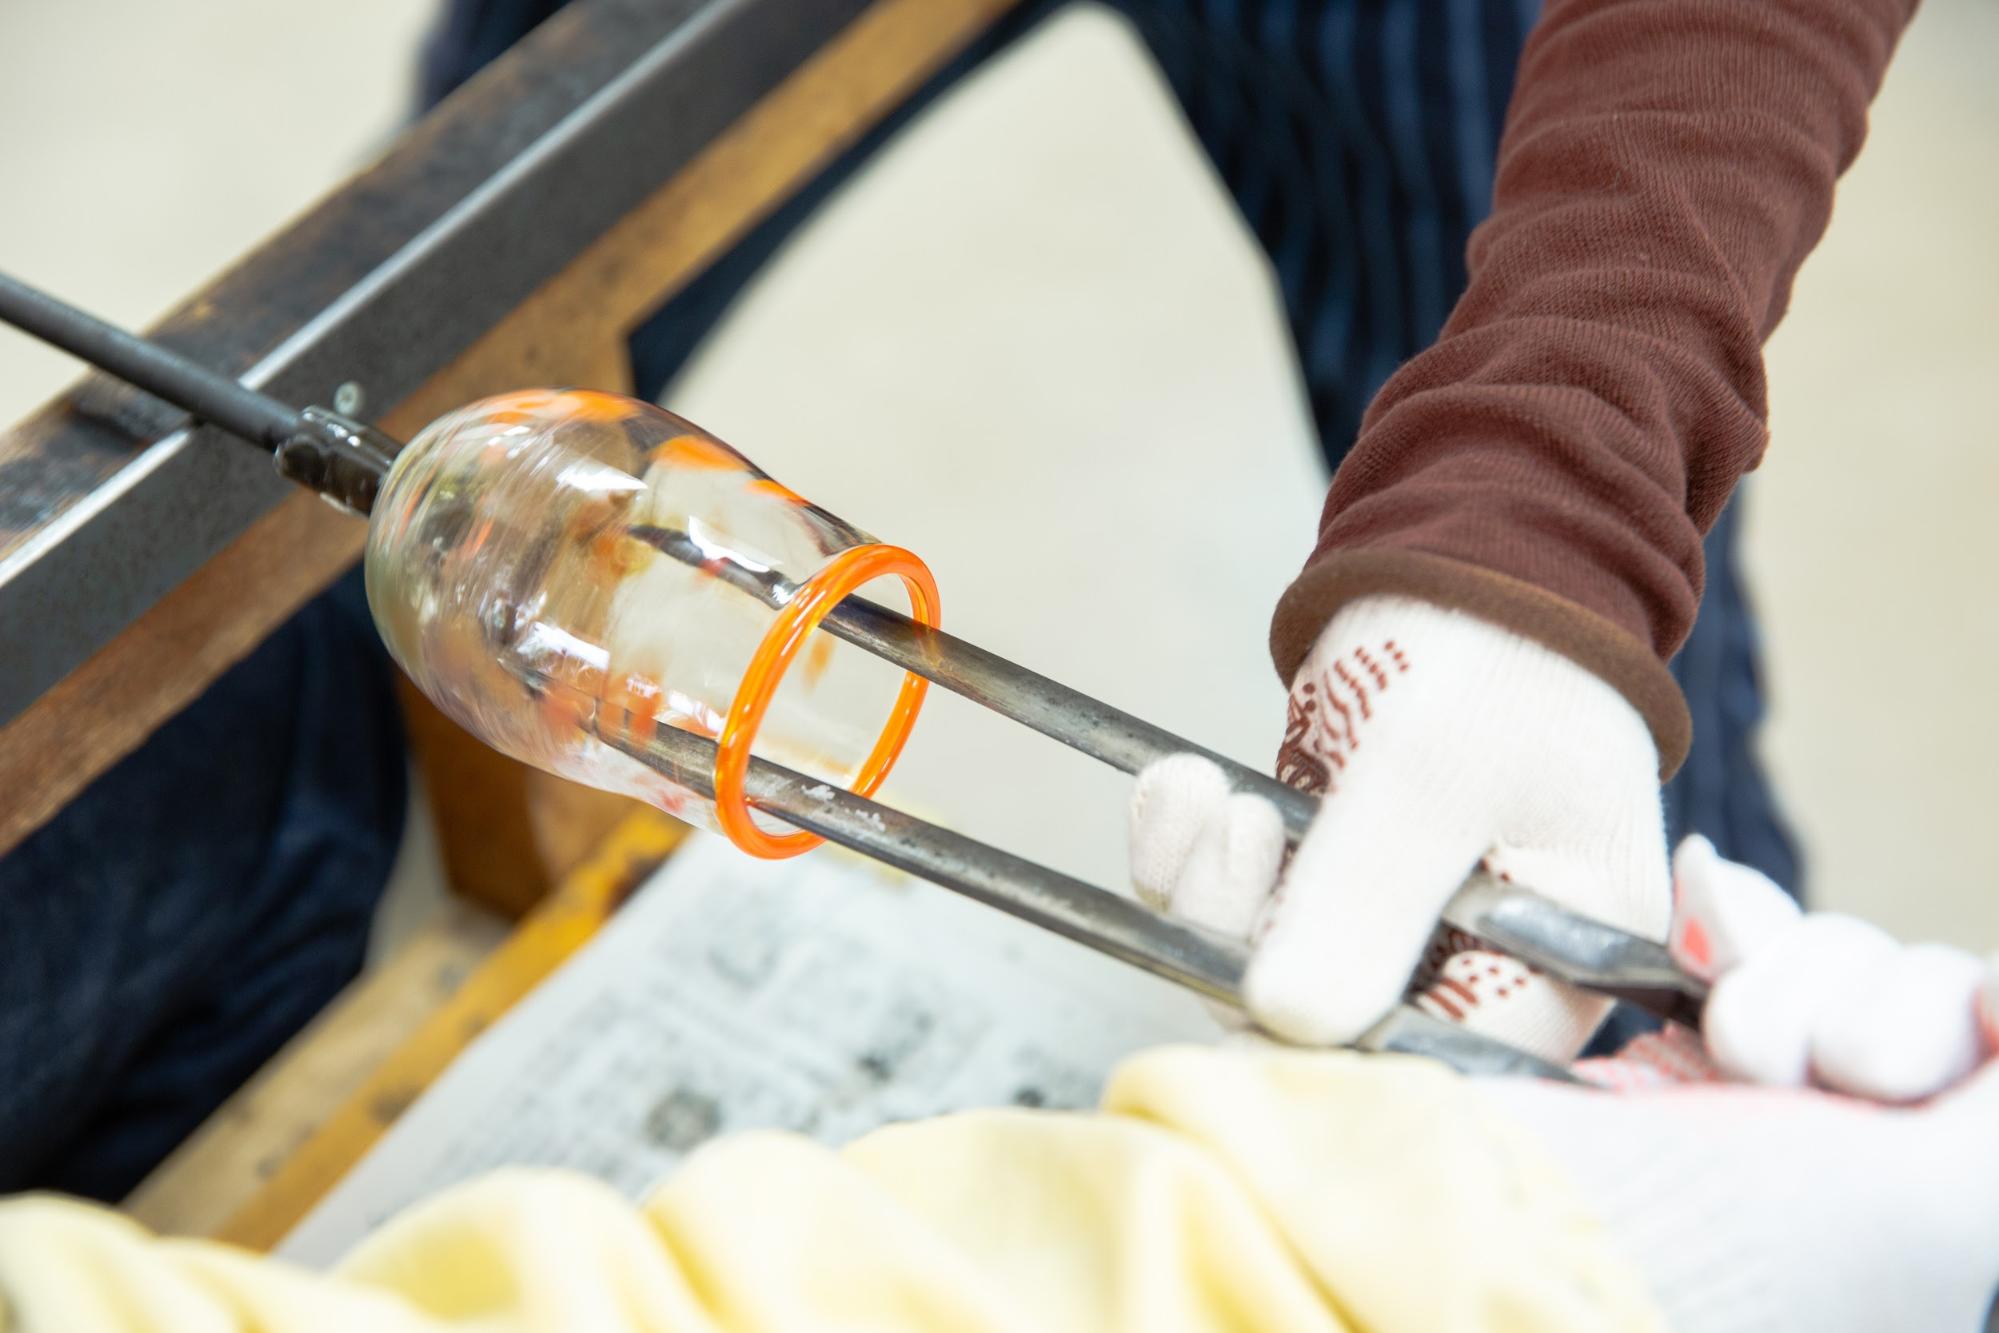
Finally, widen the opening. Add plenty of wax and spread it out little by little.
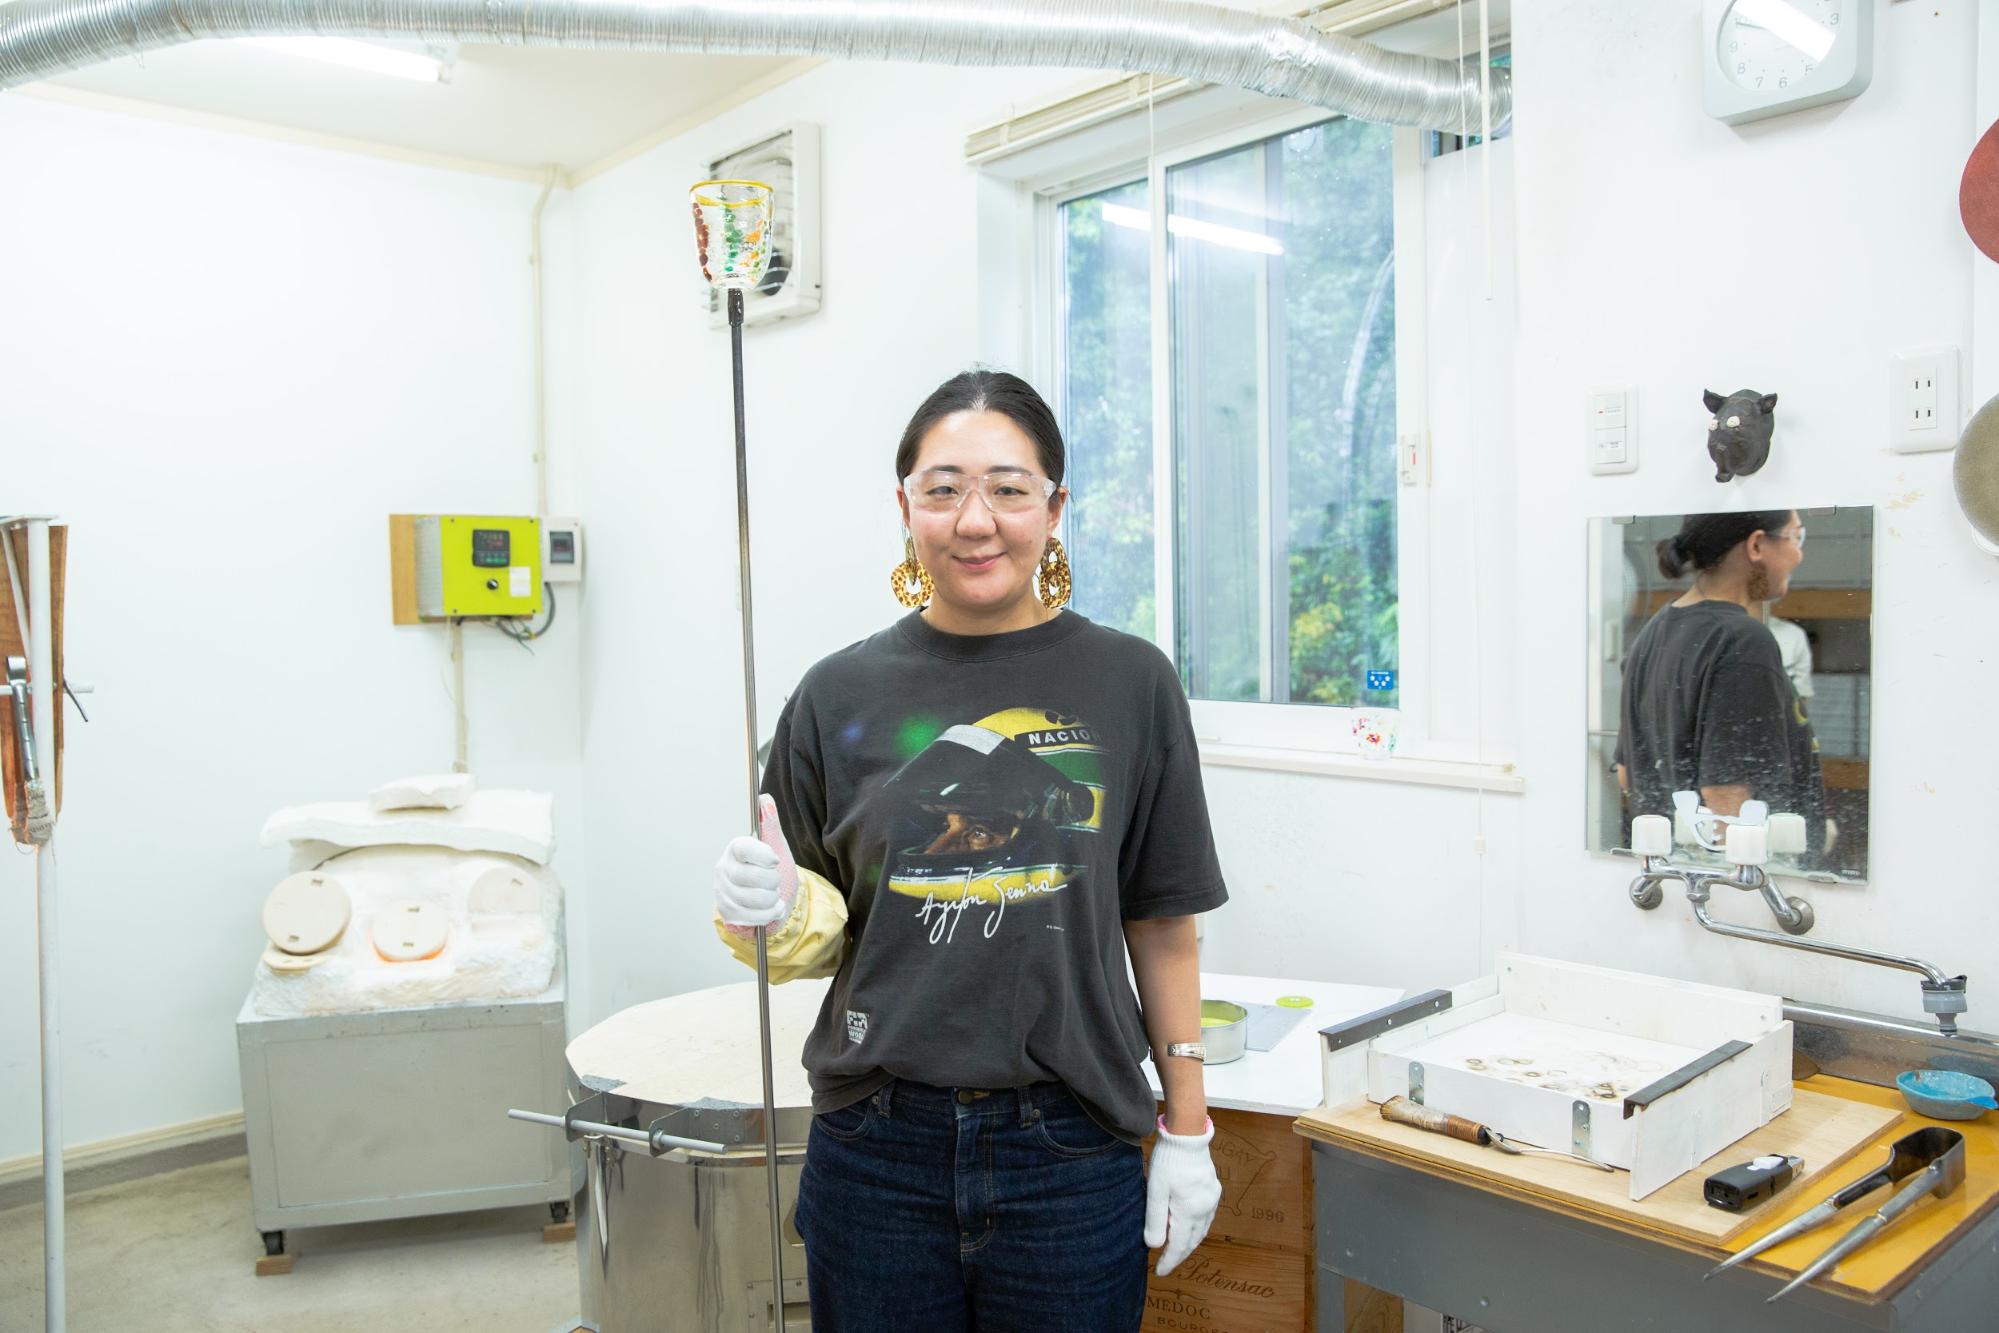
The glass has been completed successfully! ! The finished glass is placed in a kiln at 500°C and the glass blowing experience is over.
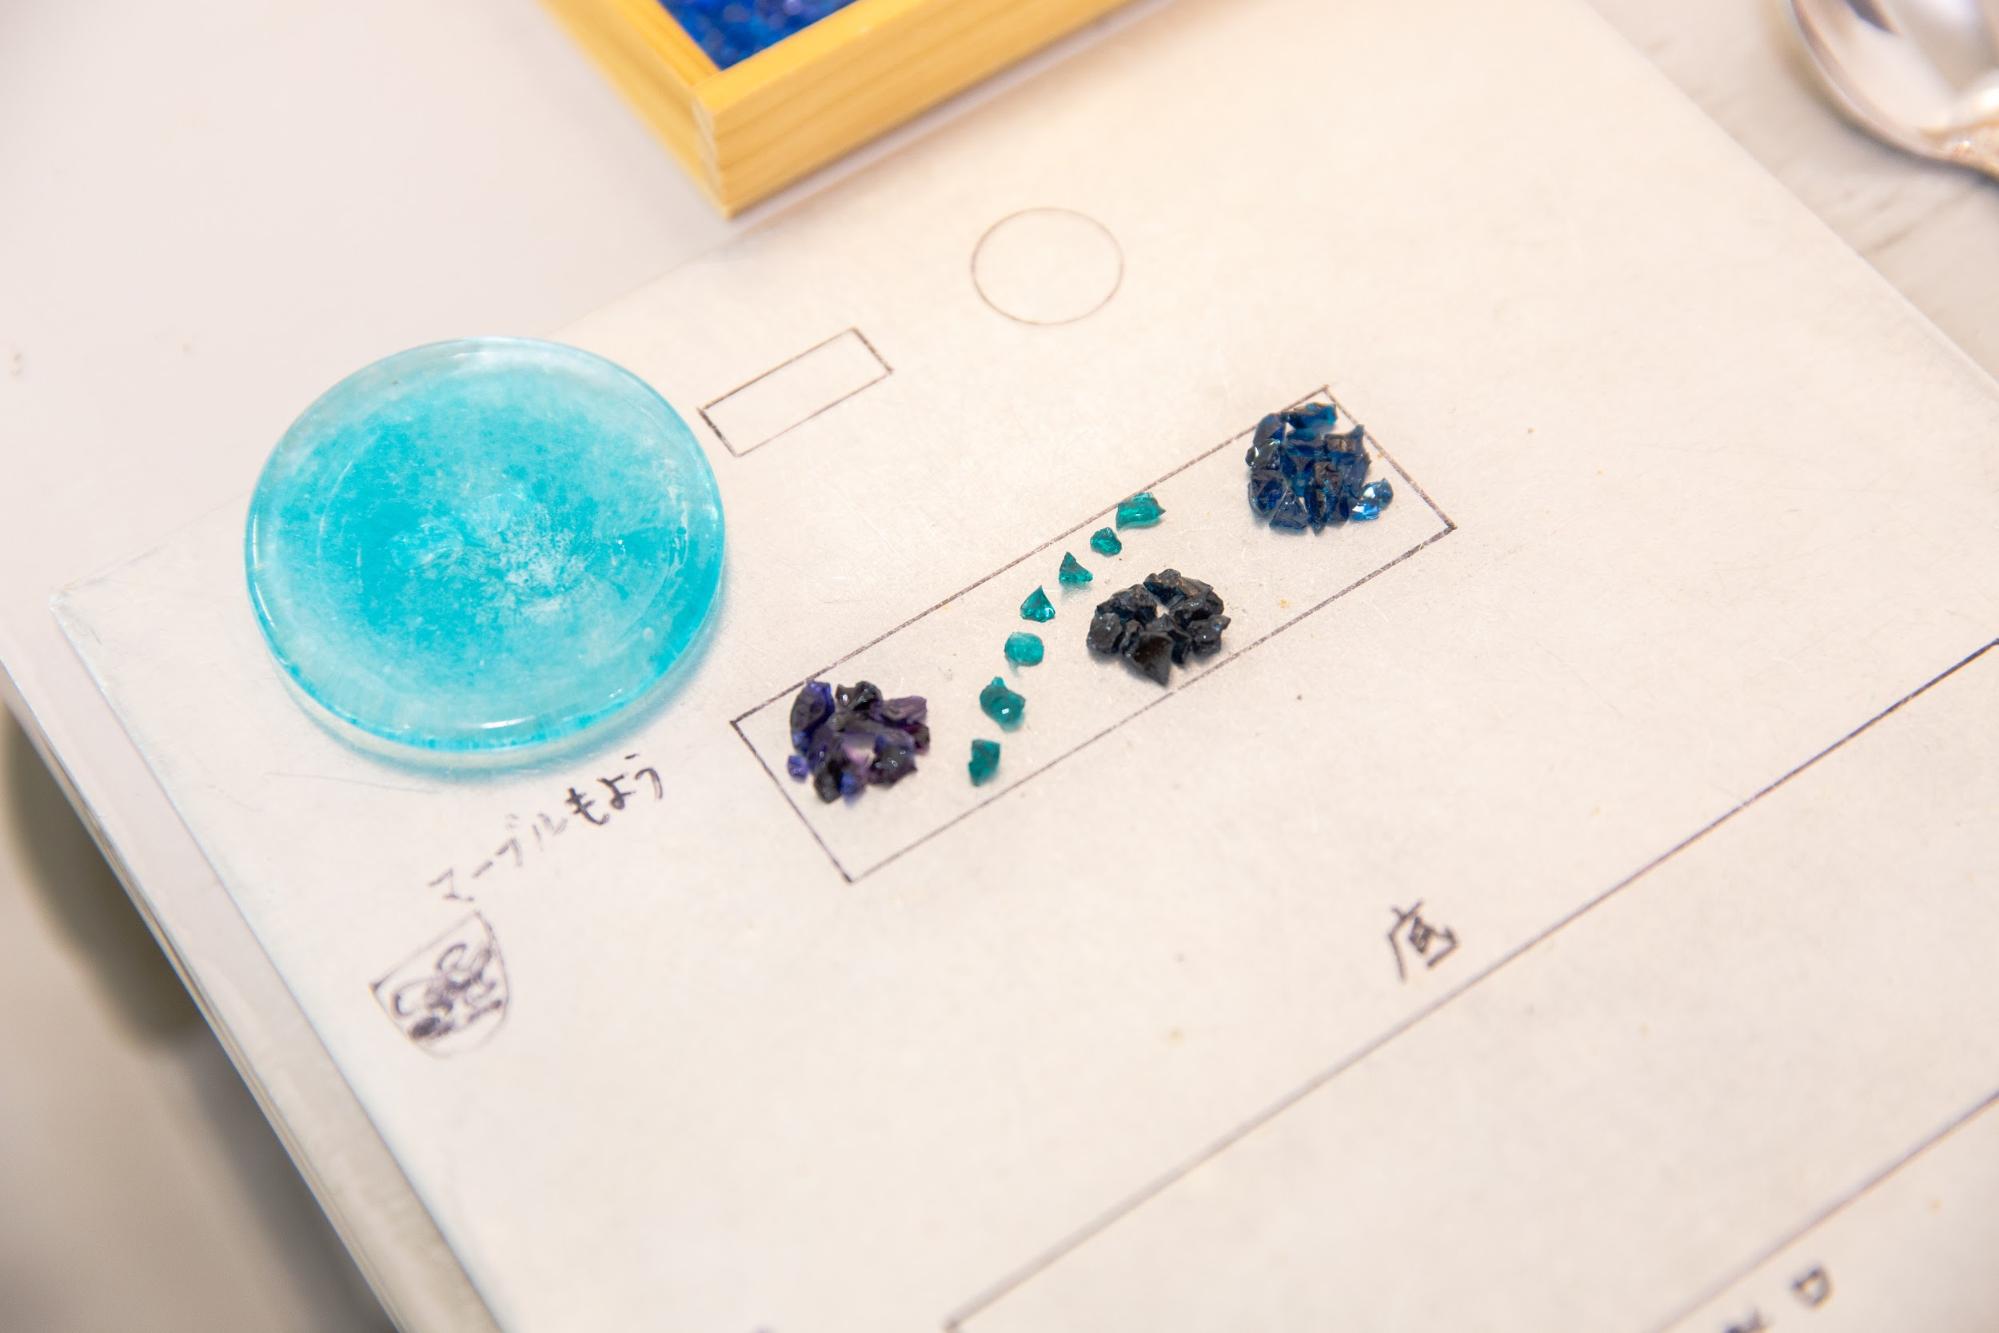
Next, we will introduce how to make a marble pattern.

As before, we will use the glass as a roller to attach the colored grains.


In the case of marble, the glass and colored grains are blended in a gas kiln, and a little dripping is done to mix them. A beautiful marble pattern was completed.
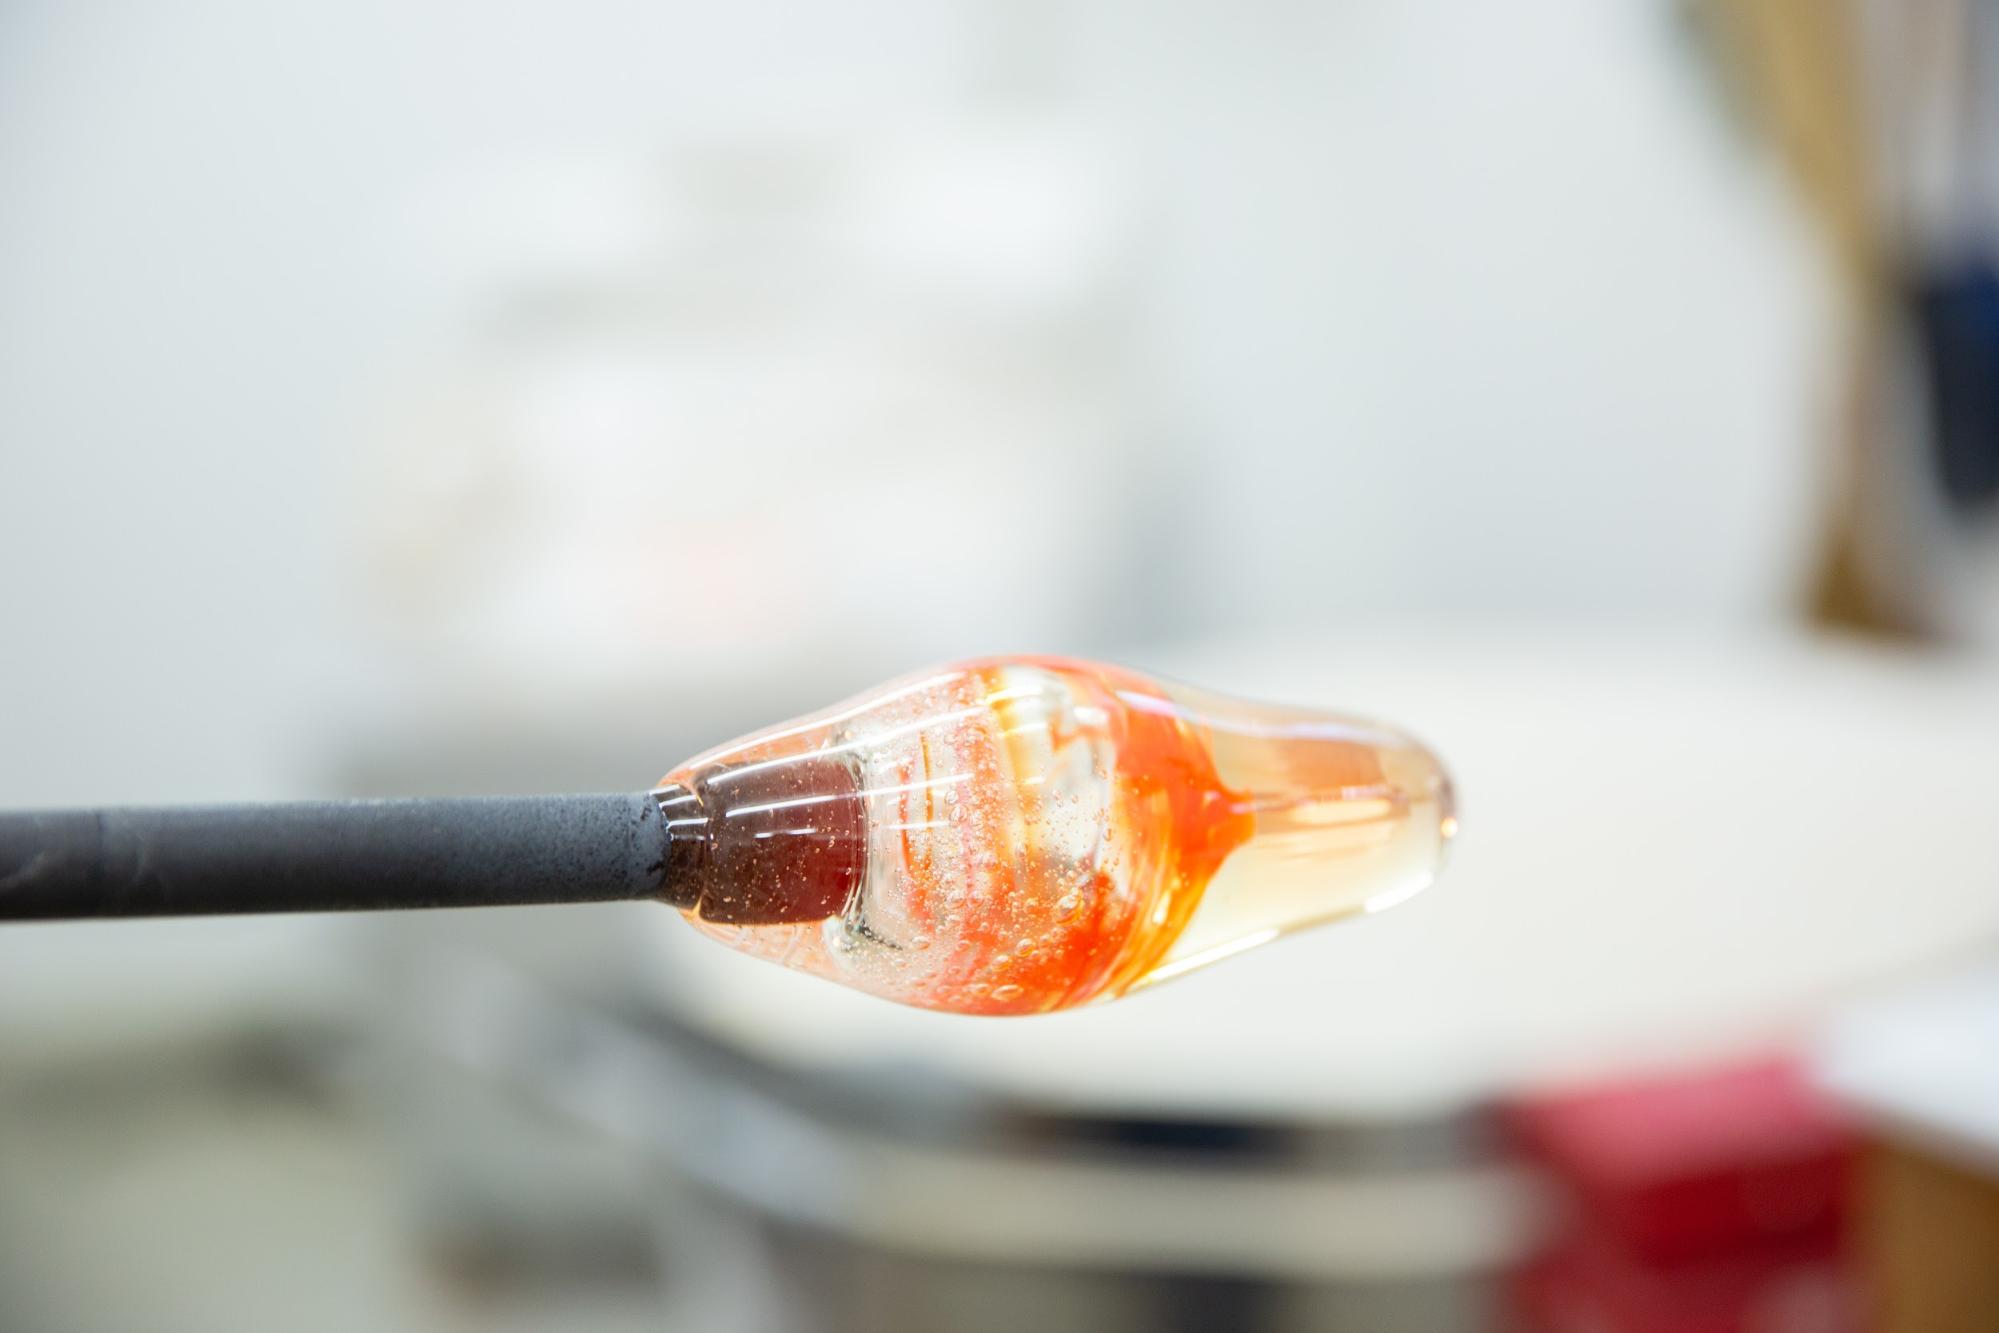

Blow into the glass to expand it. Since we want to make a larger glass, we blow harder.


We decided to put a pedestal on this glass.
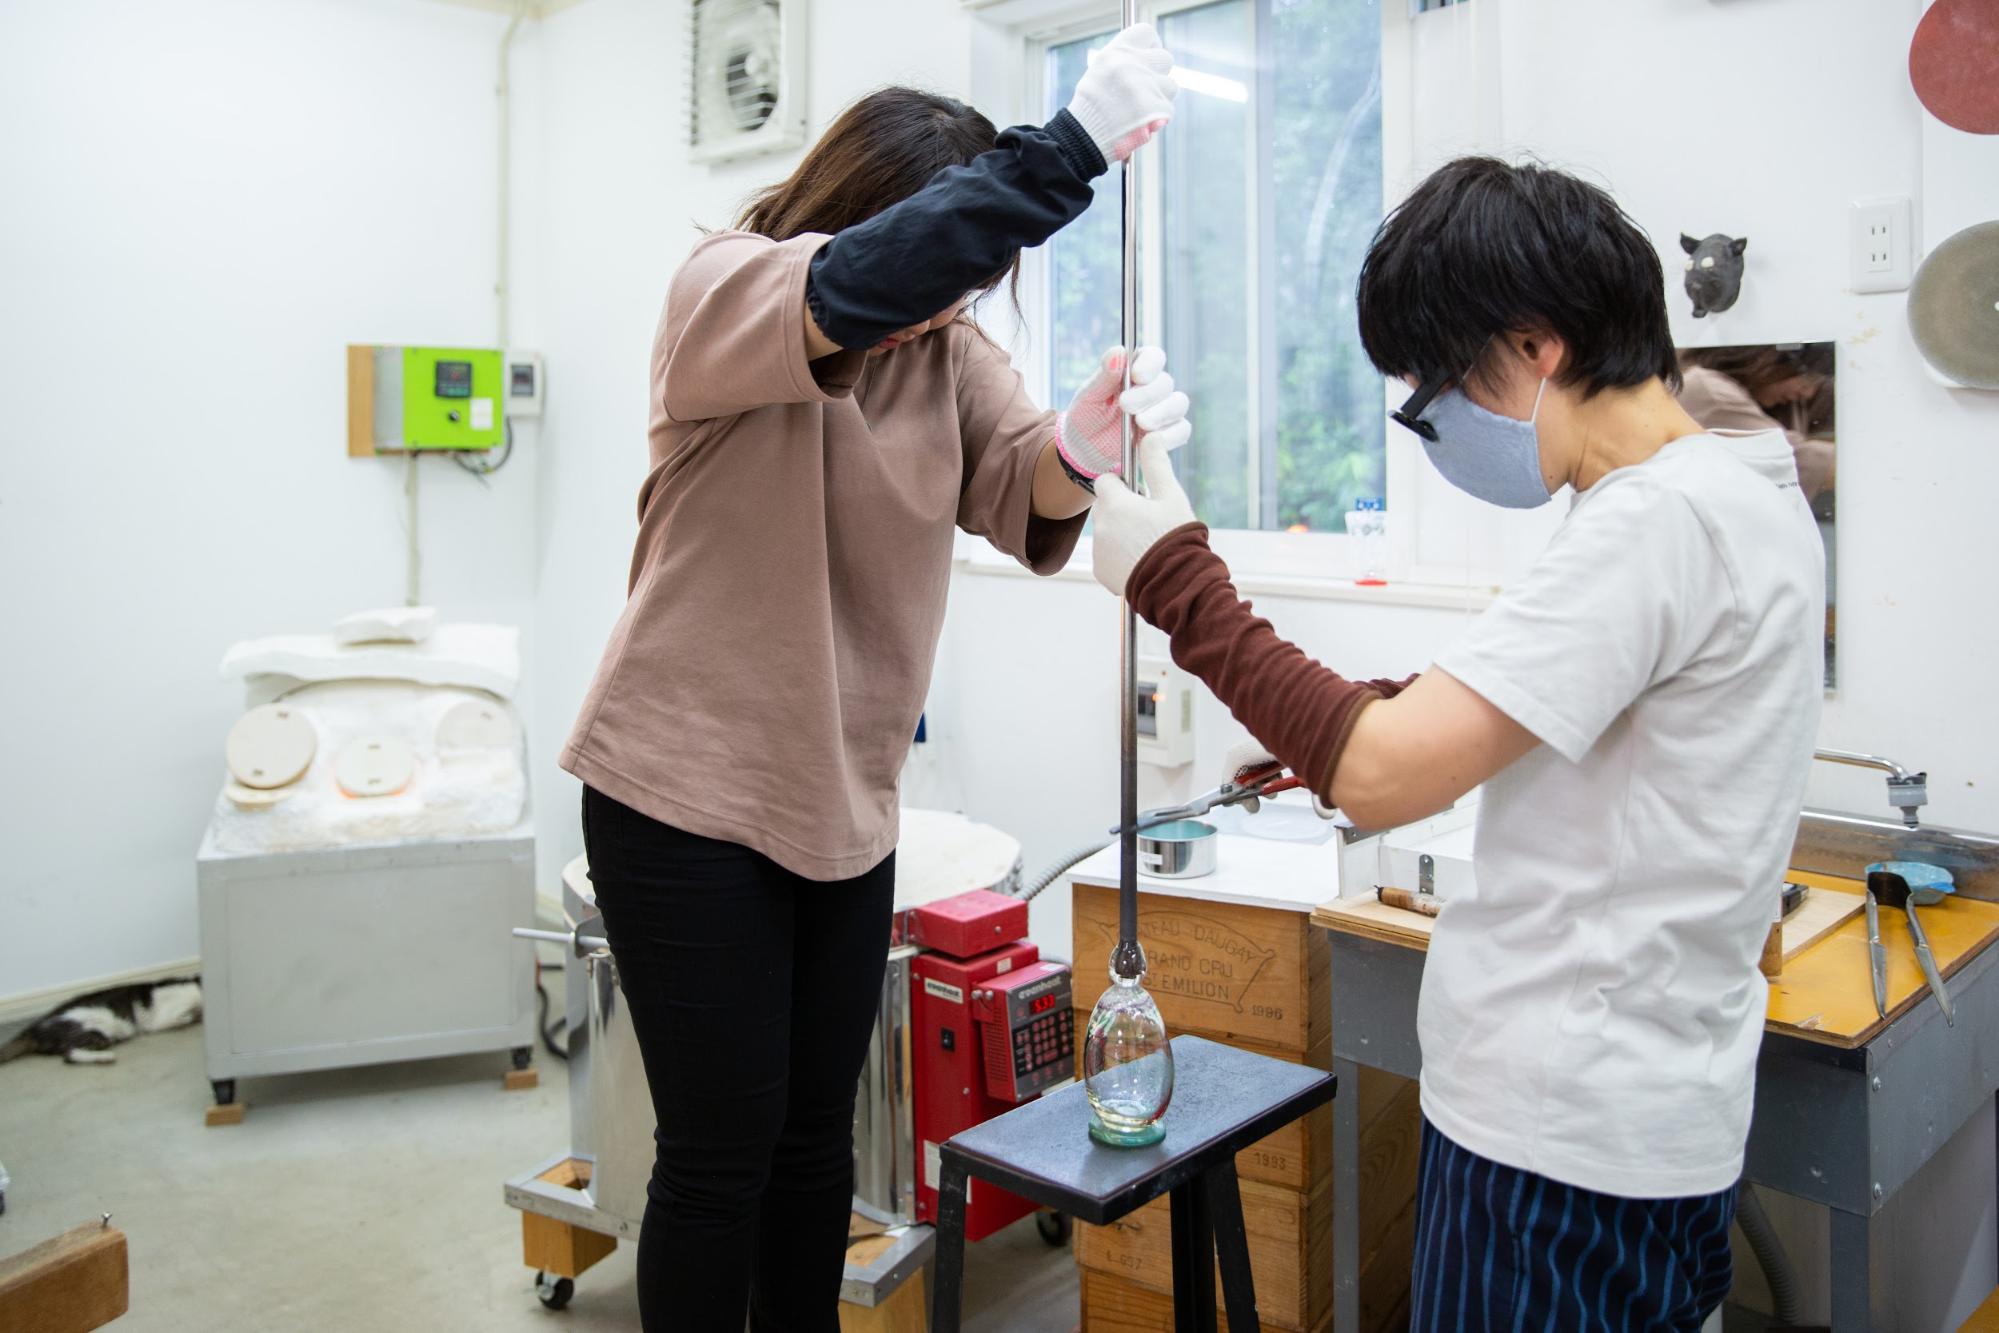
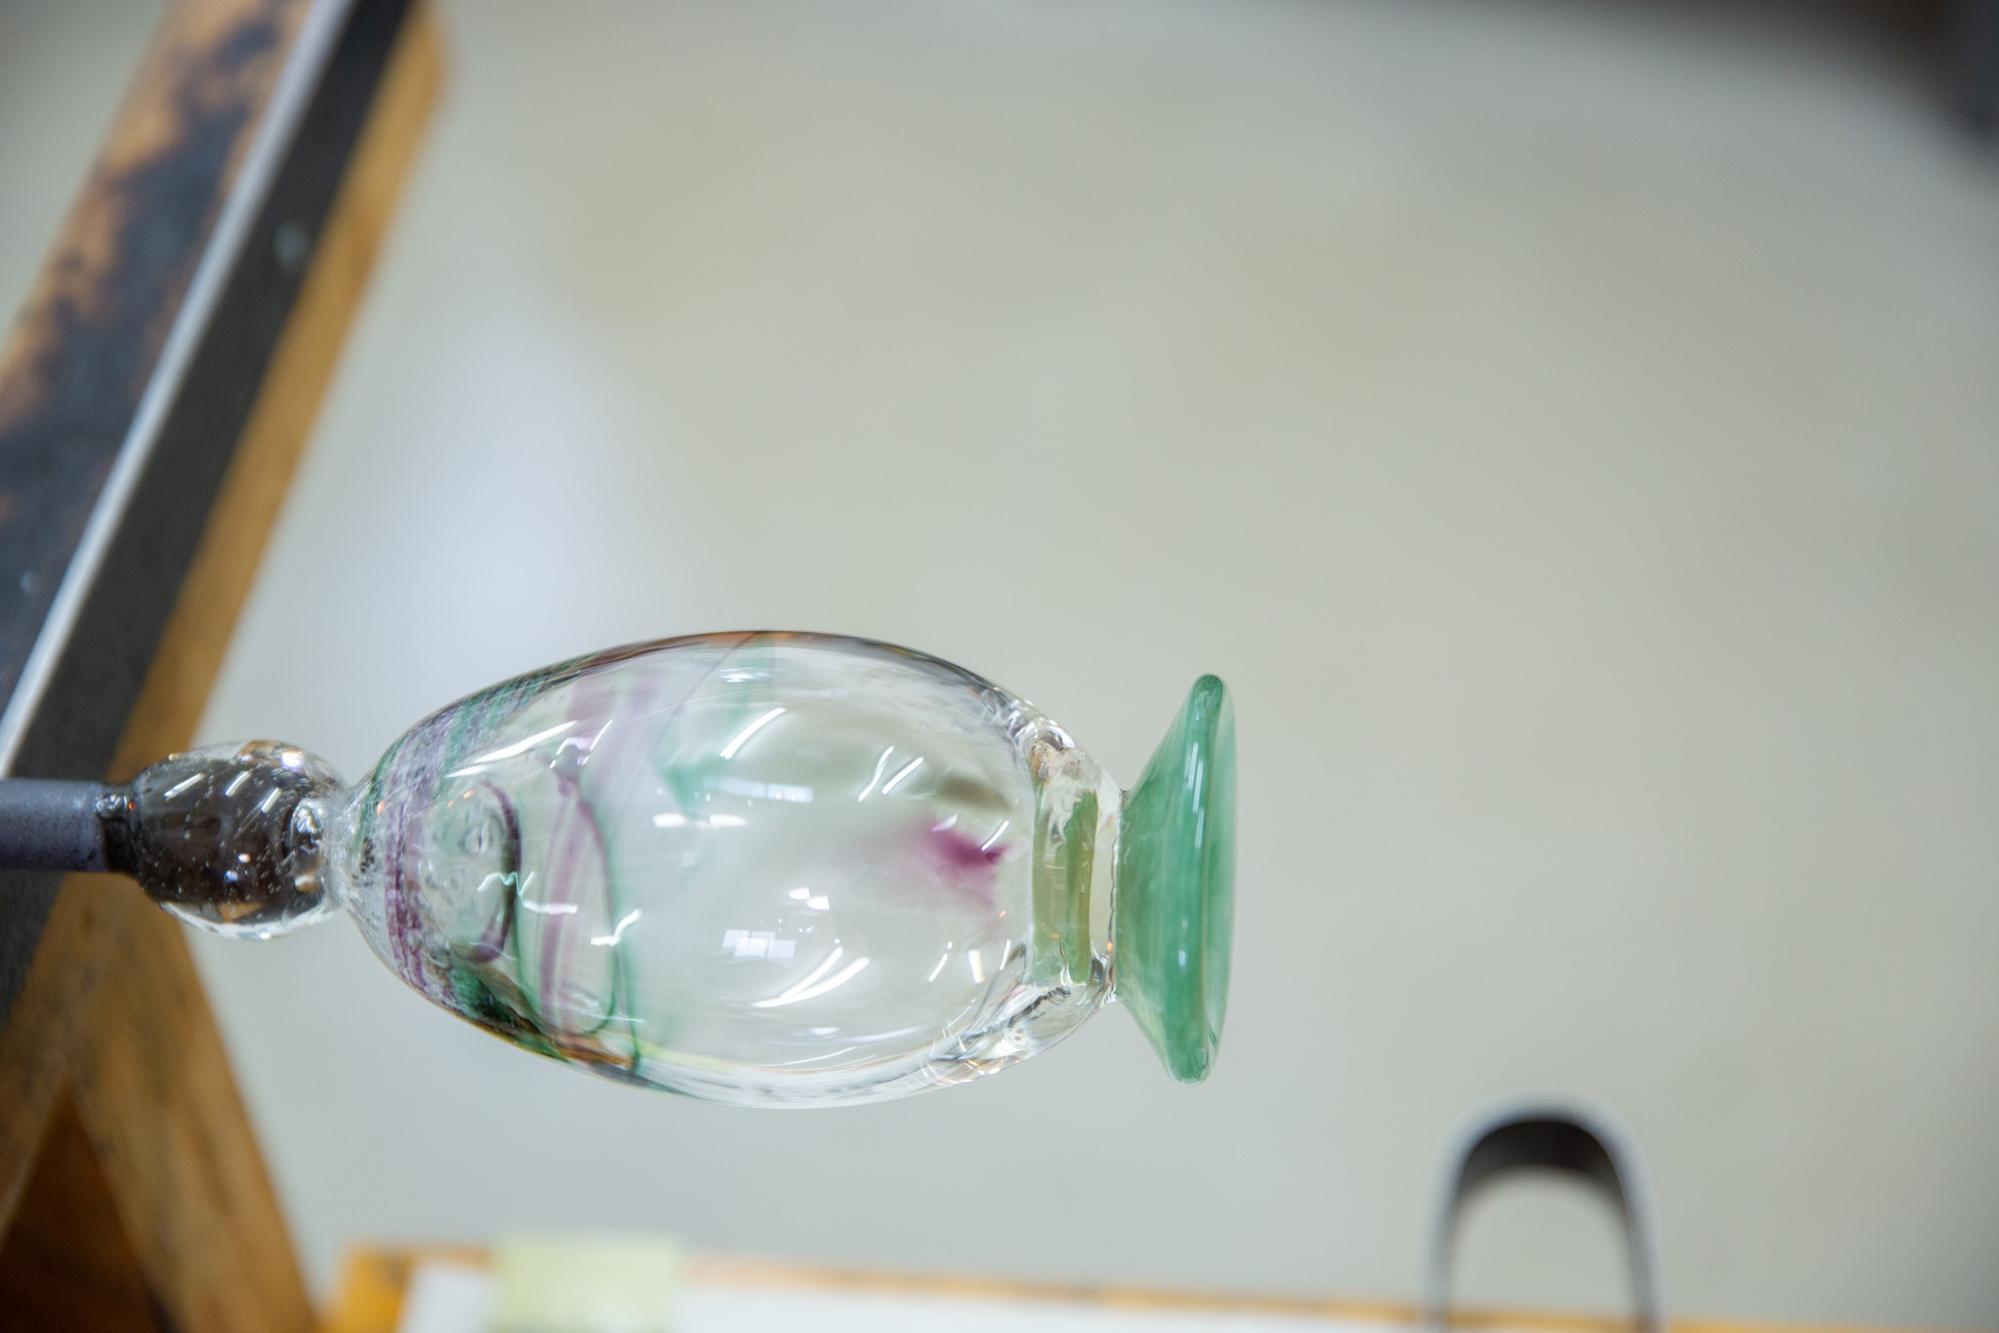
Step onto the stand and attach the glass and pedestal from above. I was nervous, but I managed to get it to the center. Wow.
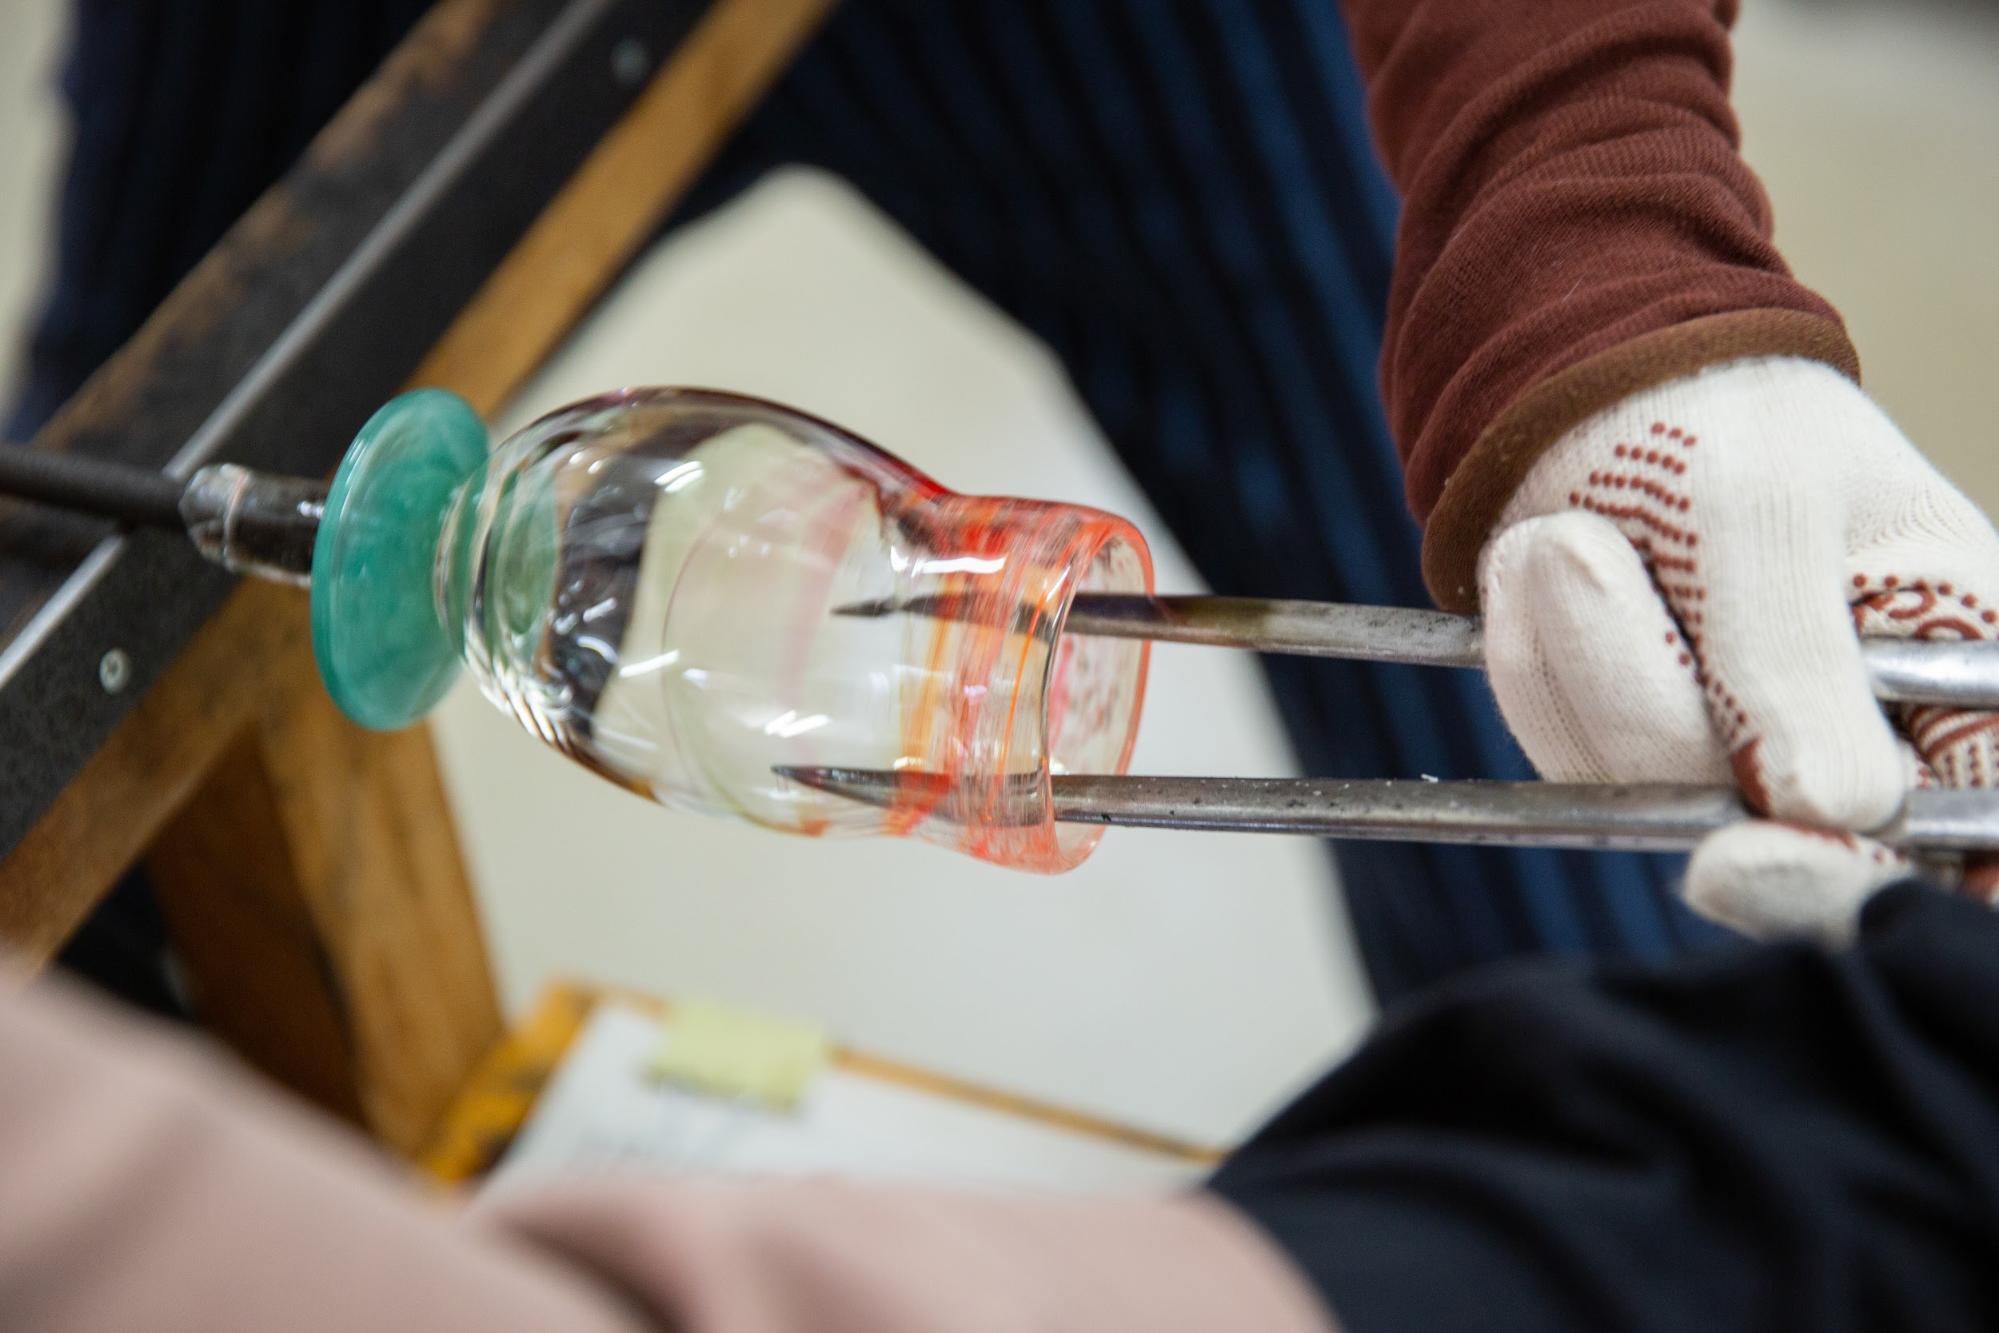

The mouth is widened to complete the glass with a pedestal! The finished glass is much larger than the sample.
About a week until completion

Receipt is by mail or at the workshop. We received the works in about a week. We were happy to spend the time waiting to see how it turned out.
<Shipping>
1-2 pieces: 900 yen | 3-4 pieces: 1,200 yen | 5-6 pieces: 1,400 yen

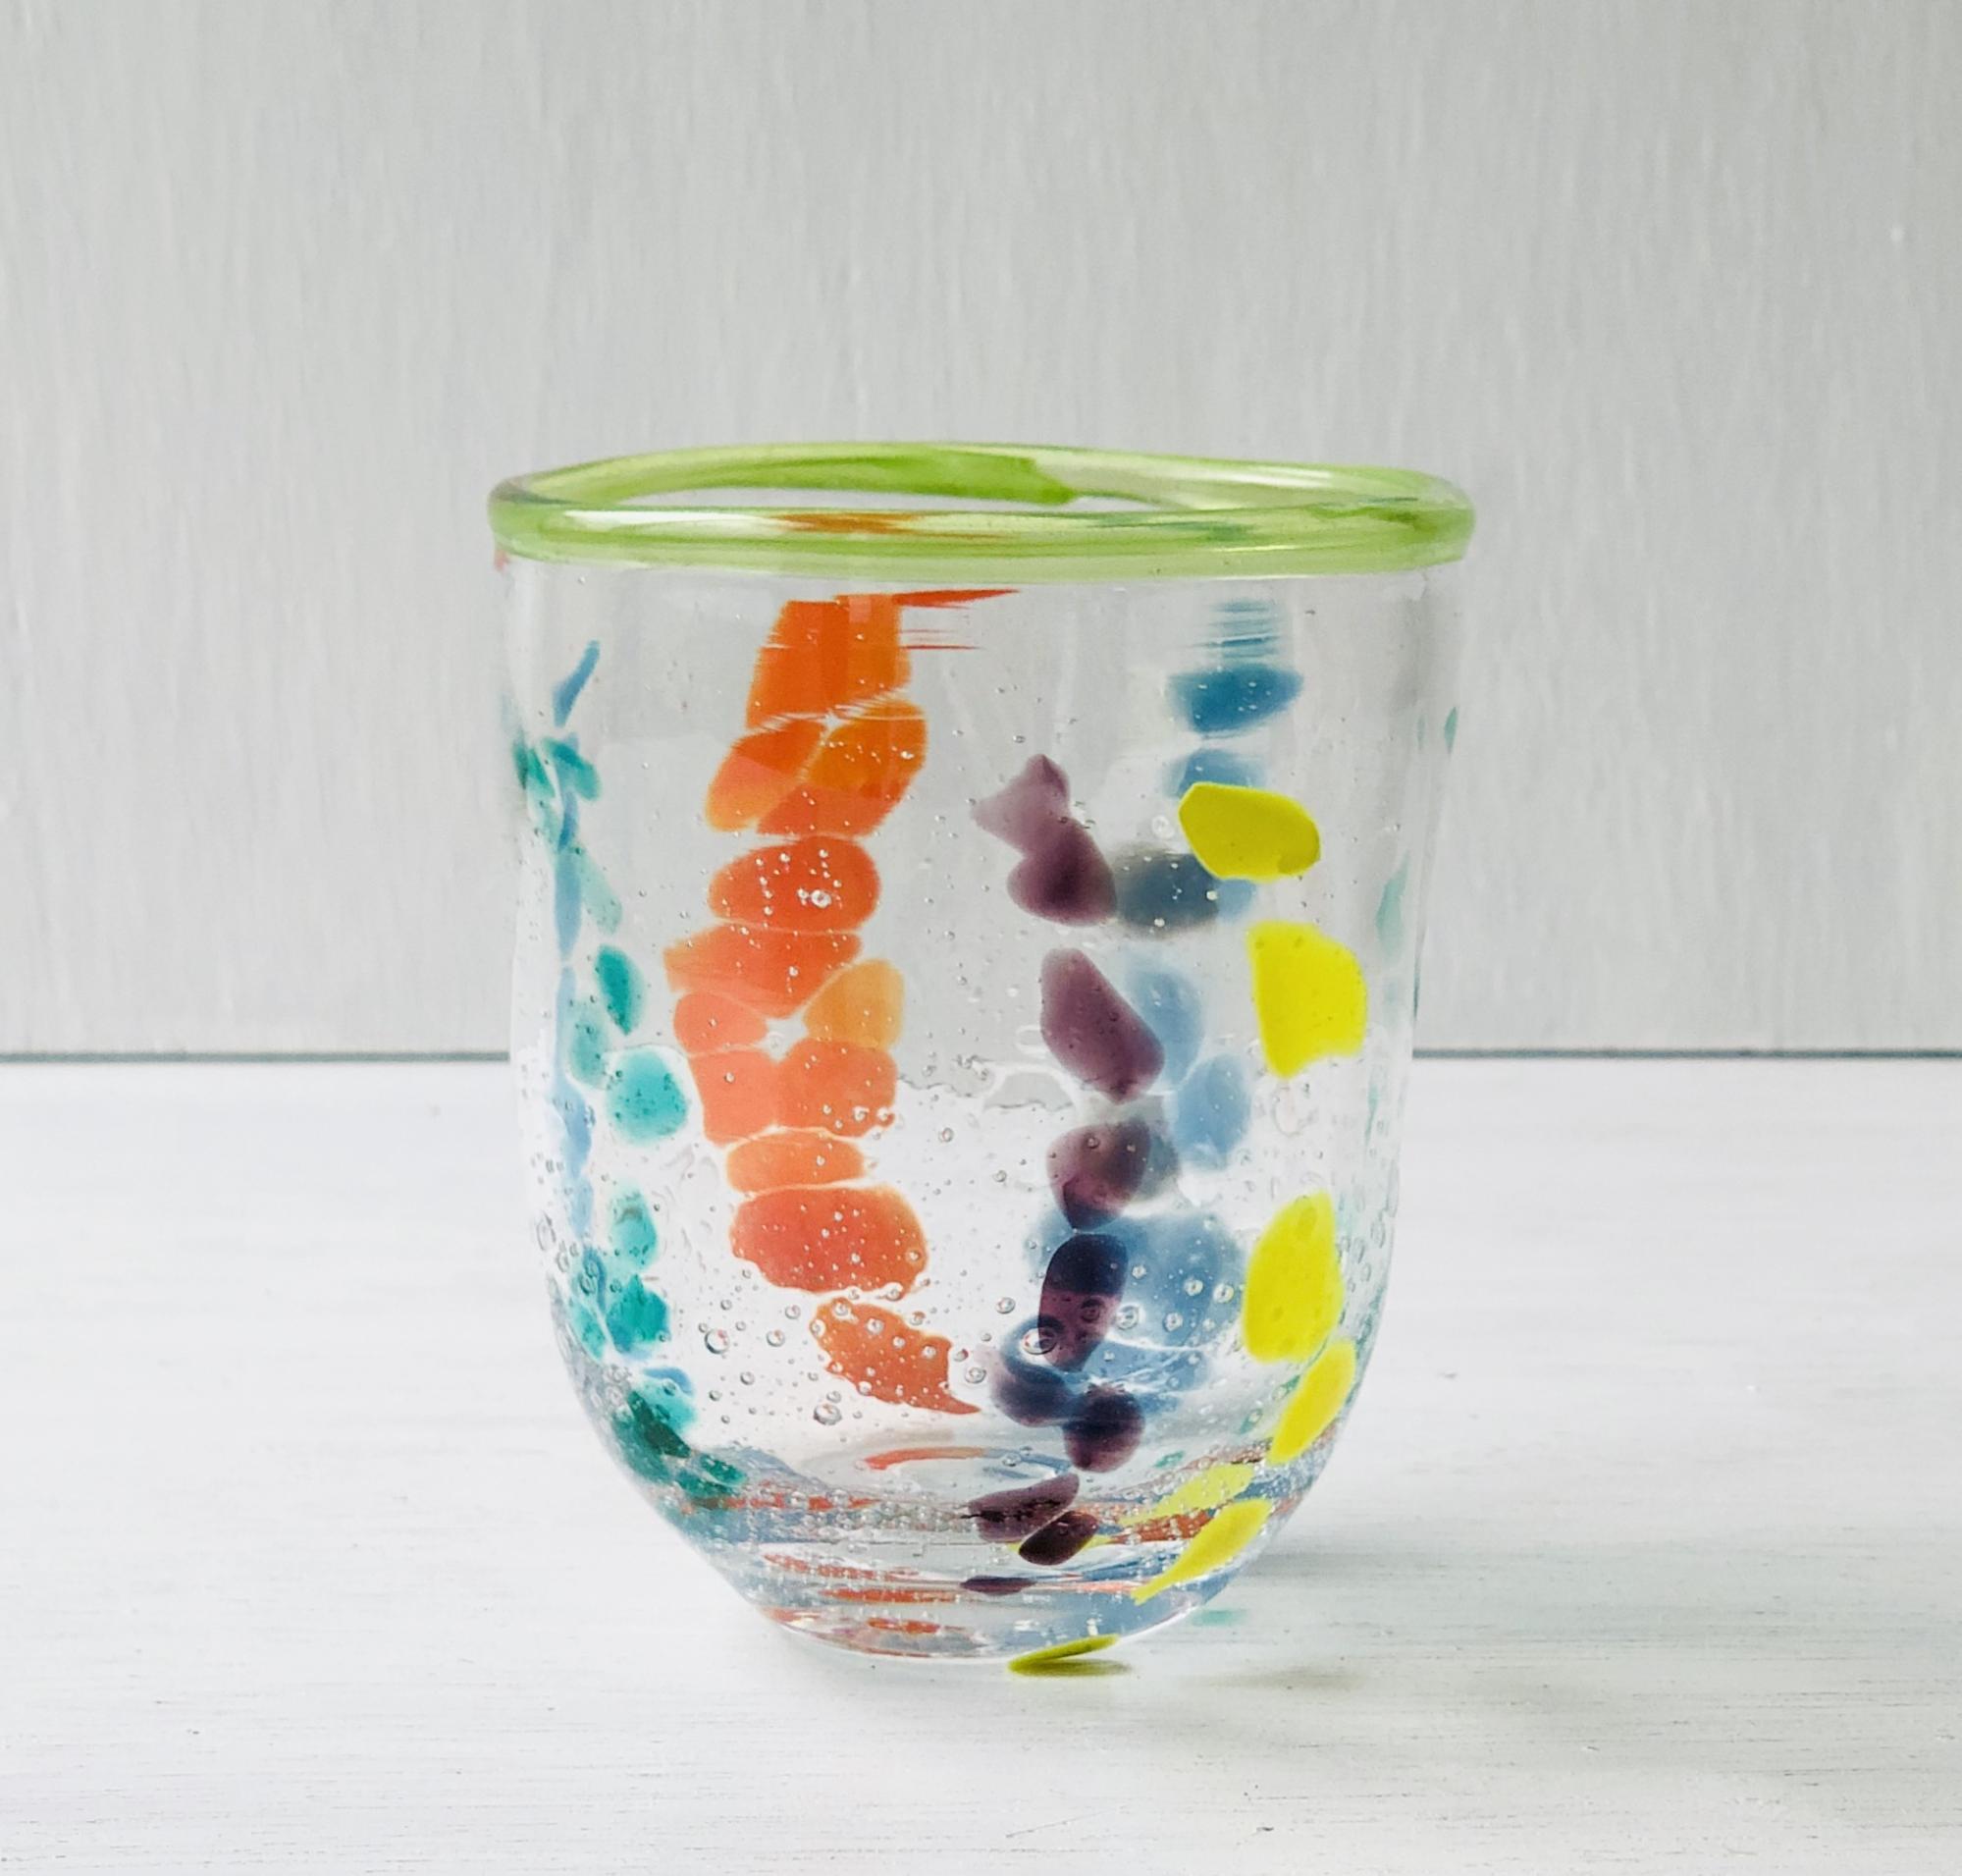
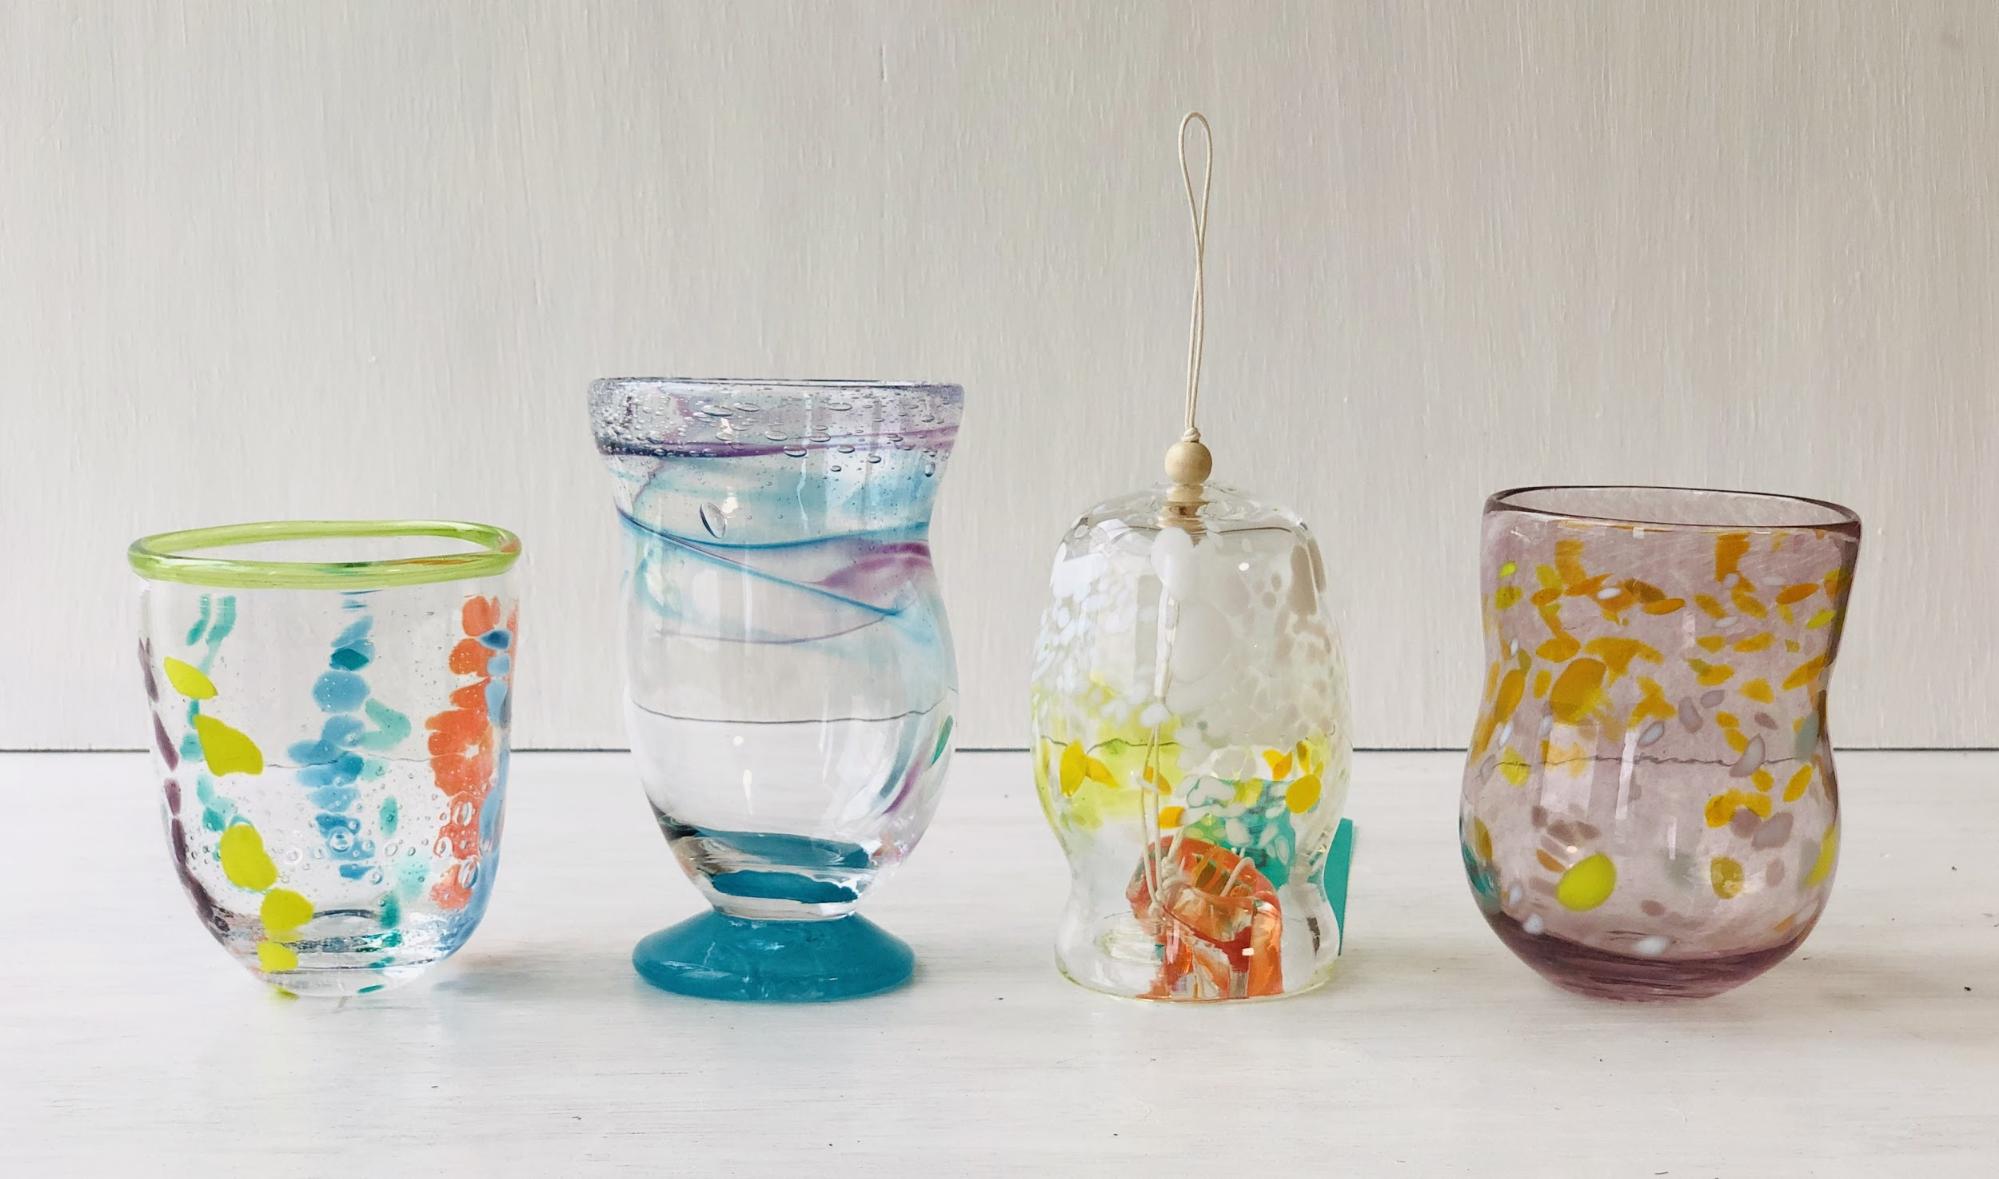
This is a round glass with stripes of 7 colors arranged in a polka dot pattern. Bright green lip is the point! Air bubbles are well contained and cool. You will want to drink juice or barley tea on a hot day.

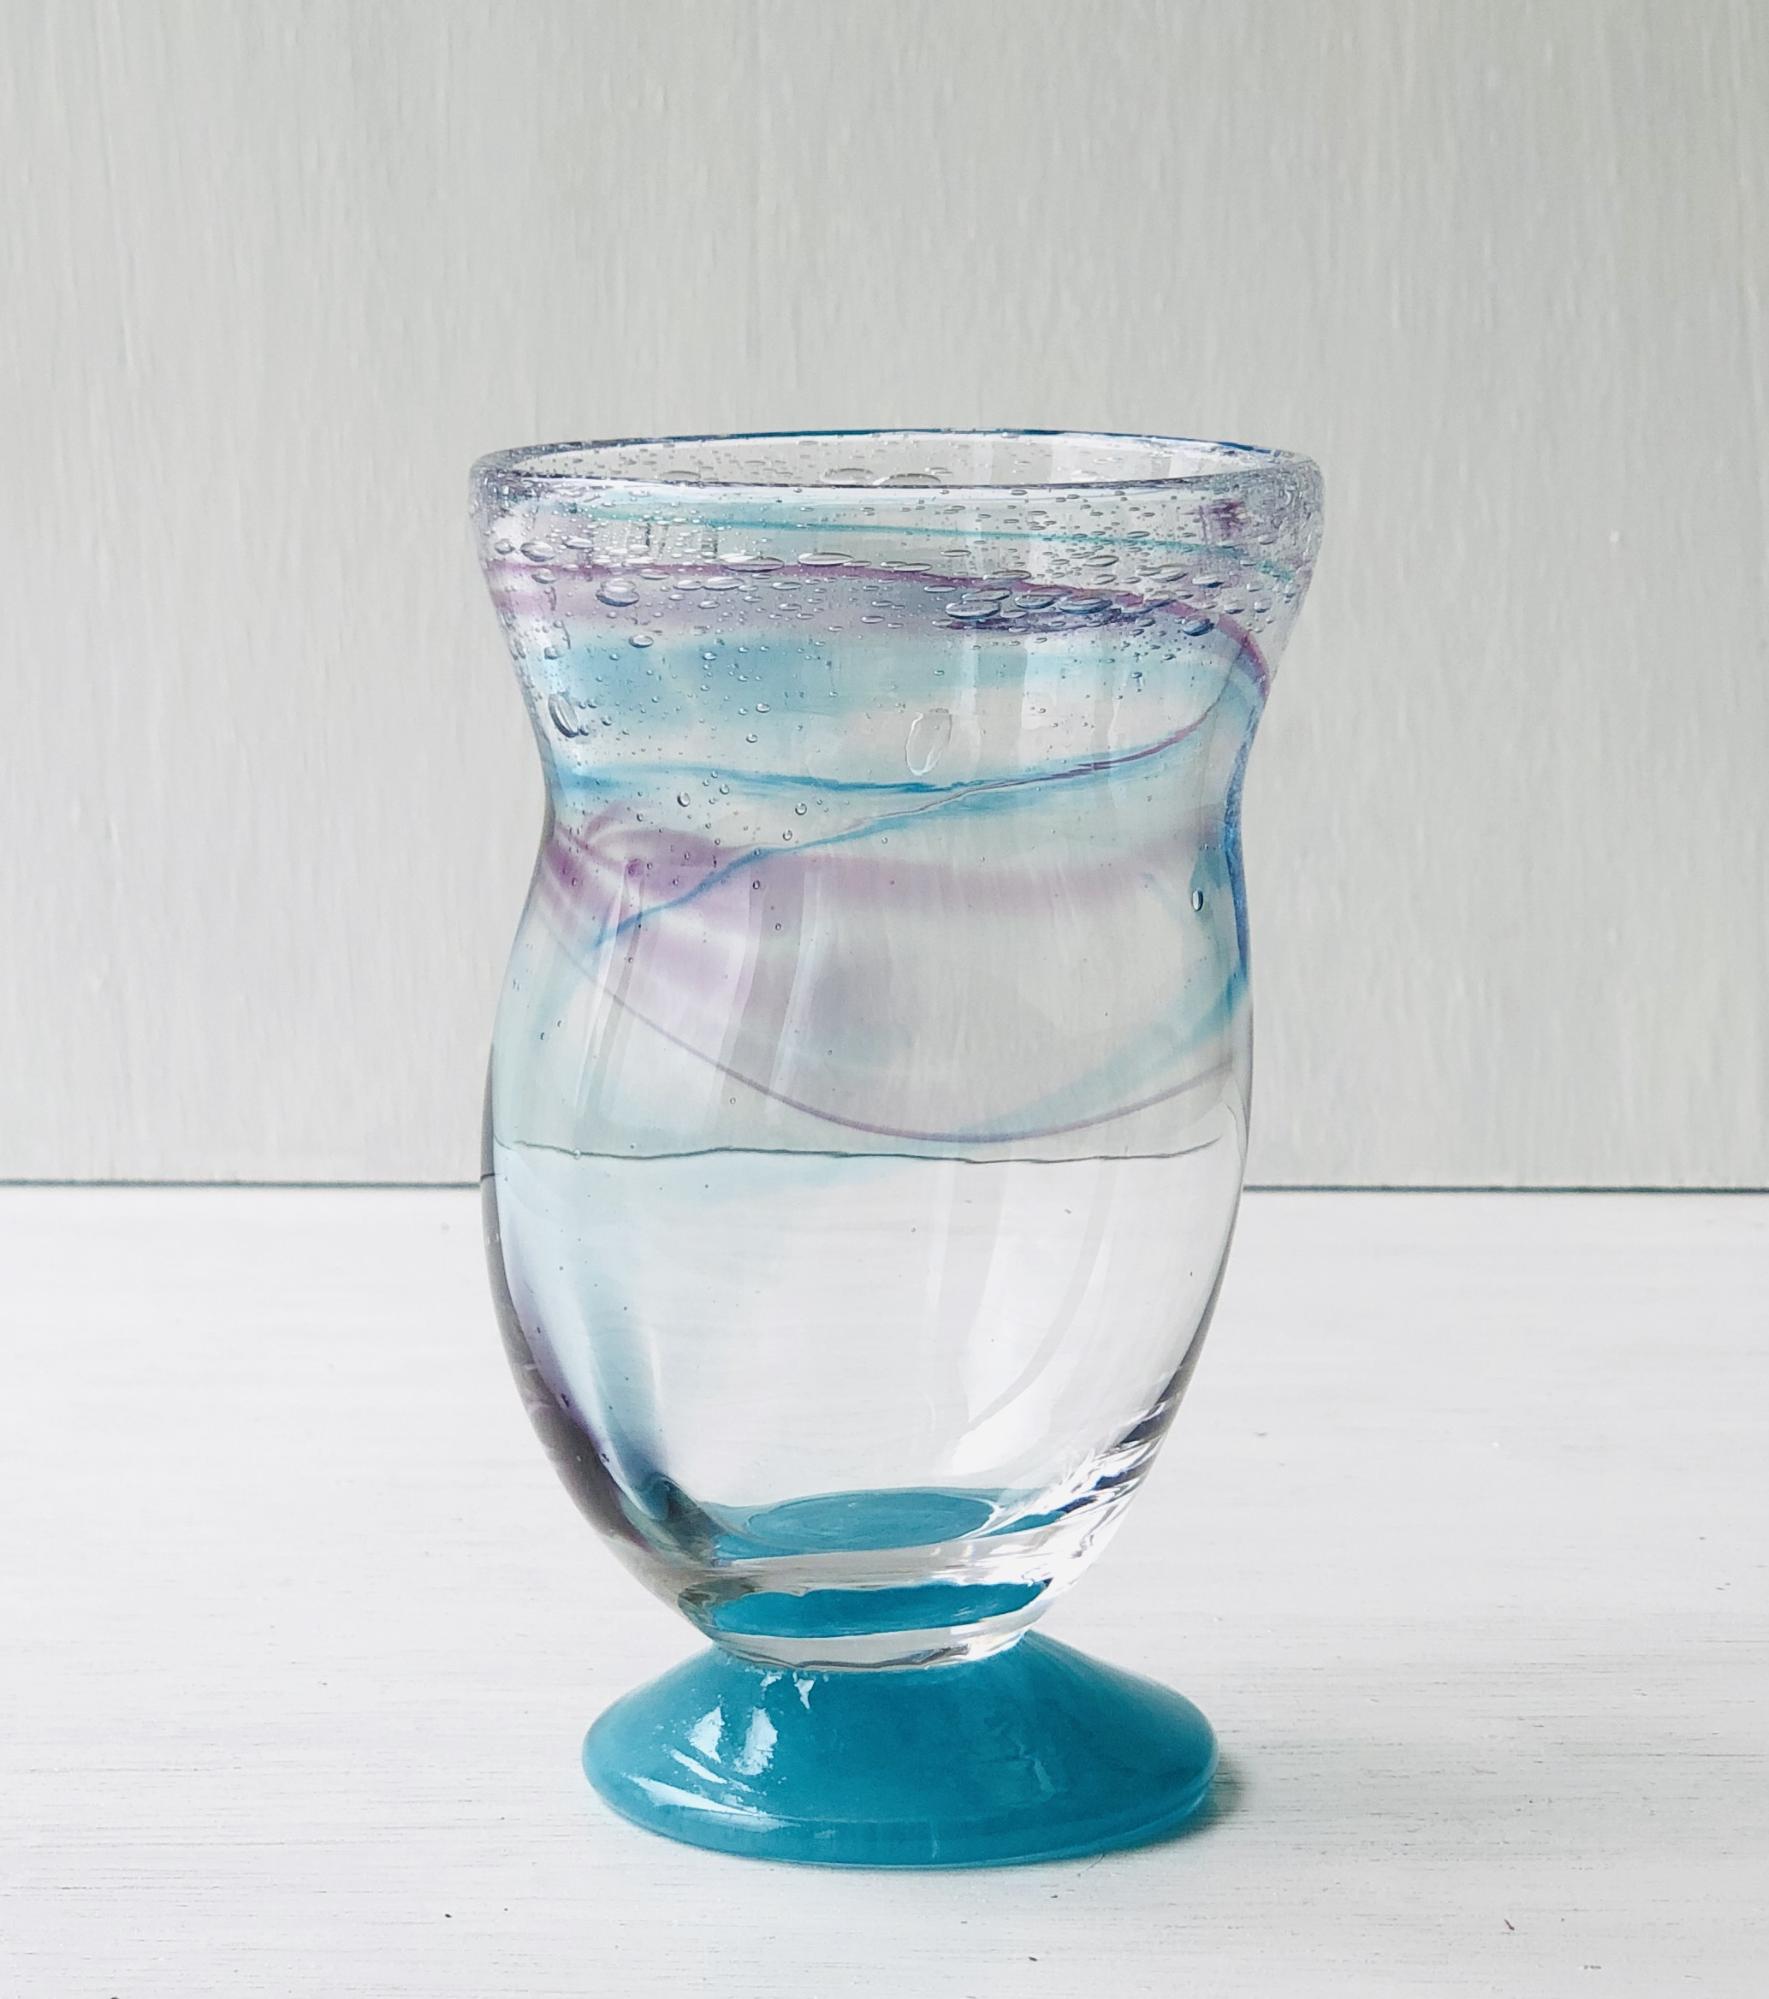
Marble pattern with indigo blue, turquoise blue, hyacinth, and cyan blue. A cute glass with a pretty bottom has been completed. This is also unique to handmade.

This one is in colored glass. Pearl old gold, dandelion, fine white, and dark celadon green are lined up to create a polka dot pattern. By coloring the base, it gives a mature finish.

There are also wind chimes that are perfect for summer. Large and small white, lemon yellow, and honey yellow are arranged to create a polka dot pattern. Naruko (clapper) is a warm color inspired by mandarin oranges, a specialty of Minami Ise. It looks like it's going to be a good summer gift.
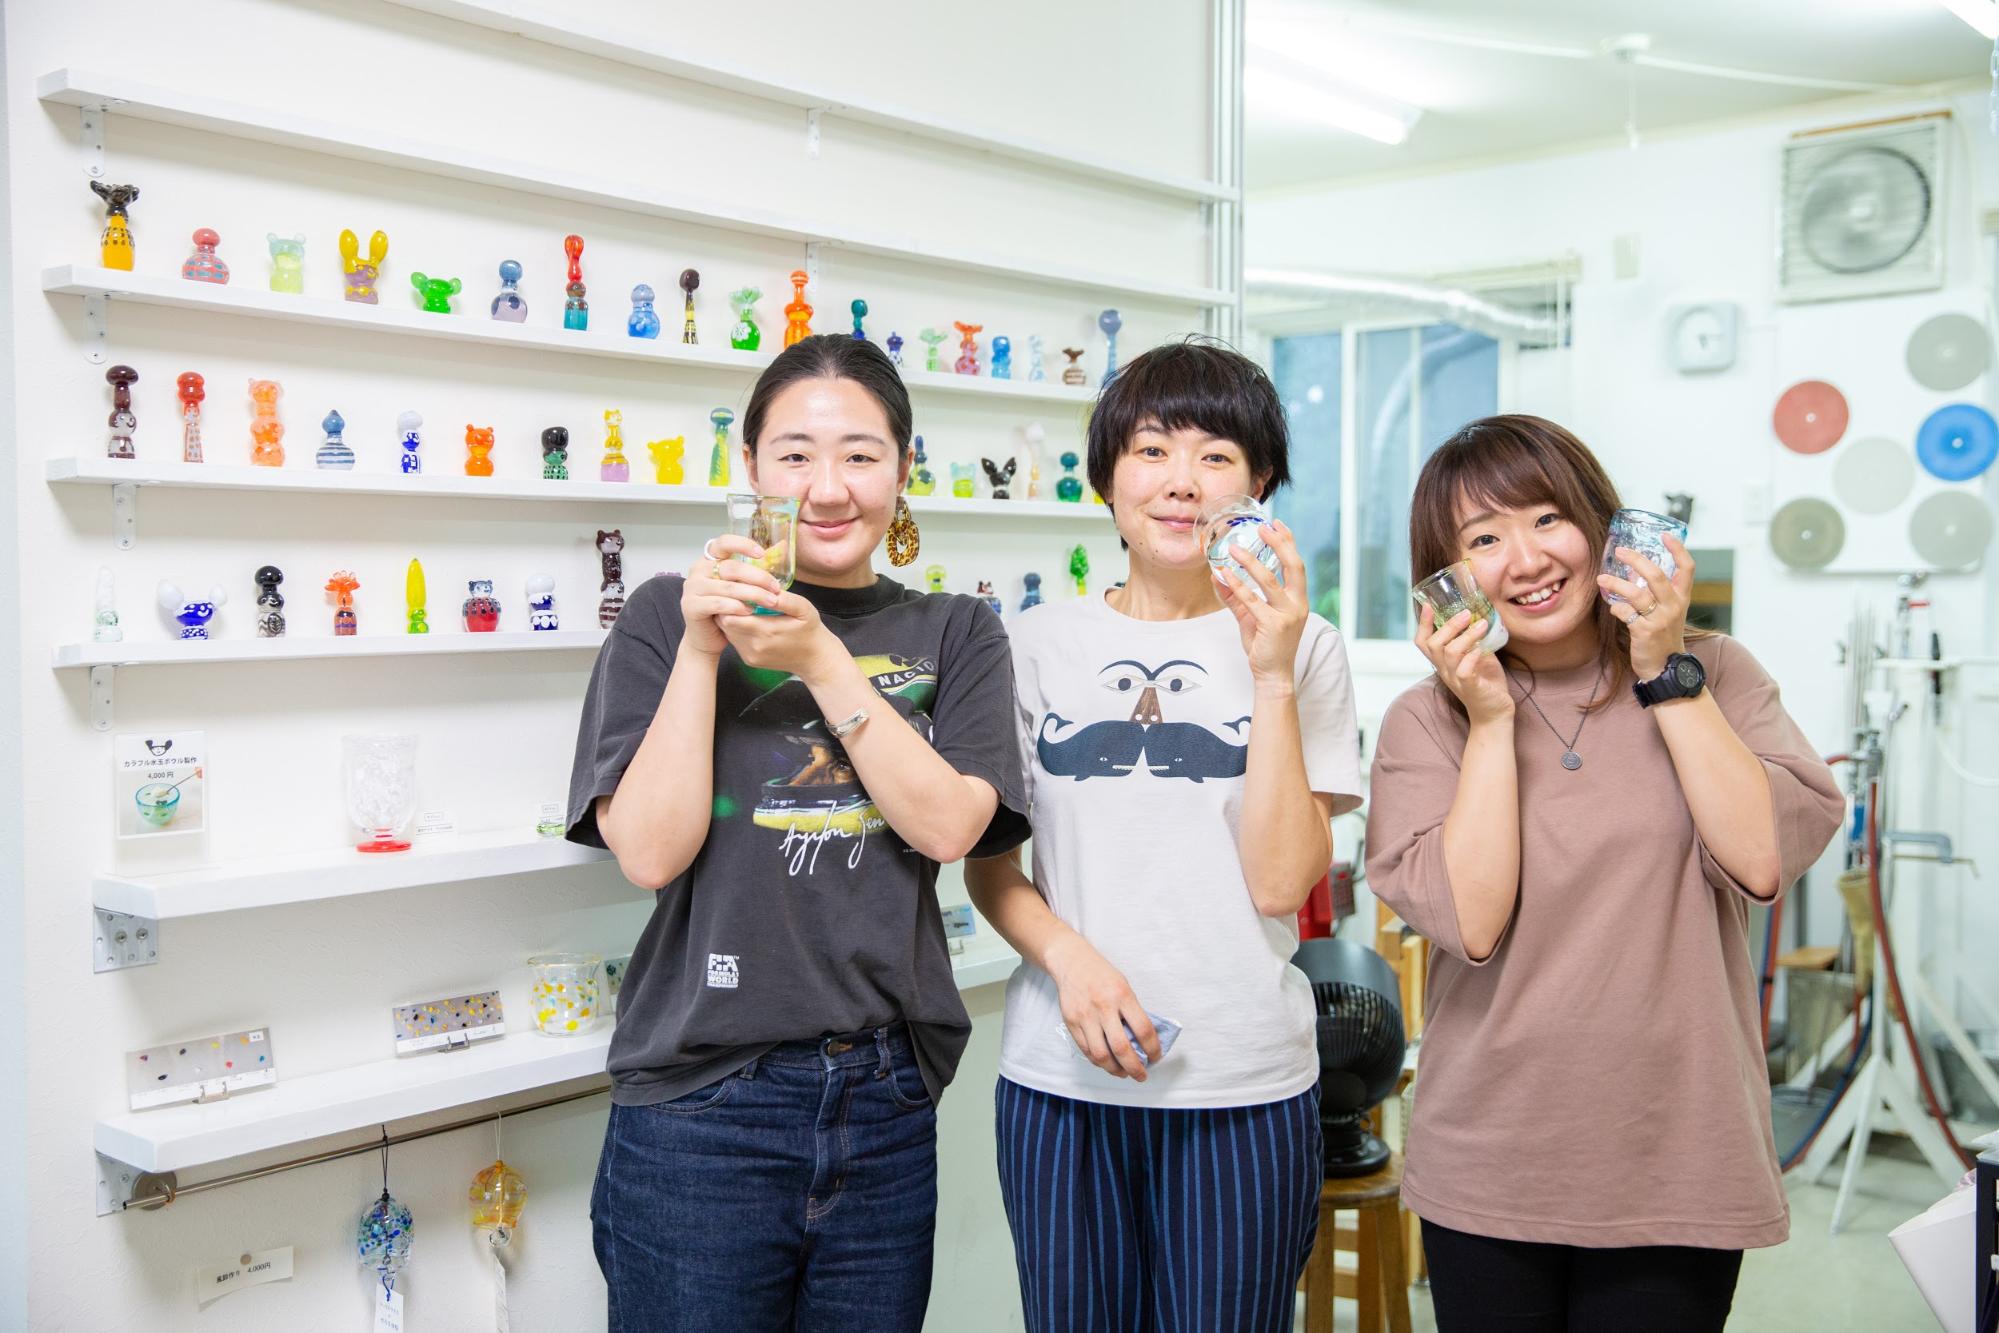
Thank you Matsushita-san!
We had always wanted to try our hand at glassblowing. To be honest, We were a little apprehensive about whether we would be able to do it well and whether it would be hot, but the experience was much more wonderful than we had imagined. The glassware, which takes a lot of time and effort to complete, makes a great gift! Many people come to make them as gifts for their family members or loved ones.
The exact same glass will not be produced depending on the color grains selected, the degree of blowing, and the way the shape is adjusted. Why not make your own original glass this summer?


![[Special Features] Museums & Arts](https://life-designs.jp/wp/wp-content/uploads/2019/06/w1920x1088_art-1-1024x580.jpg)


![[Sakae] Experience the world of TV at "NHK Nagoya Broadcasting Experience Studio WAKUWAKU"!](https://life-designs.jp/wp/wp-content/uploads/2024/07/image23-1024x684.png)
![[Indoor Facilities] Where to Go on Rainy Days in Tokai Area! For Family Outings!](https://life-designs.jp/wp/wp-content/uploads/2023/07/FotoJet-23.jpg)


![[Ghibli Park] Beginner's Guide](https://life-designs.jp/wp/wp-content/uploads/2023/07/ghiblipark_w1920h1088_20240422-768x435.png)
![[Osu Special Feature] A City of History and Uniqueness](https://life-designs.jp/wp/wp-content/uploads/2022/03/01_Osu-1-768x435.png)
![[Tokai Area] Place to Go on Rainy Days!](https://life-designs.jp/wp/wp-content/uploads/2022/03/f76405aaa33944a4ba88a131fbc56523-1024x580.png)
![[Nagoya-meshi] Nagoya's Speciality Dishes](https://life-designs.jp/wp/wp-content/uploads/2022/06/5ba2ca8c038fd4af7527bc0826367cfb-1024x580.png)
![[Tokai Area] Scenic Spots which You'll Never Forget](https://life-designs.jp/wp/wp-content/uploads/2019/12/LD_banner_w1920x1088_prospect-1-1024x580.jpg)
![[Special Feature] Enjoy Outdoor Activities!](https://life-designs.jp/wp/wp-content/uploads/2019/12/LD_banner_w1920x1088_outdoor-1-1024x580.jpg)













![[Within 2hrs by Car] 12 Outing Areas where You can Go on a Day Trip from Nagoya!](https://life-designs.jp/wp/wp-content/uploads/2023/07/odekake12_w1200h900_20240422-768x576.png)

![[14 Selections] Recommended spots to spend the weekend in Kakuozan area of Nagoya](https://life-designs.jp/wp/wp-content/uploads/2022/07/Kakuozan-spot_w1920h1088_240605-328x186.png)
