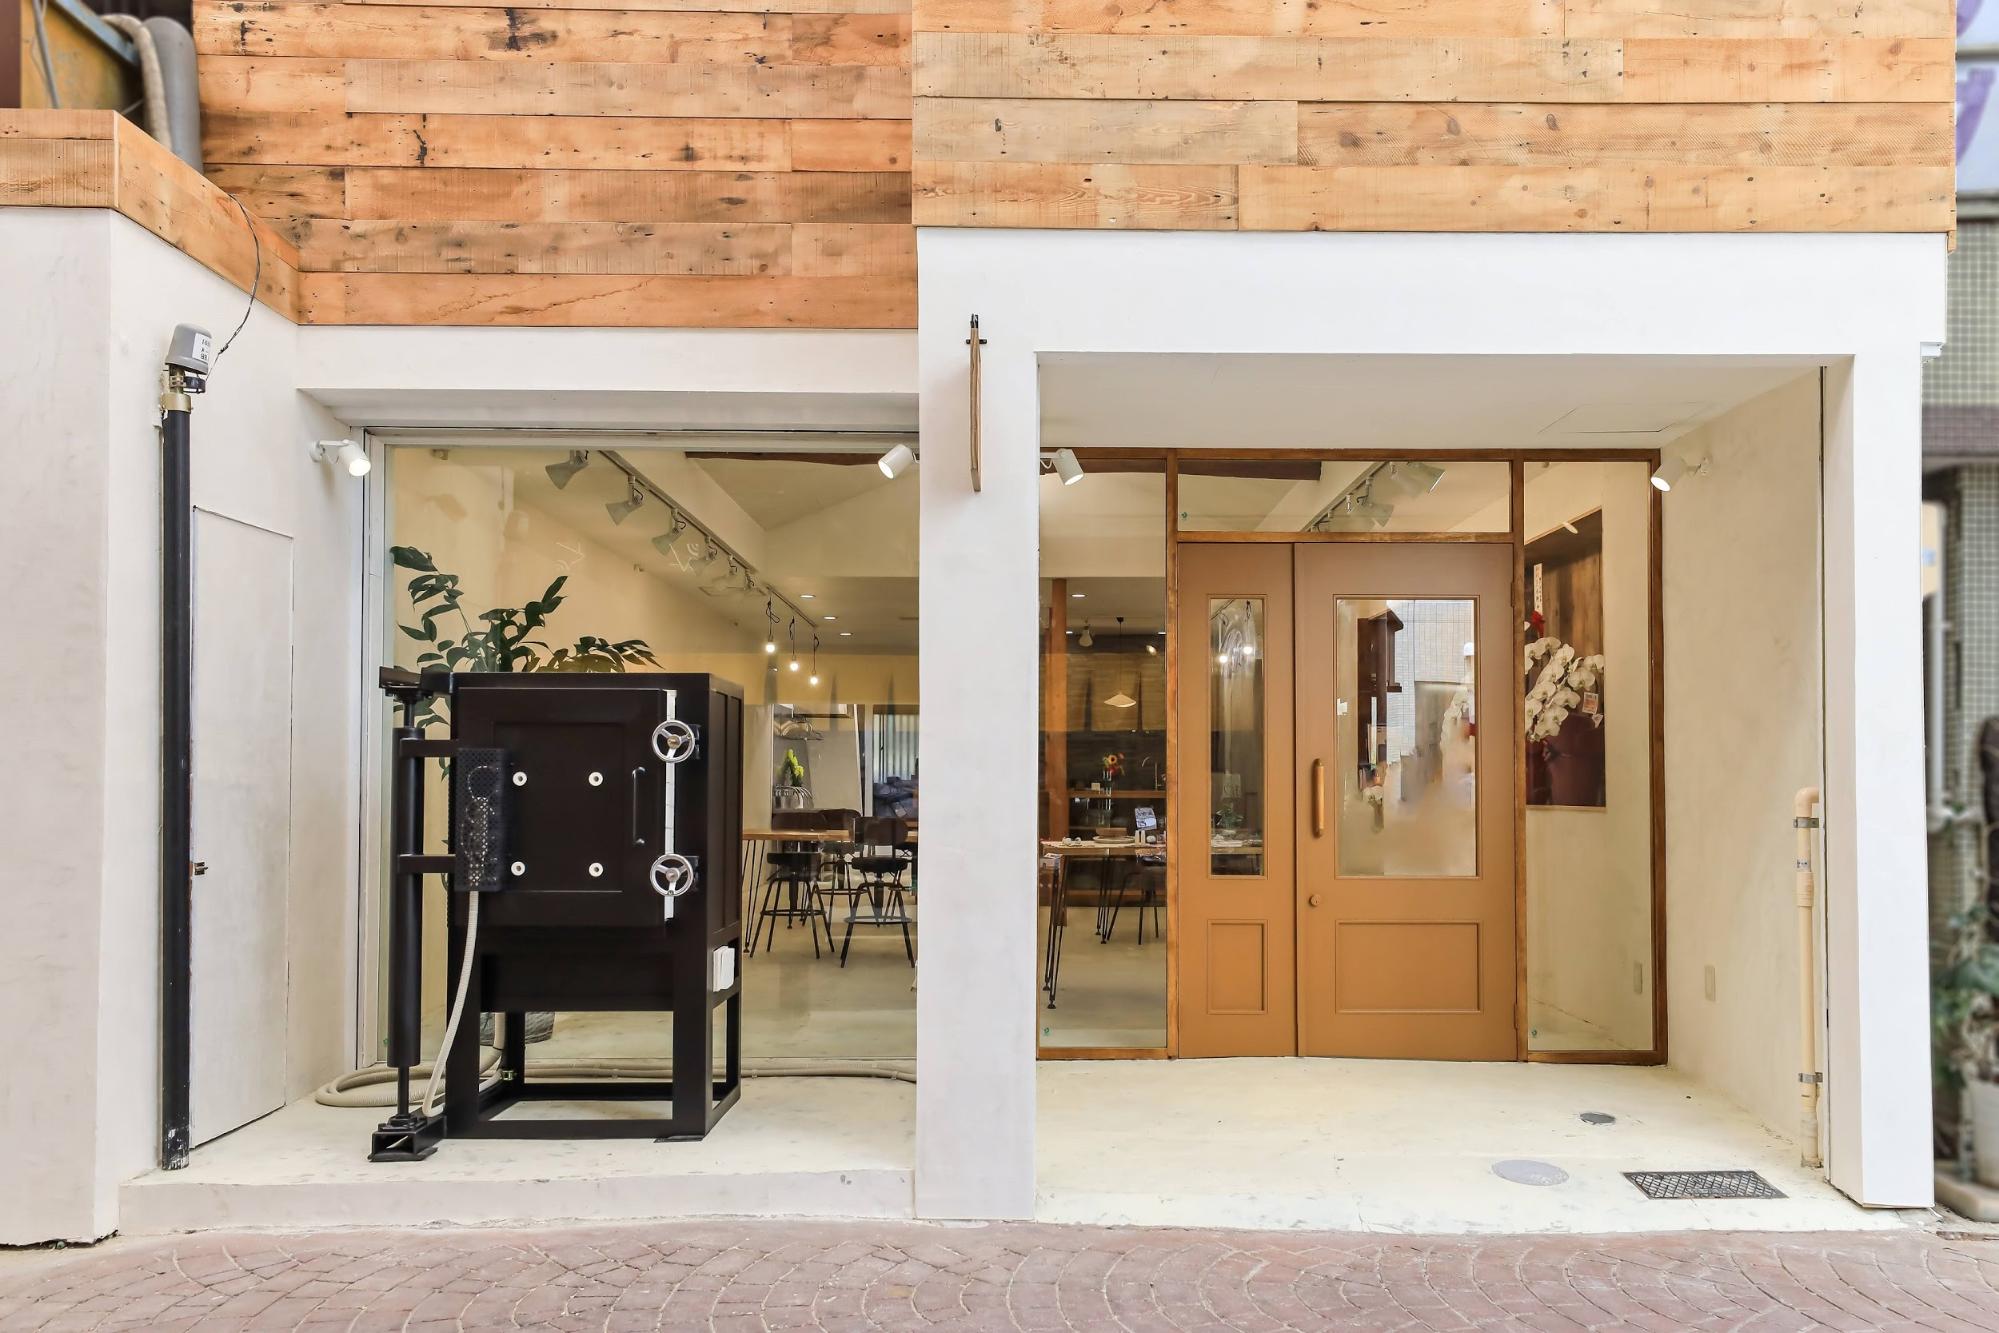
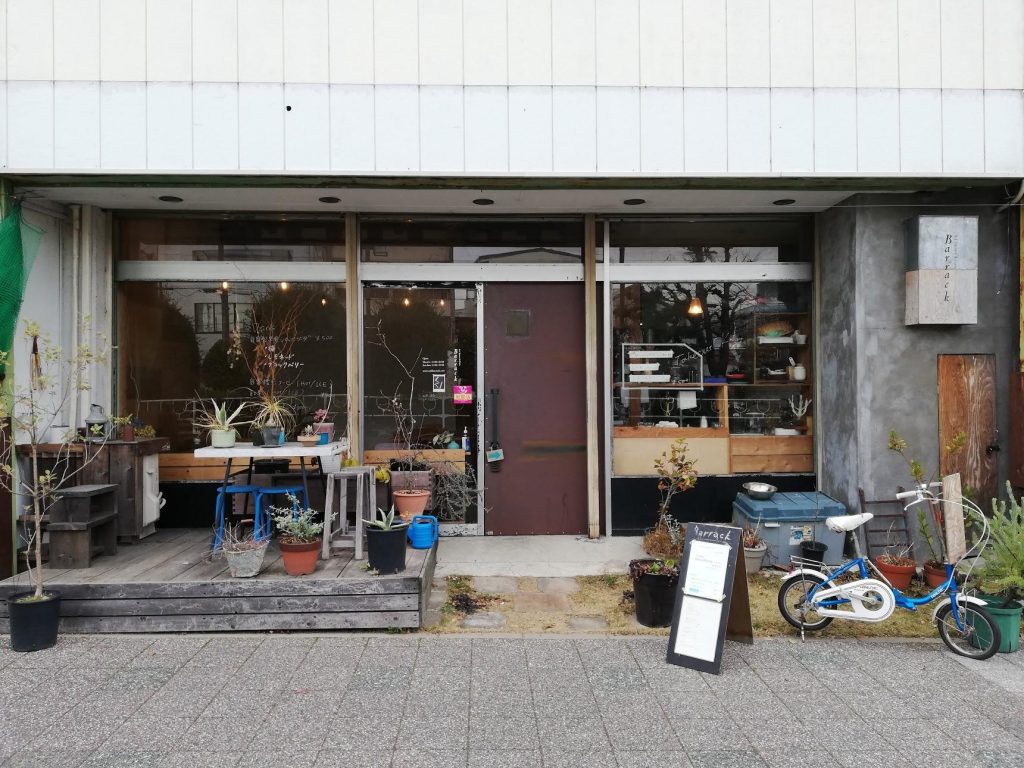
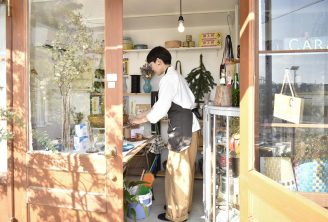
CONERU nendo shop & space, a hands-on ceramics store opened in Seto, a ceramics production center.
Table of Contents
Try your hand at ceramics at CONERU!
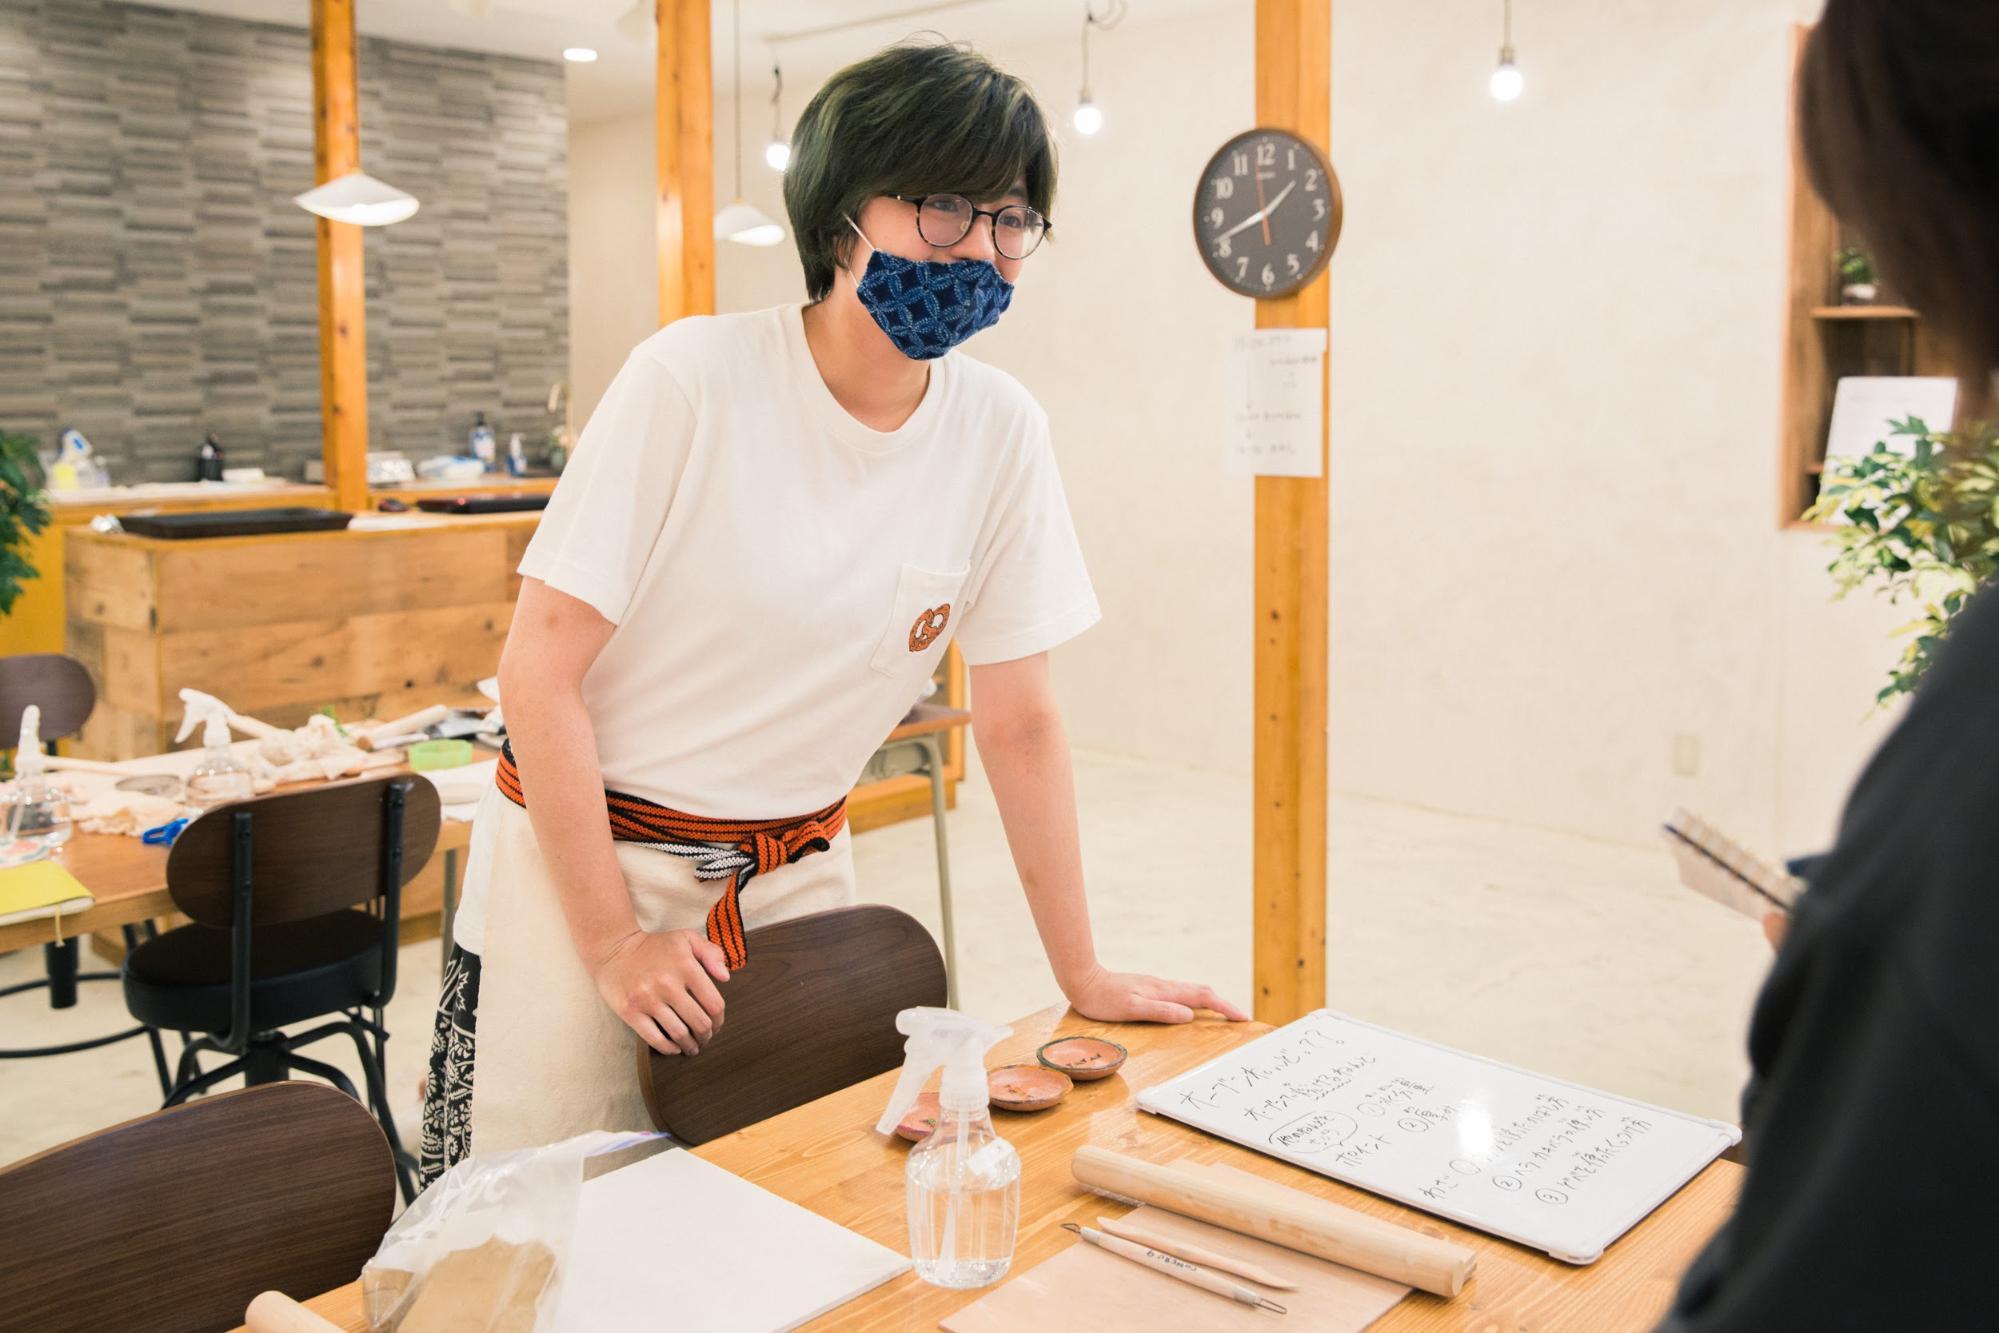
We actually attended a workshop at CONERU and experienced pottery making. The instructor was Natsuki Nakayama, a CONERU staff member.
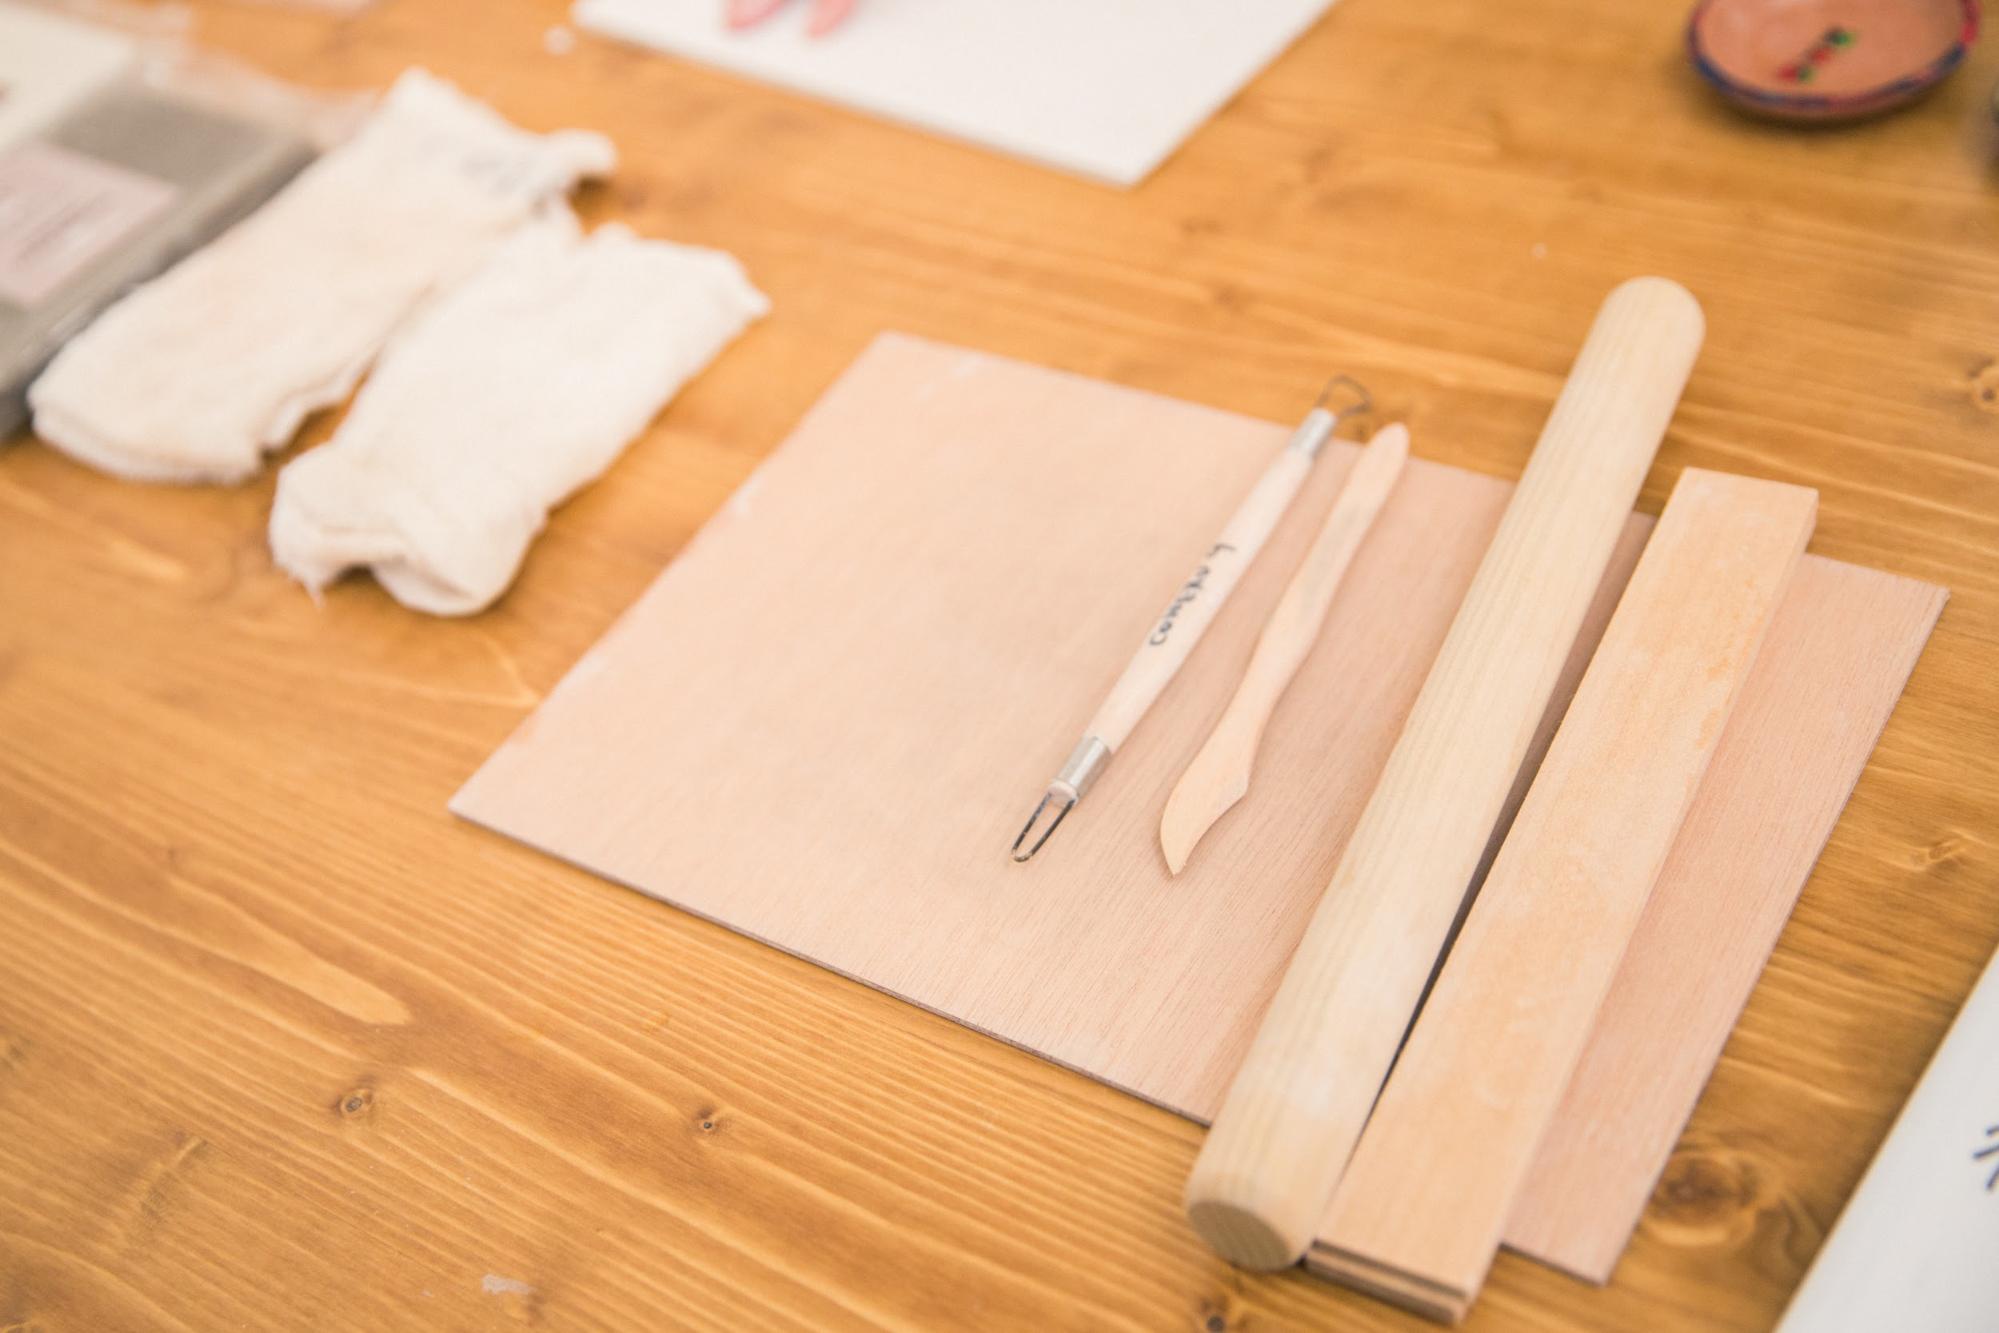
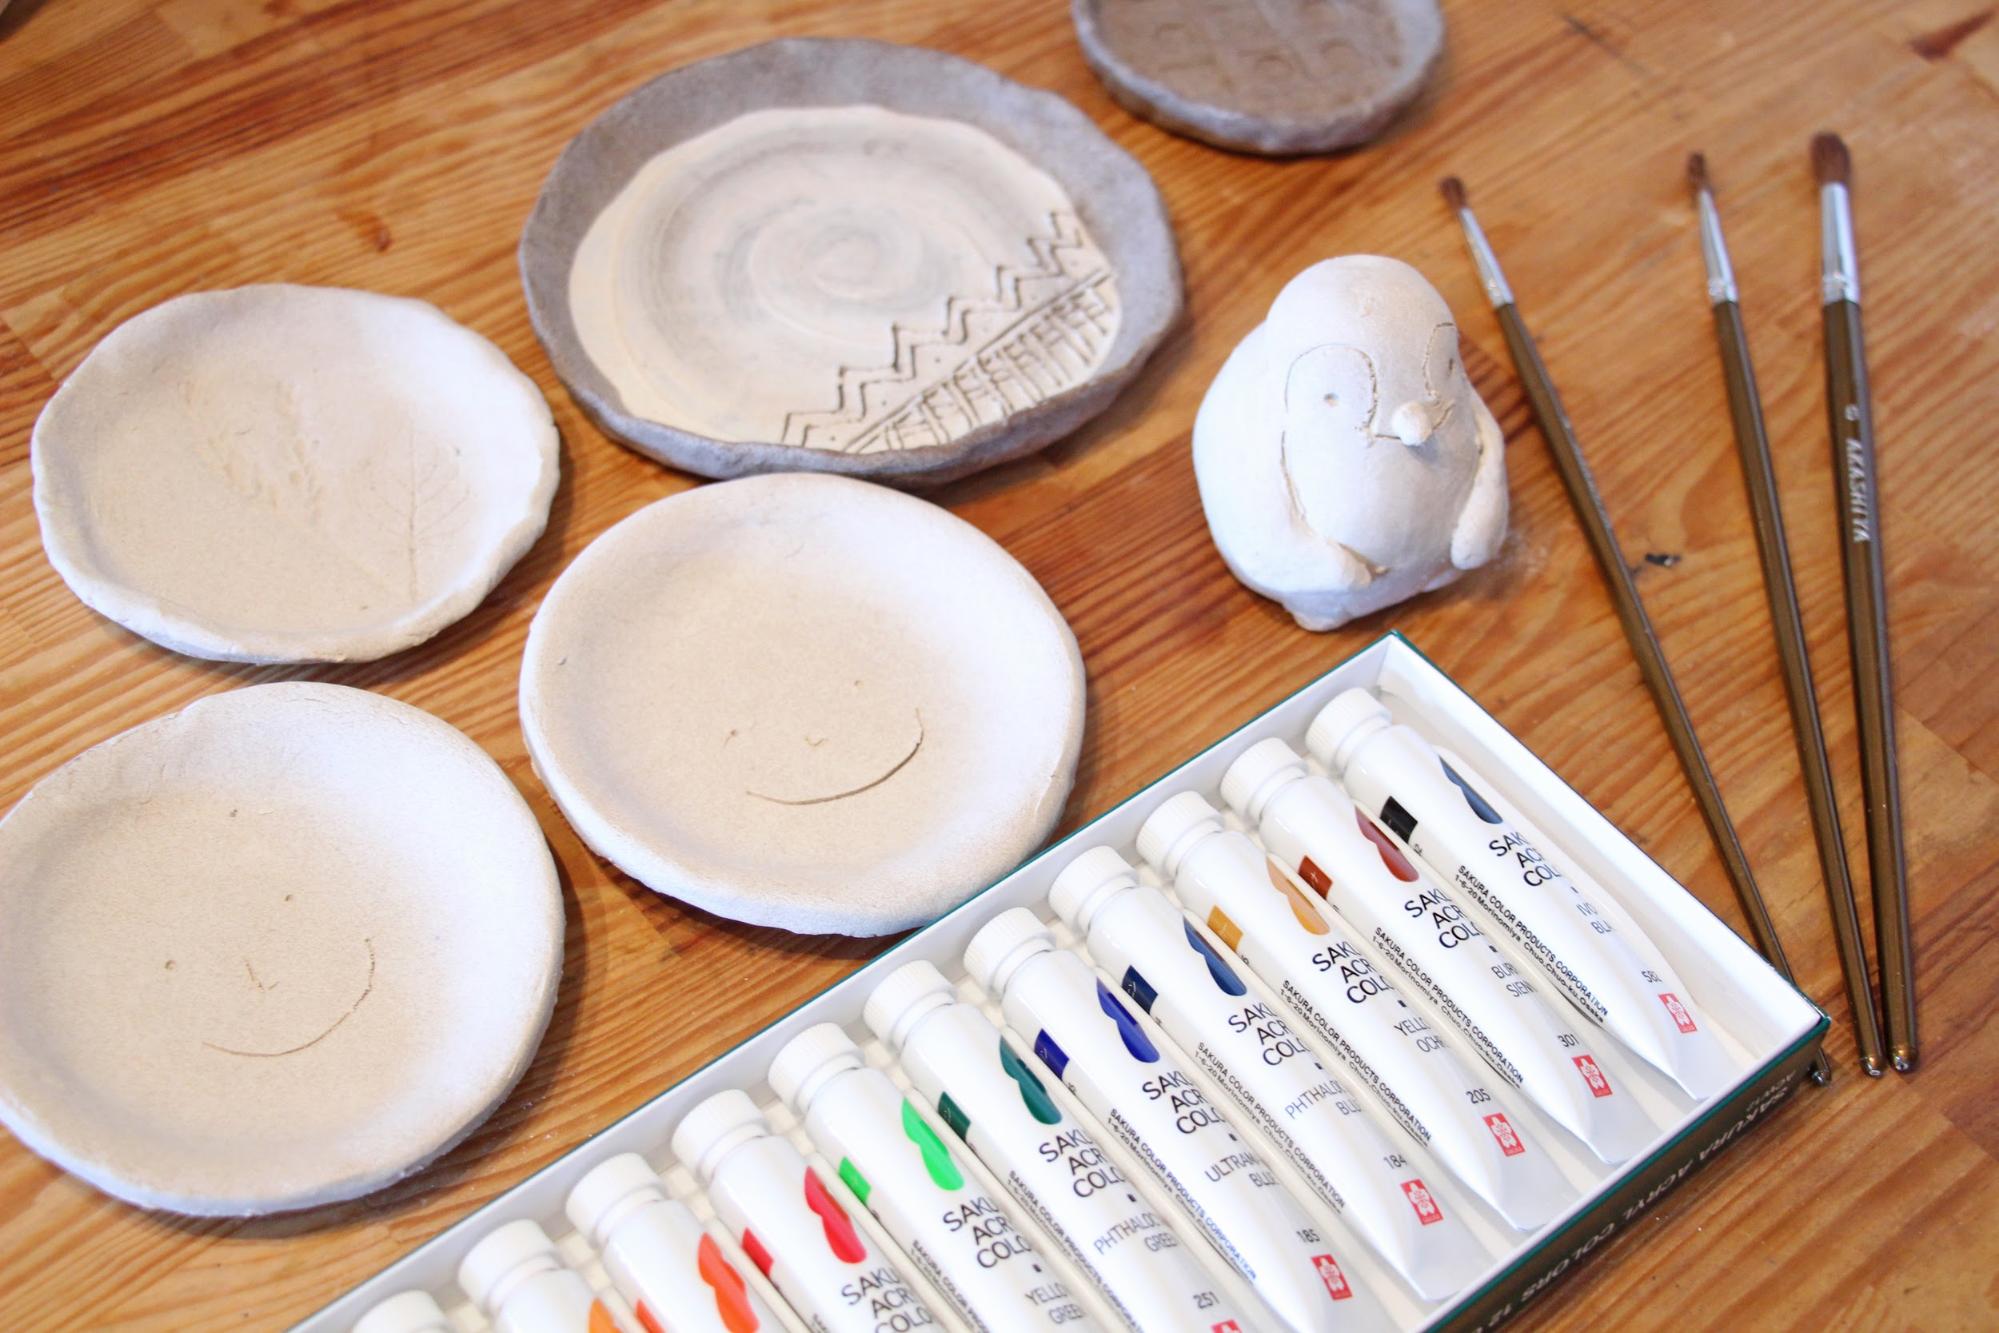
From the right in the photo, there are four tools used for the oven potter's clay: tatara board, rolling pin, spatula, and scraping spatula. These four tools are also included in the "Kihon no set"!
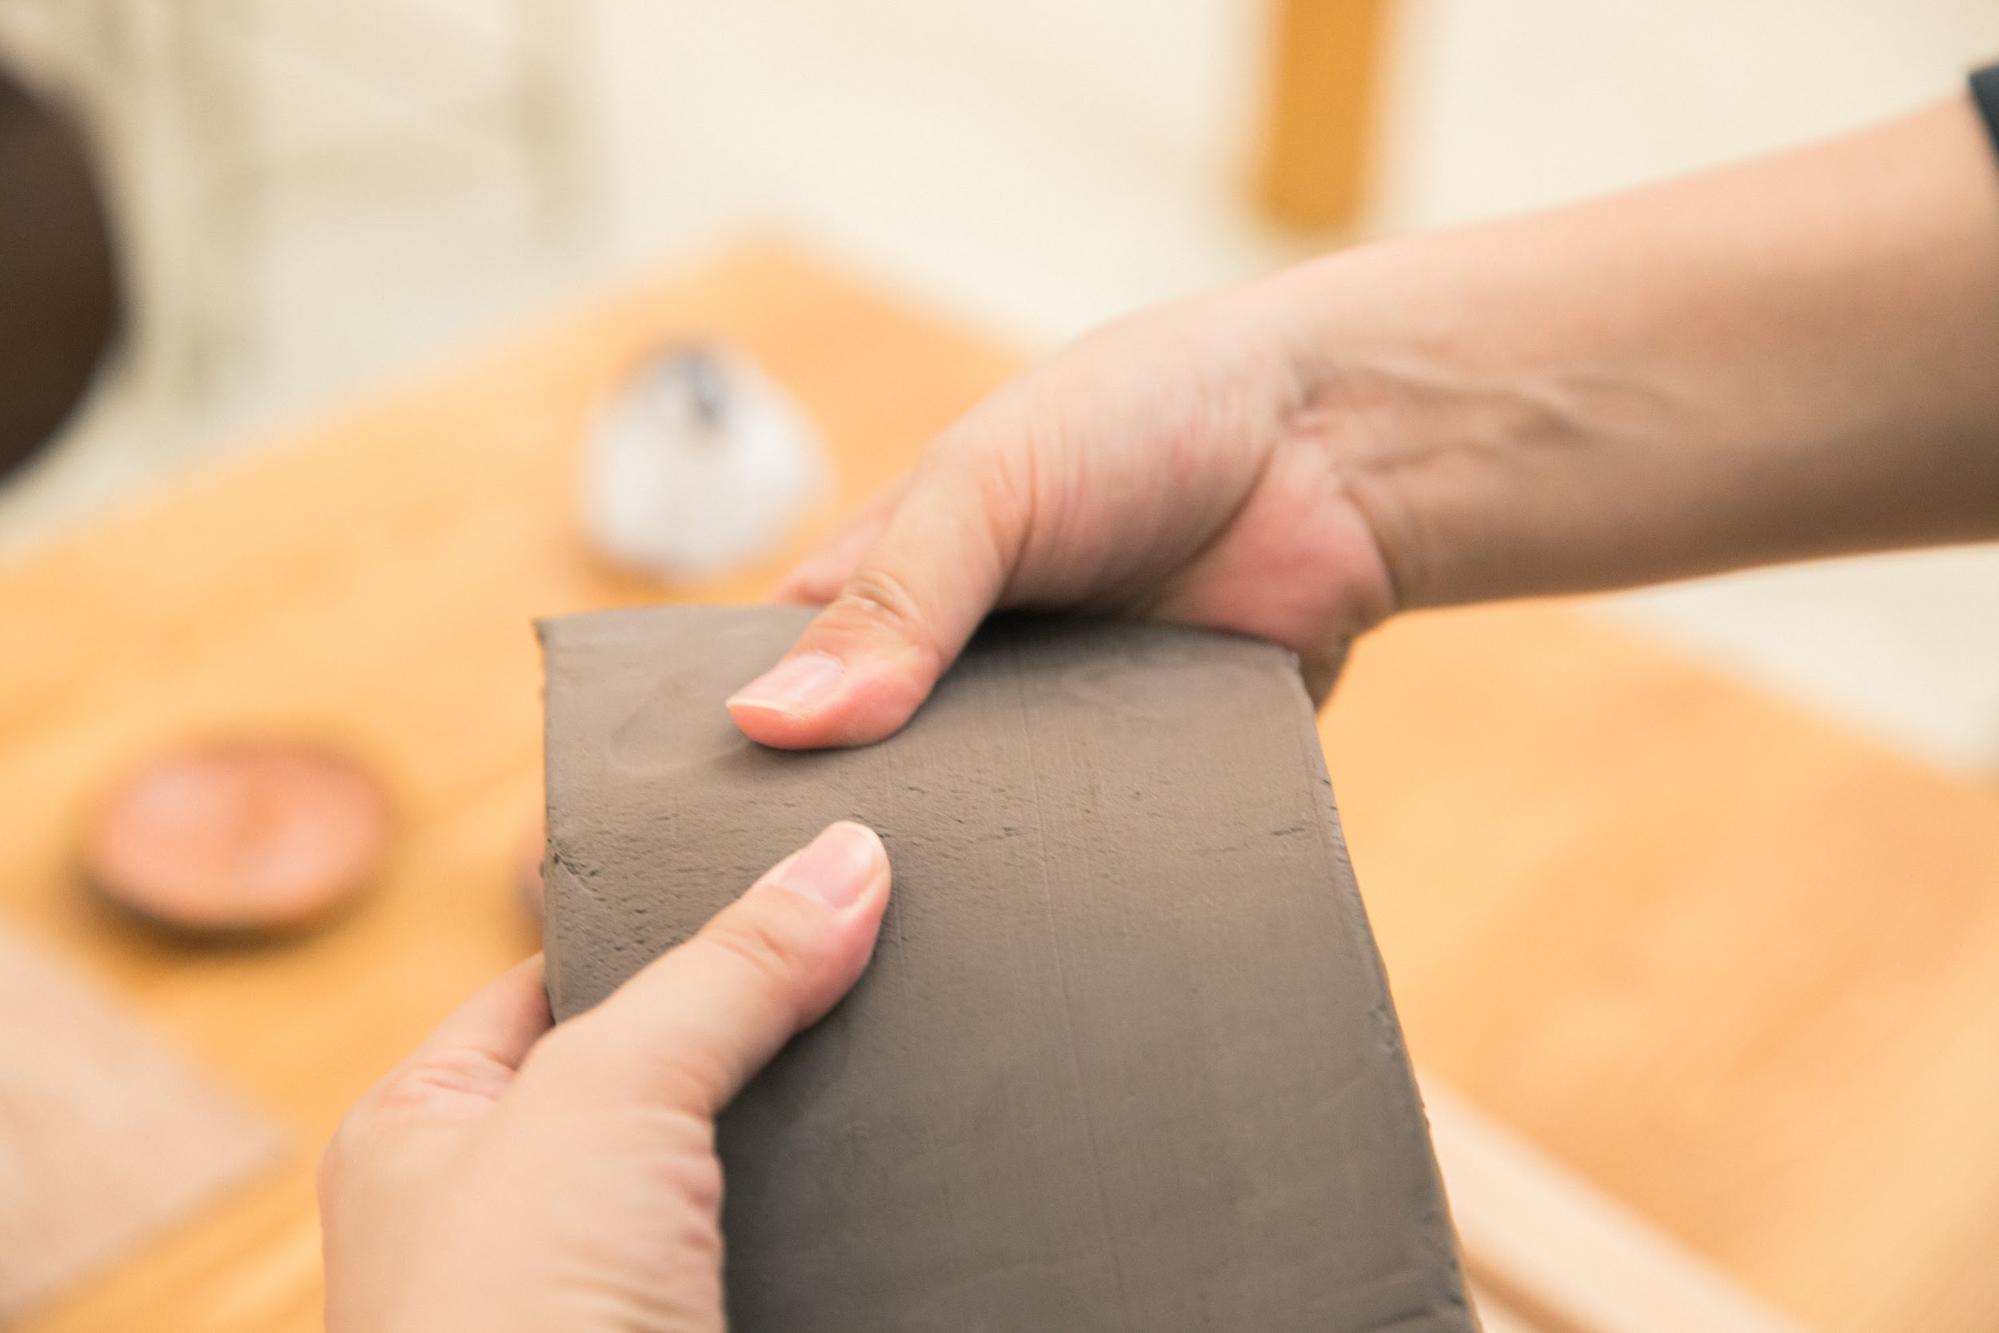
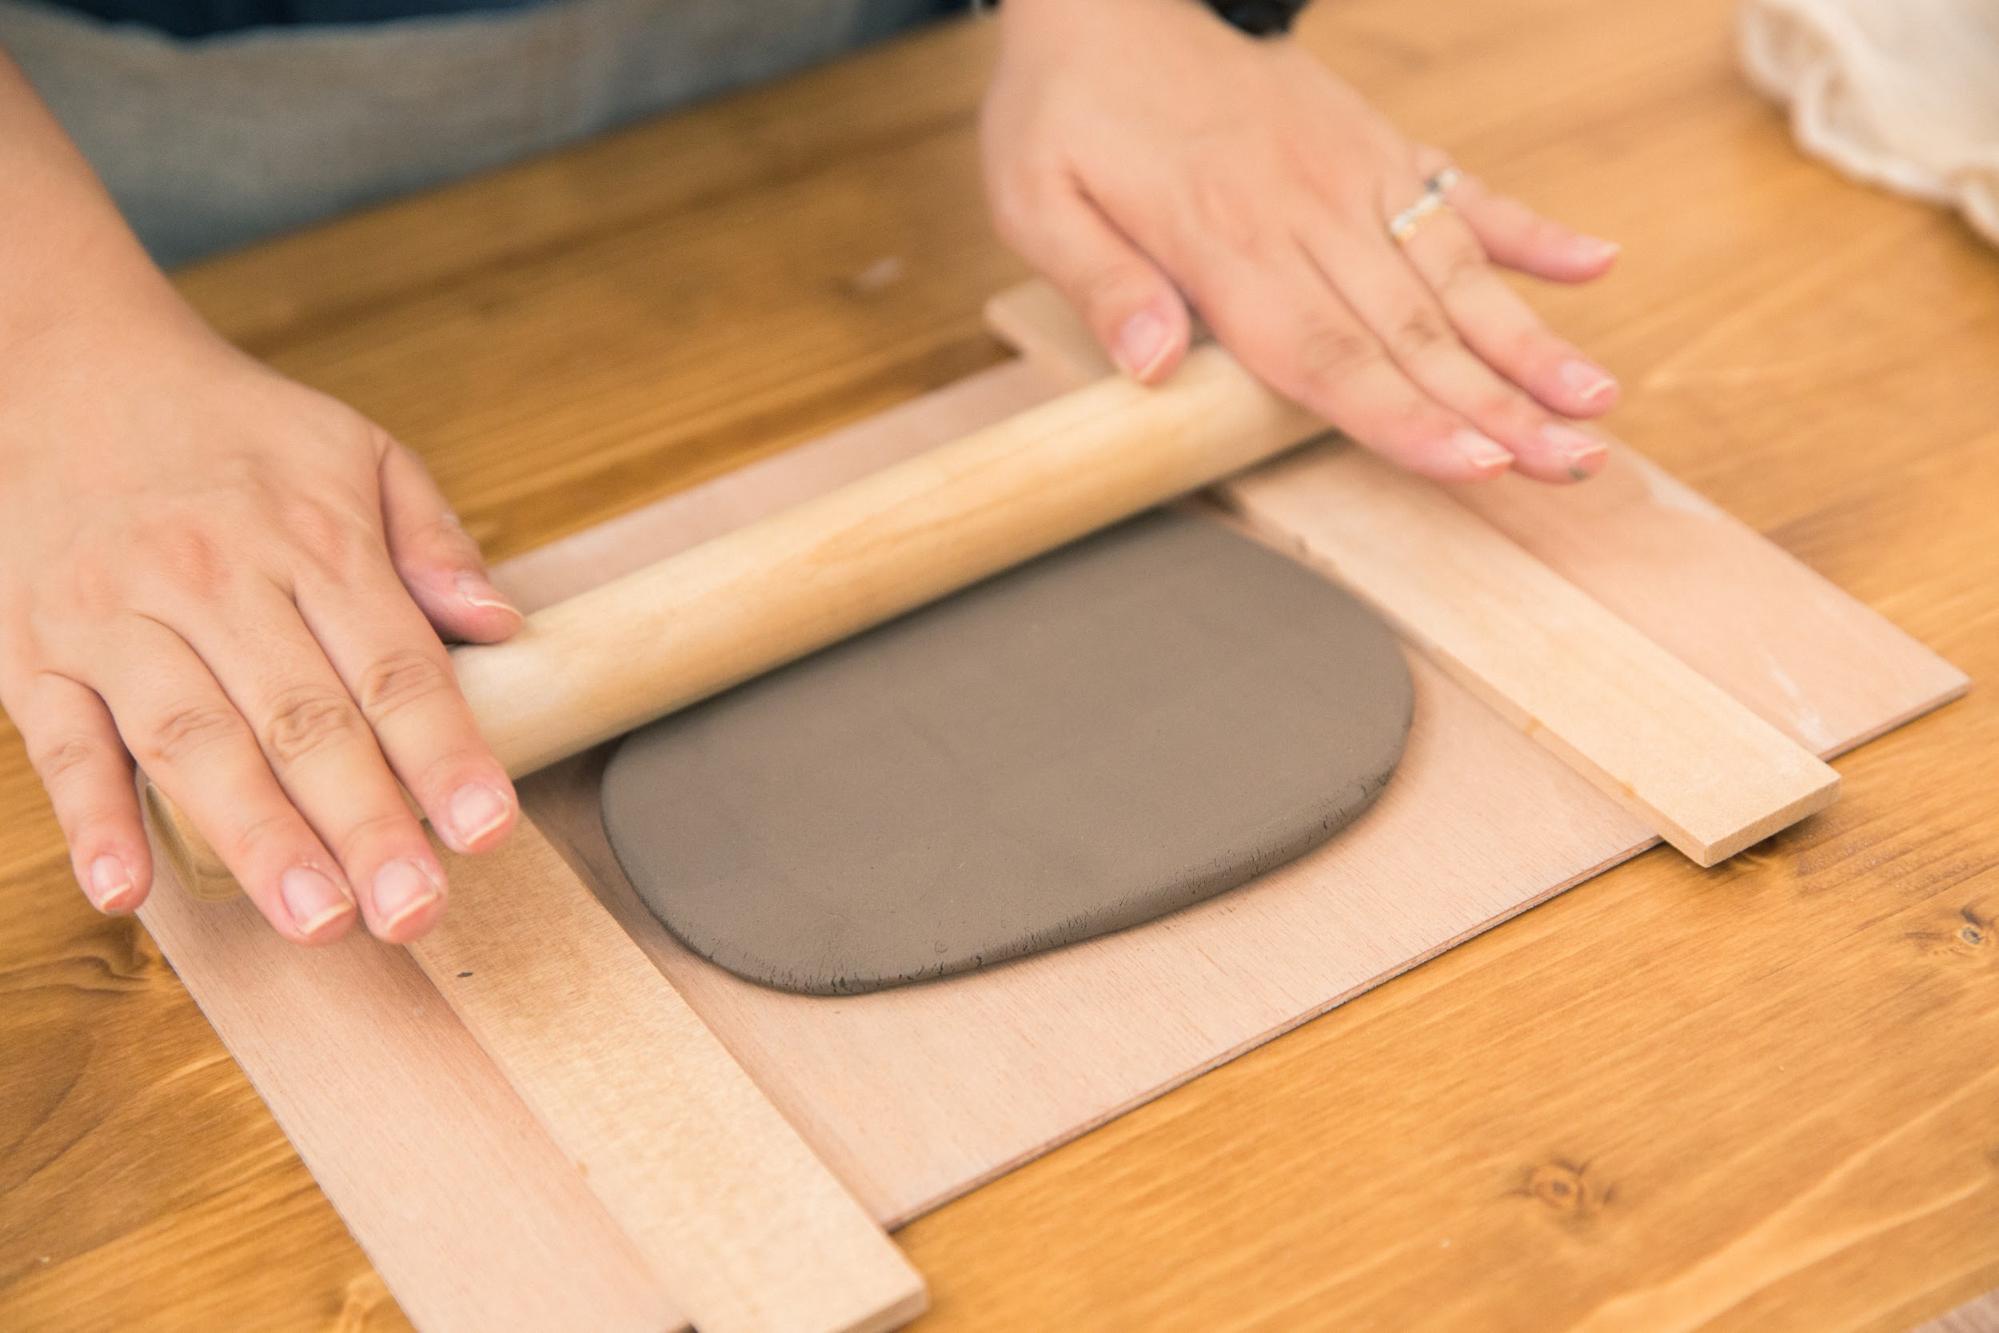
First, a long, thin board called a tatara-board is placed on a wooden clay board and stretch the clay with the rolling pin. The tatara board makes it easy to a uniform thickness. By making the thickness uniform, the clay dries evenly.
By the way, oven pottery clay dries more easily than paper clay or oil clay, so it is important to moisten it moderately with a sprayer.
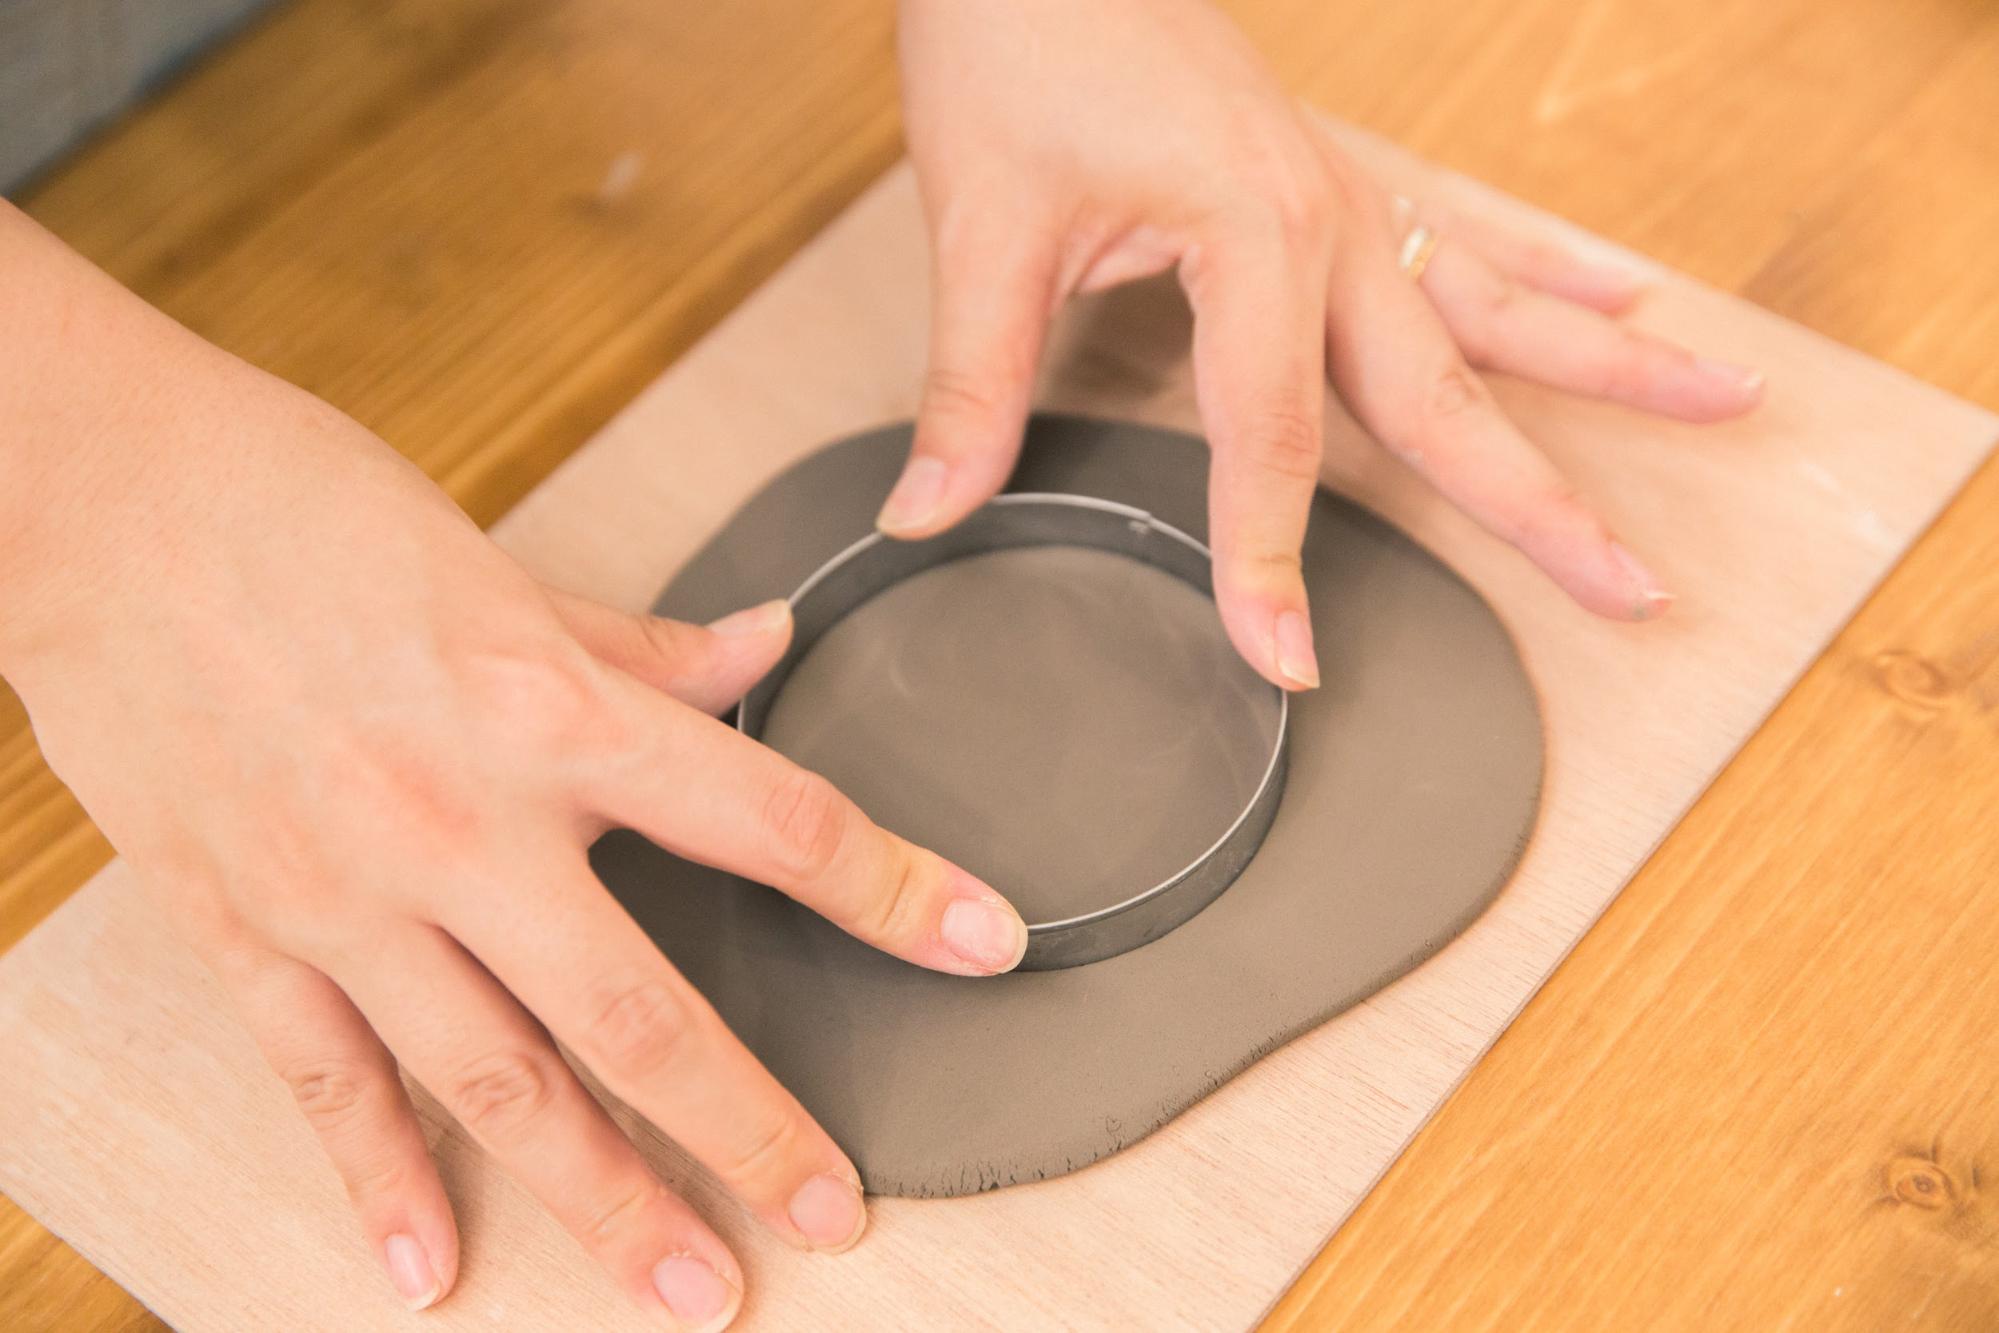
First of all, we decided to make a bean plate. Cut out a circle with a formwork.
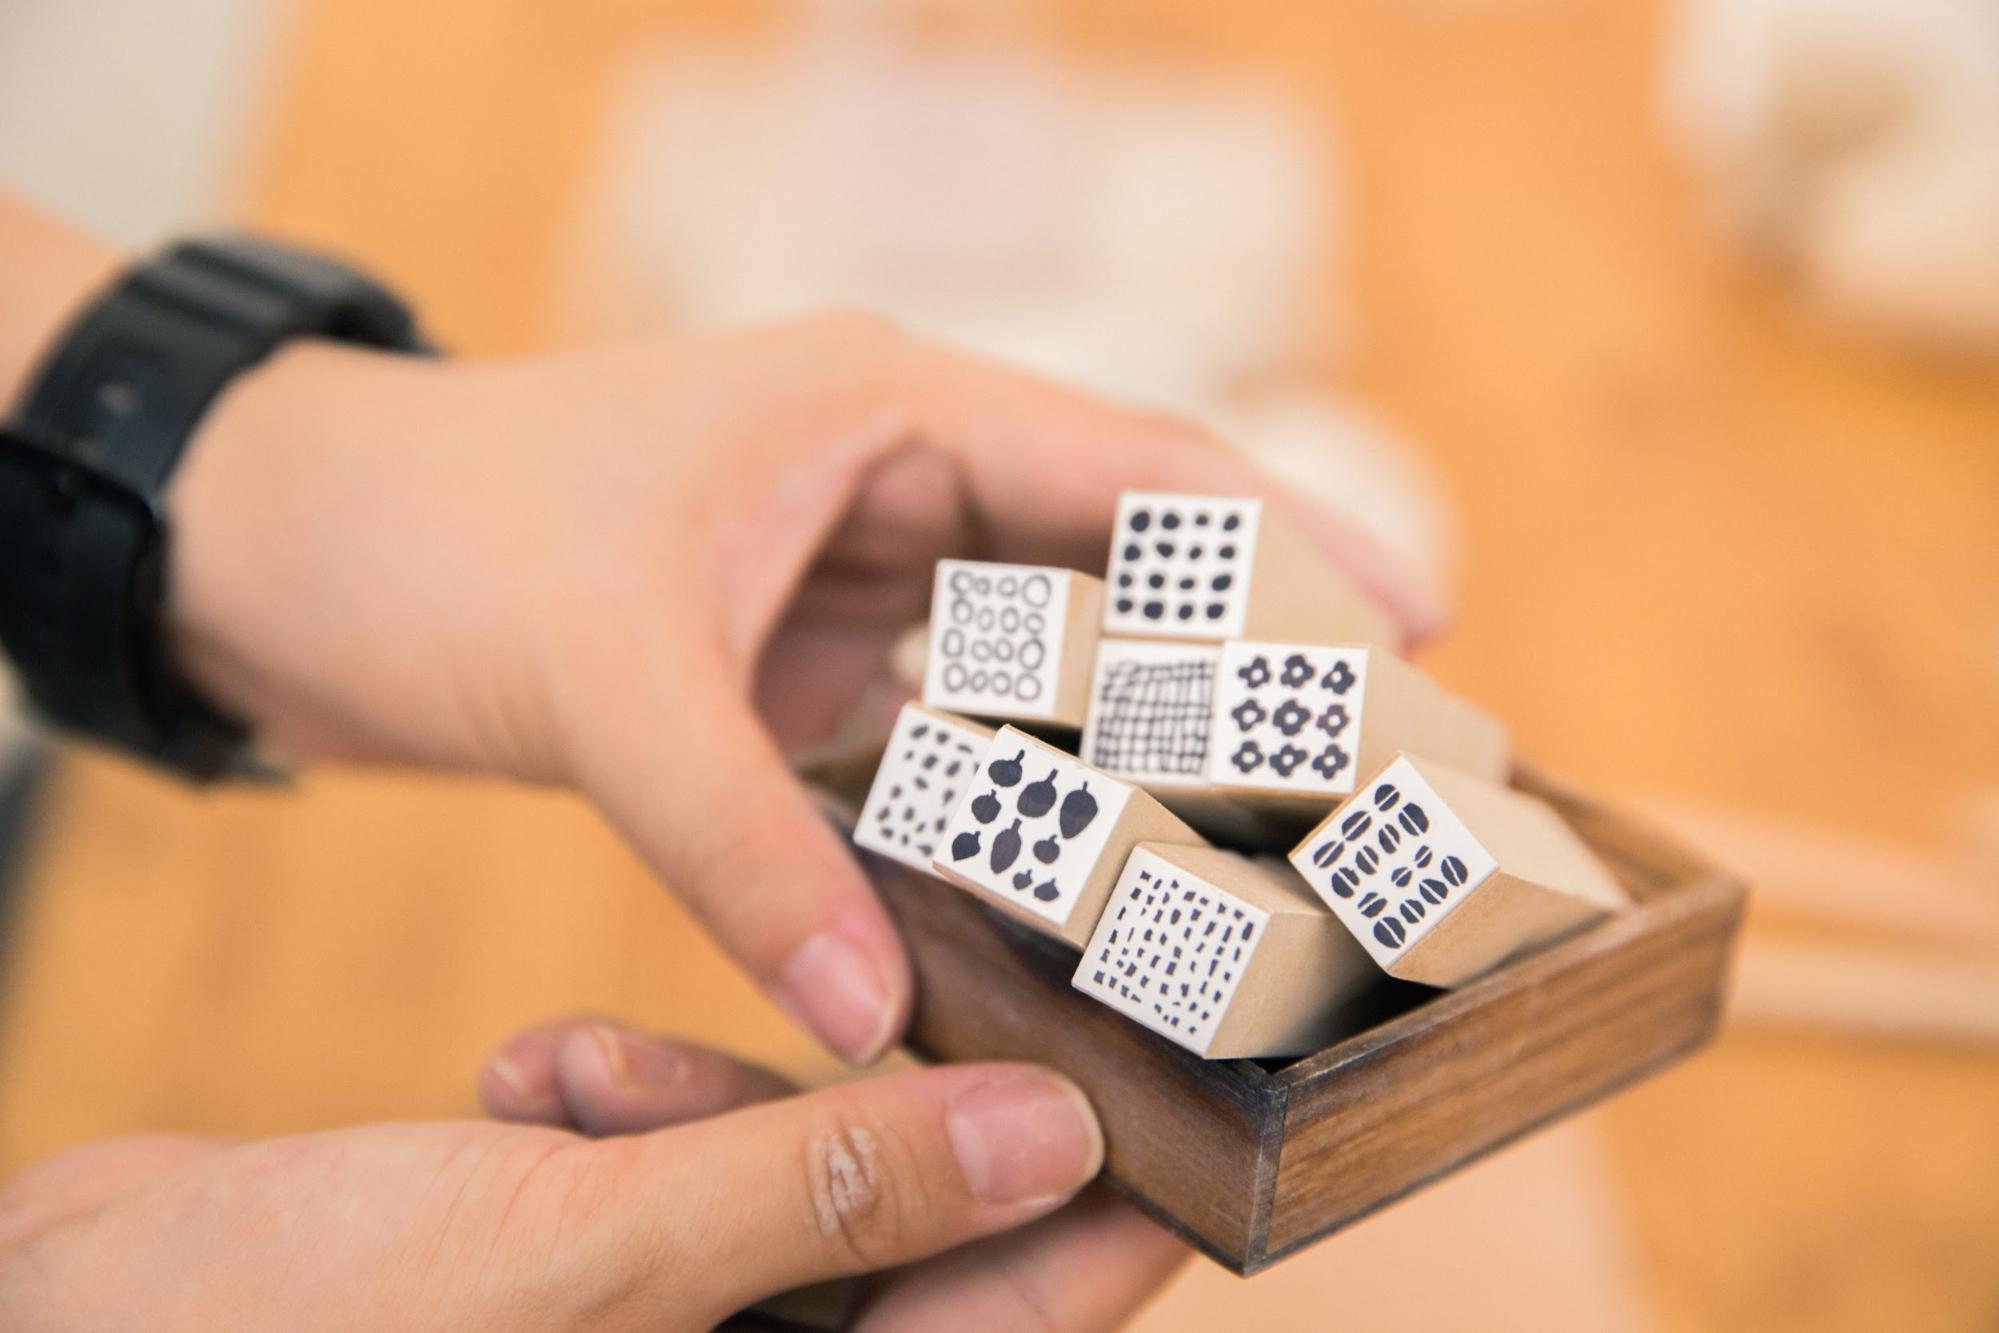
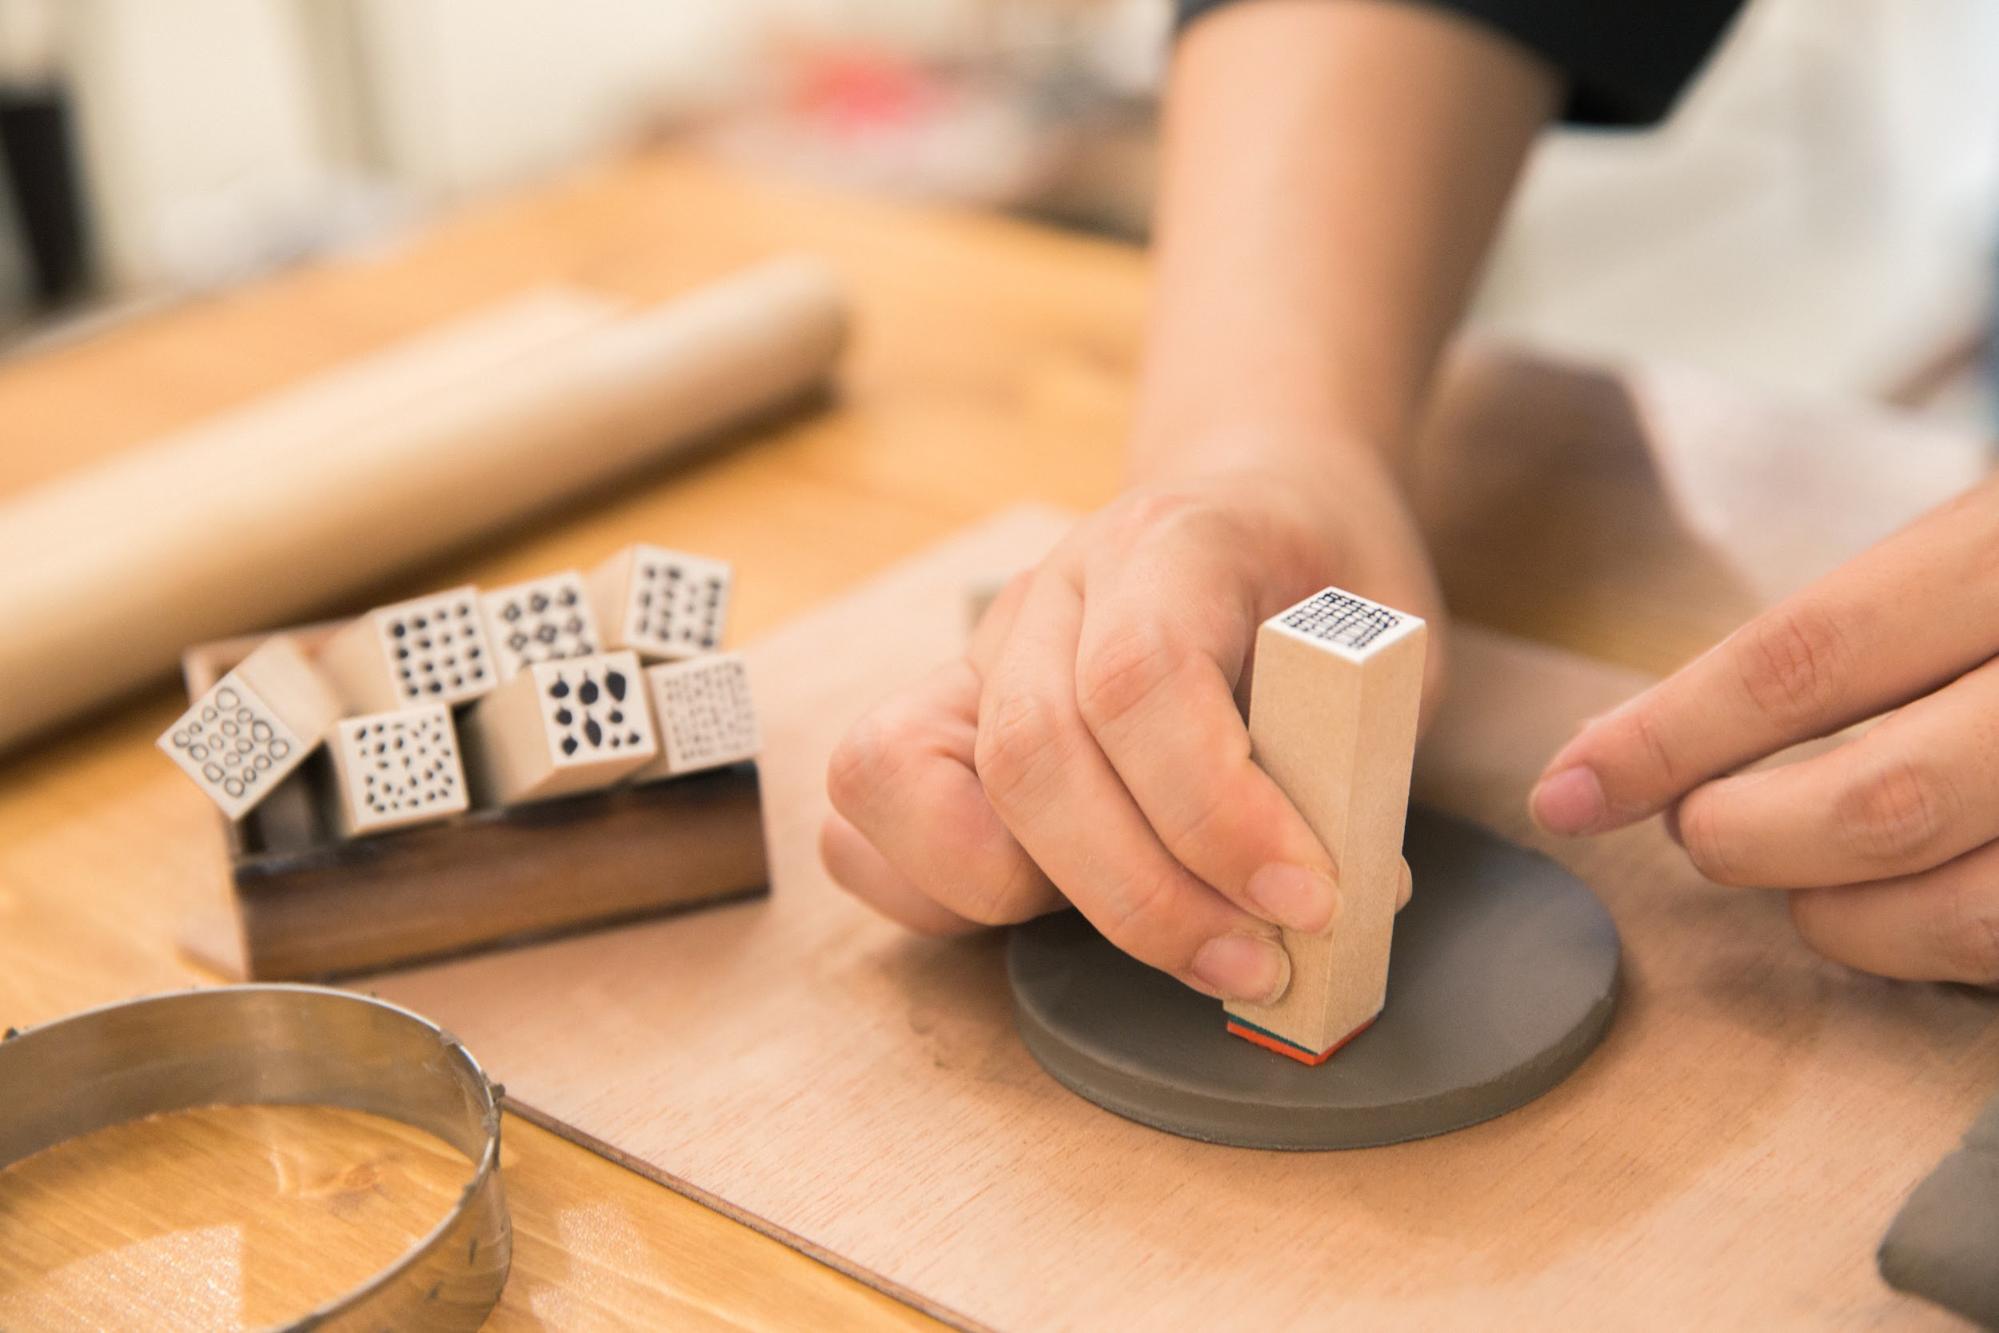
Add a pattern with your favorite stamp...
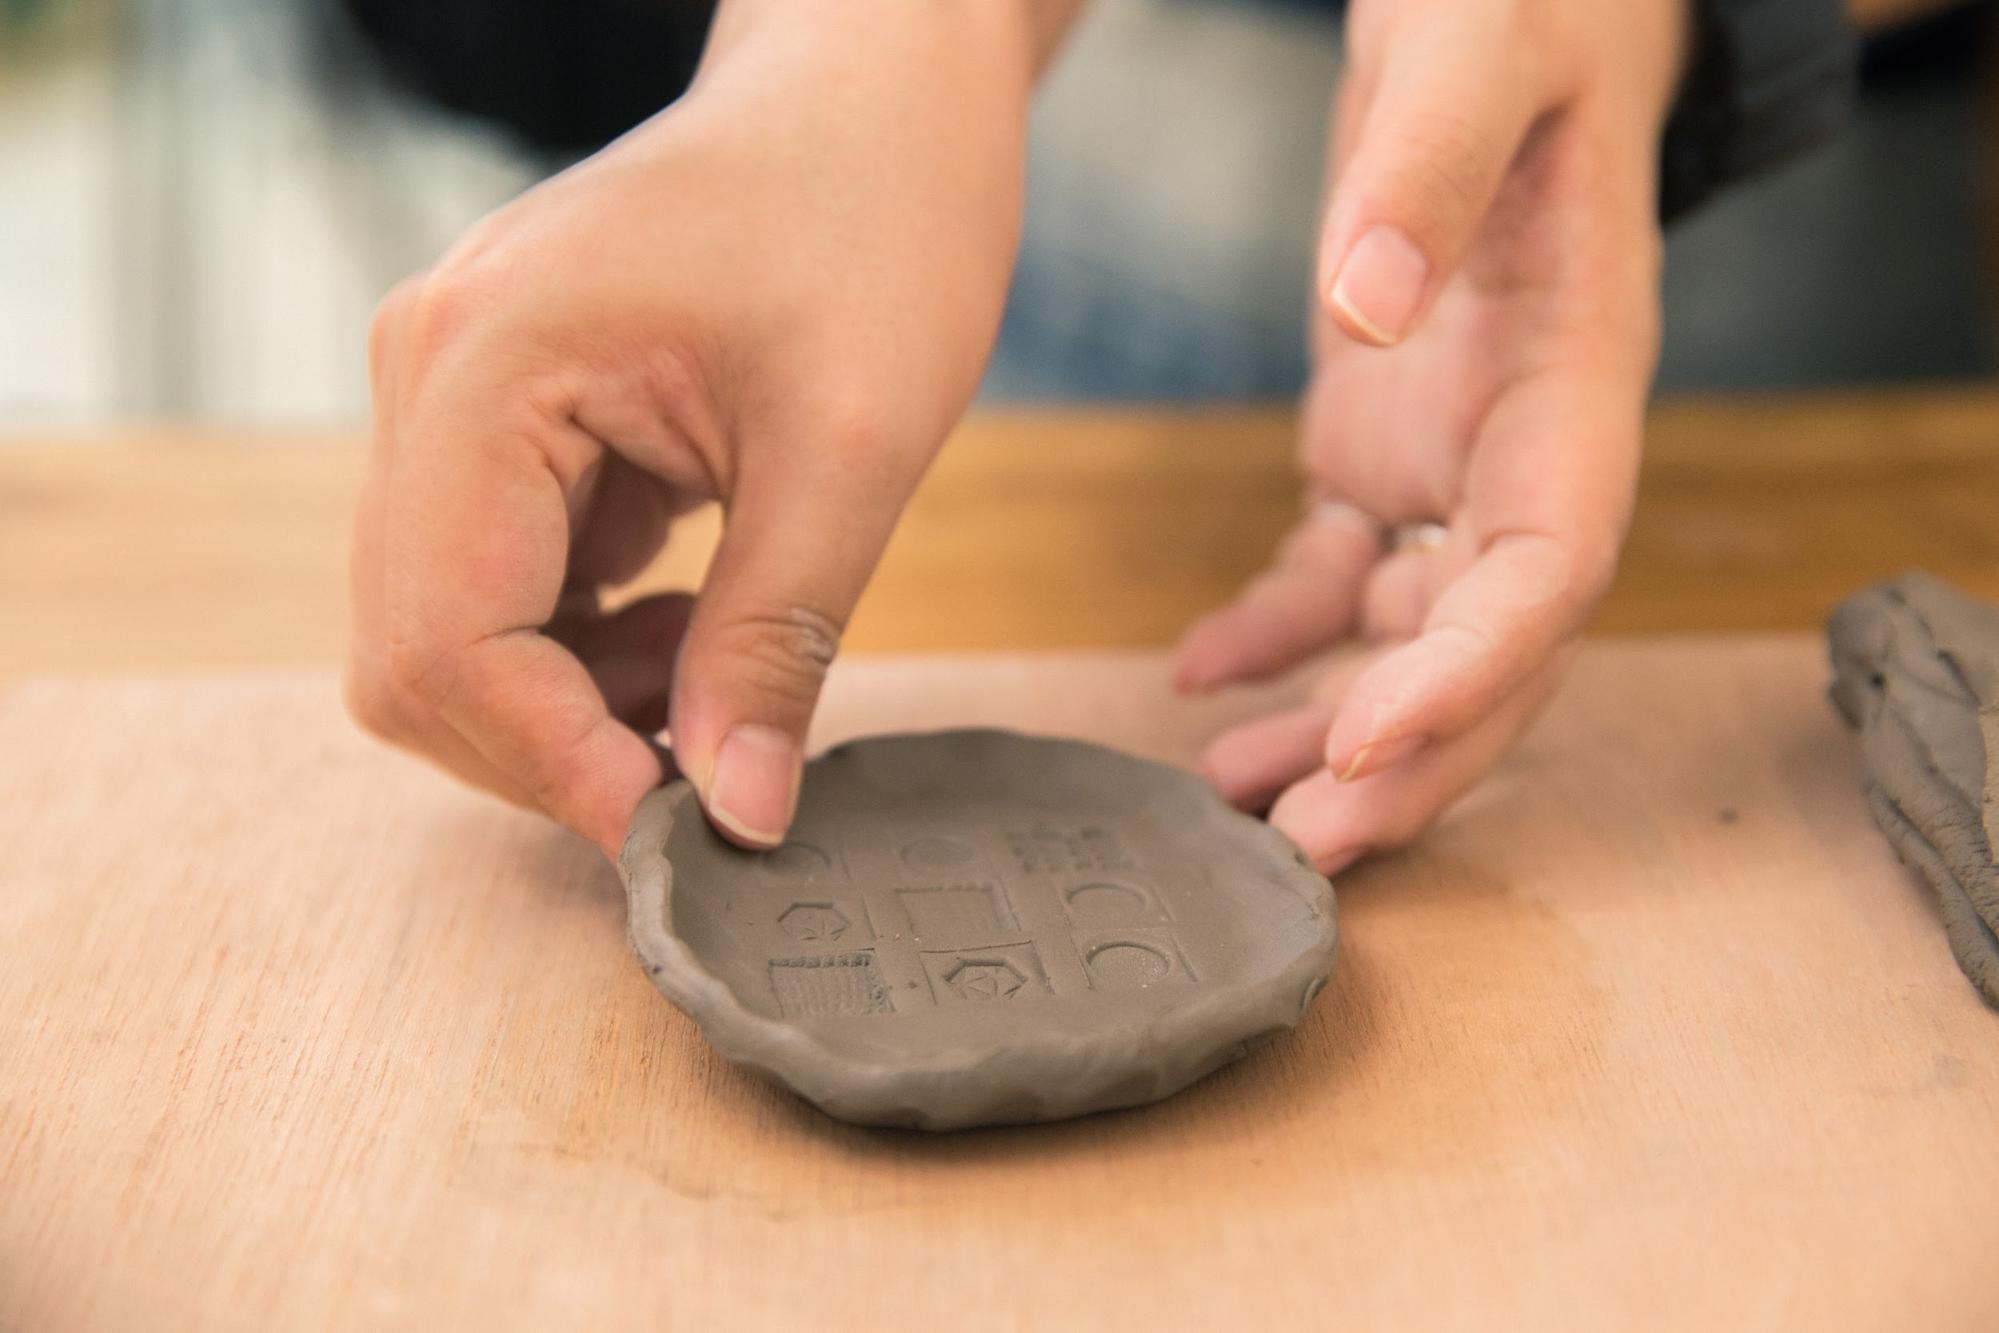
Raise the edge and adjust the shape, and the mamezara is complete!
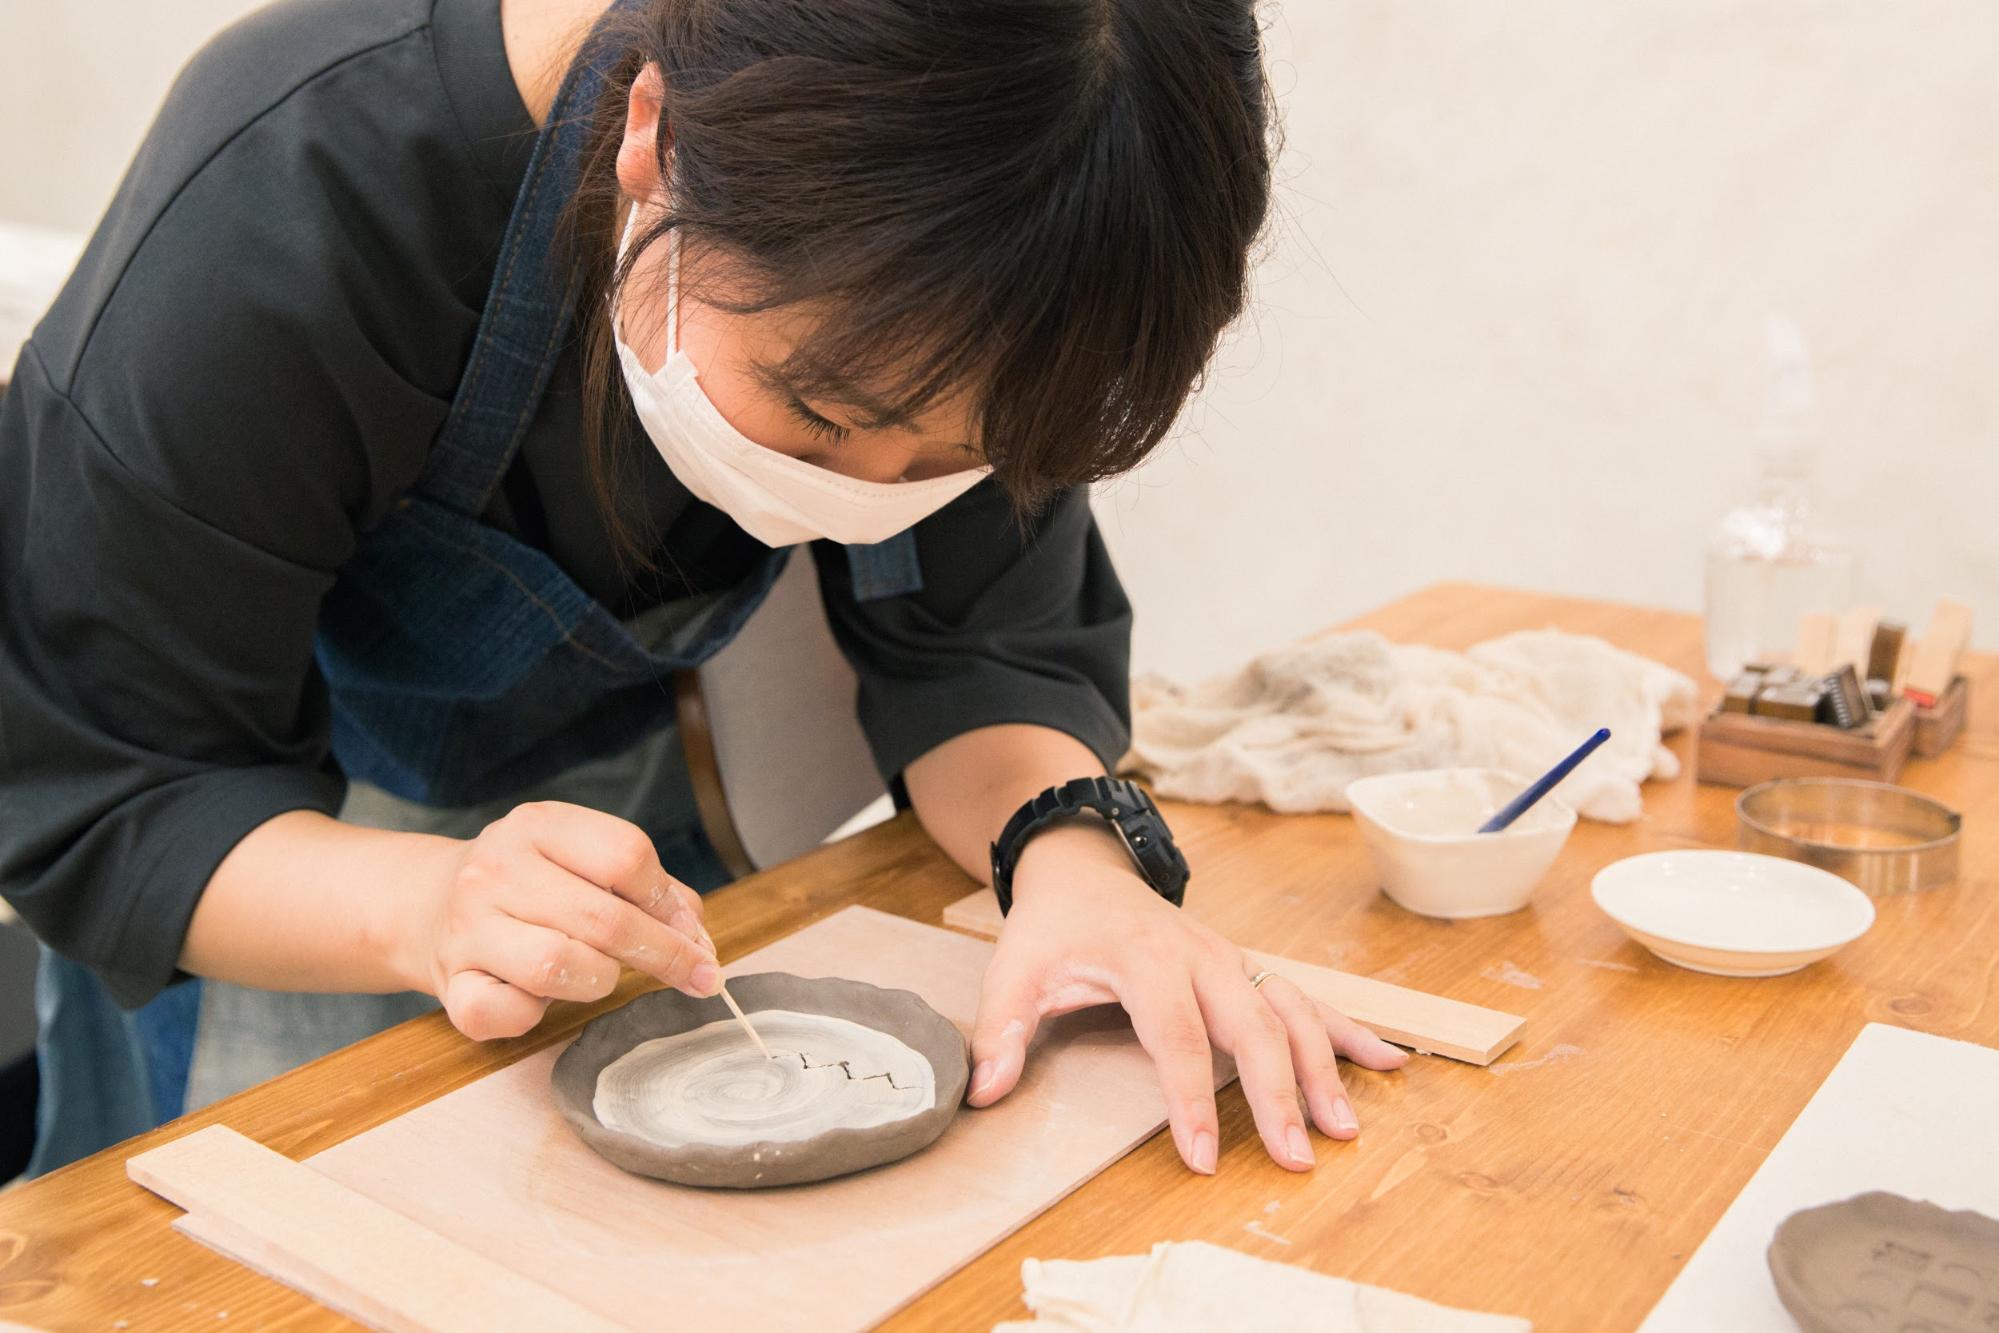
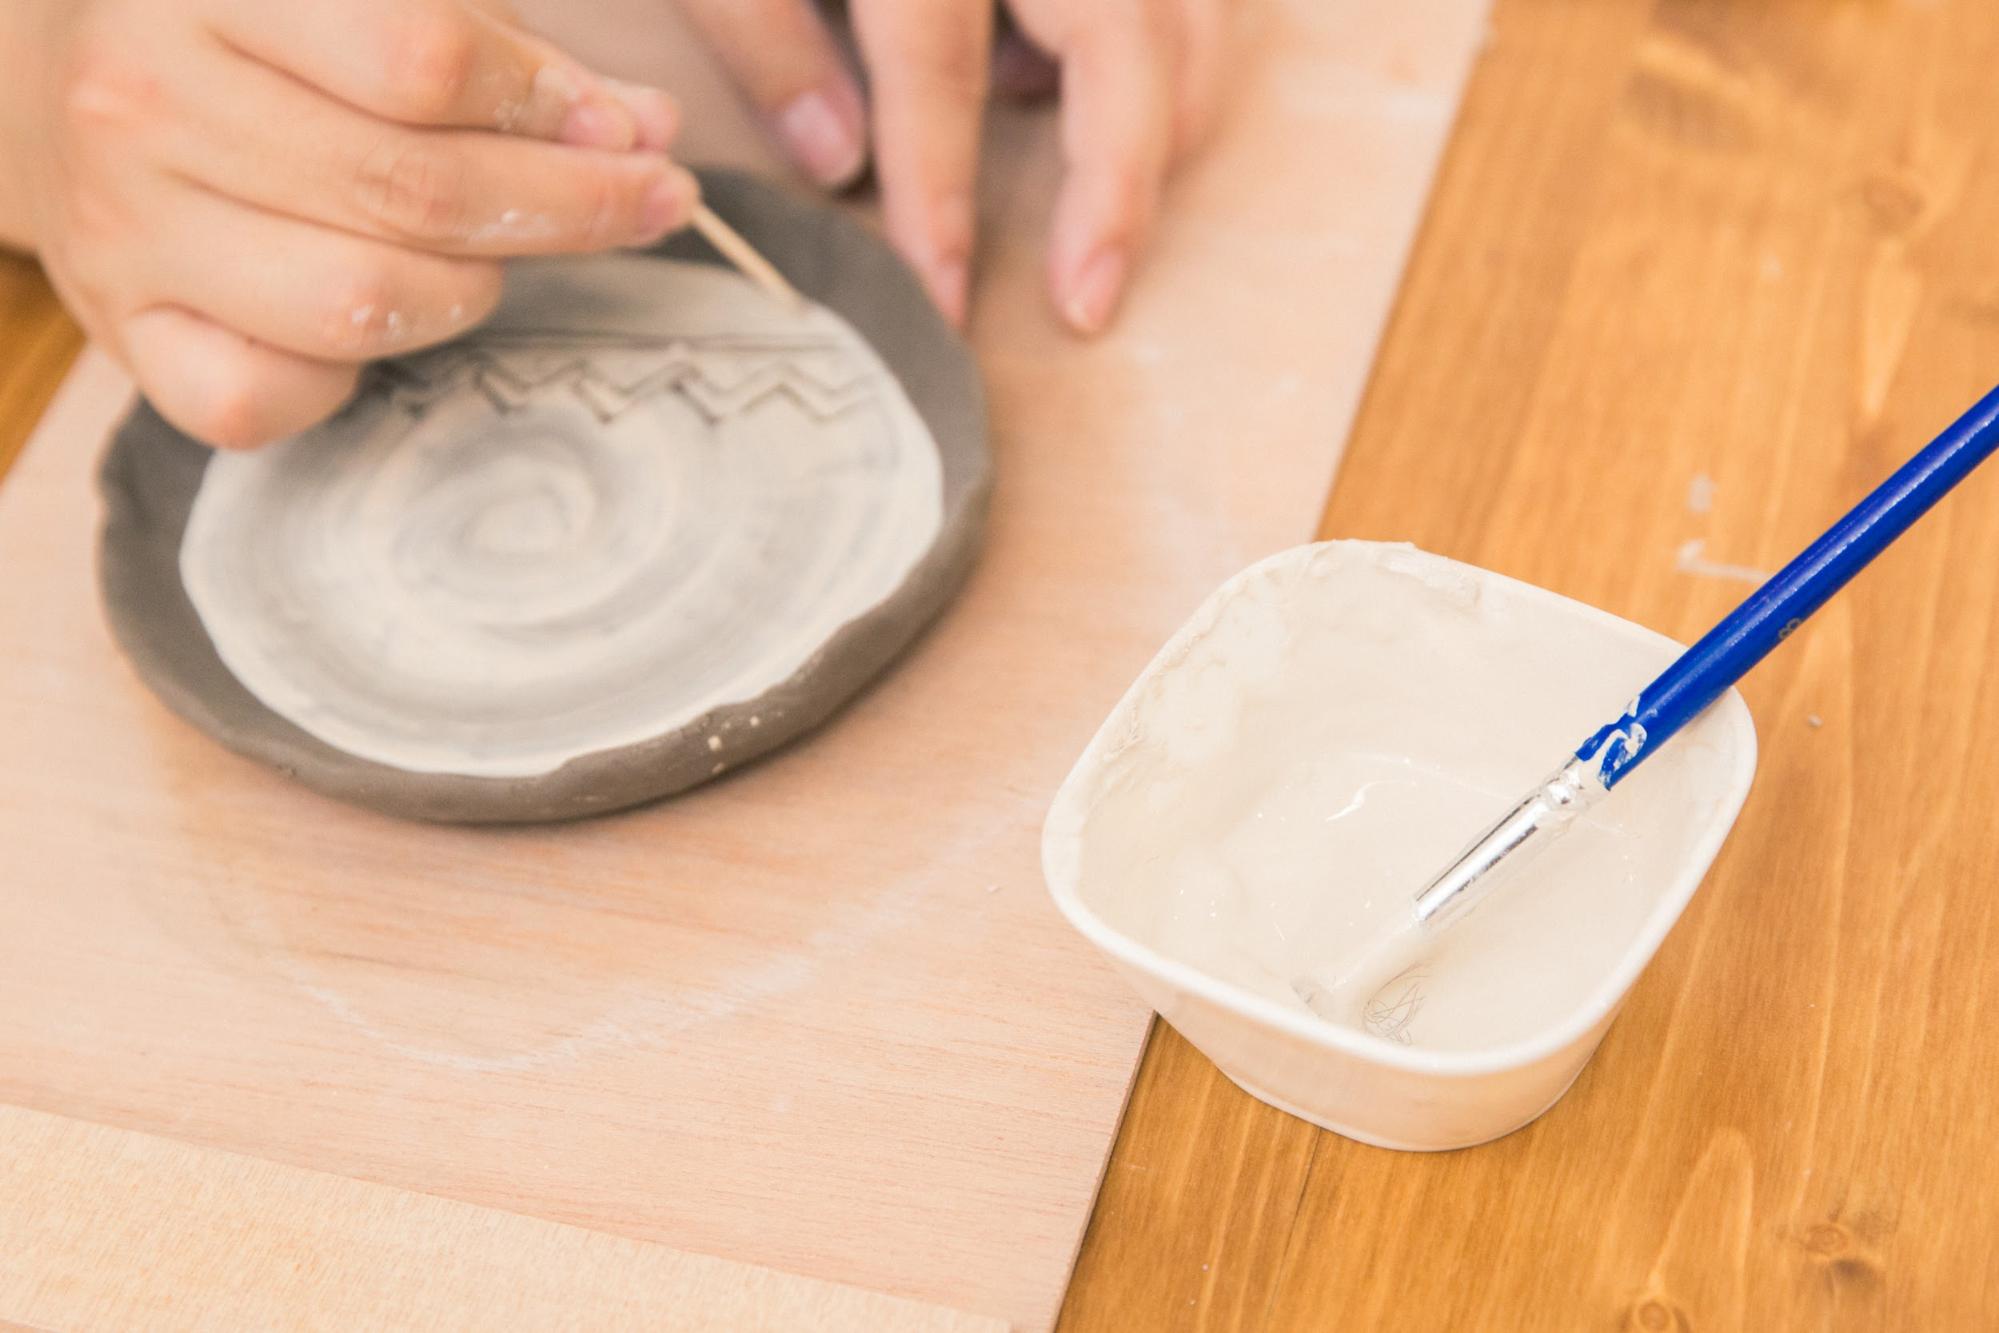
Next, we decided to add a pattern with Dobe (clay dissolved in water). Apply a thin layer of Dobe on the surface and draw a pattern with a toothpick.
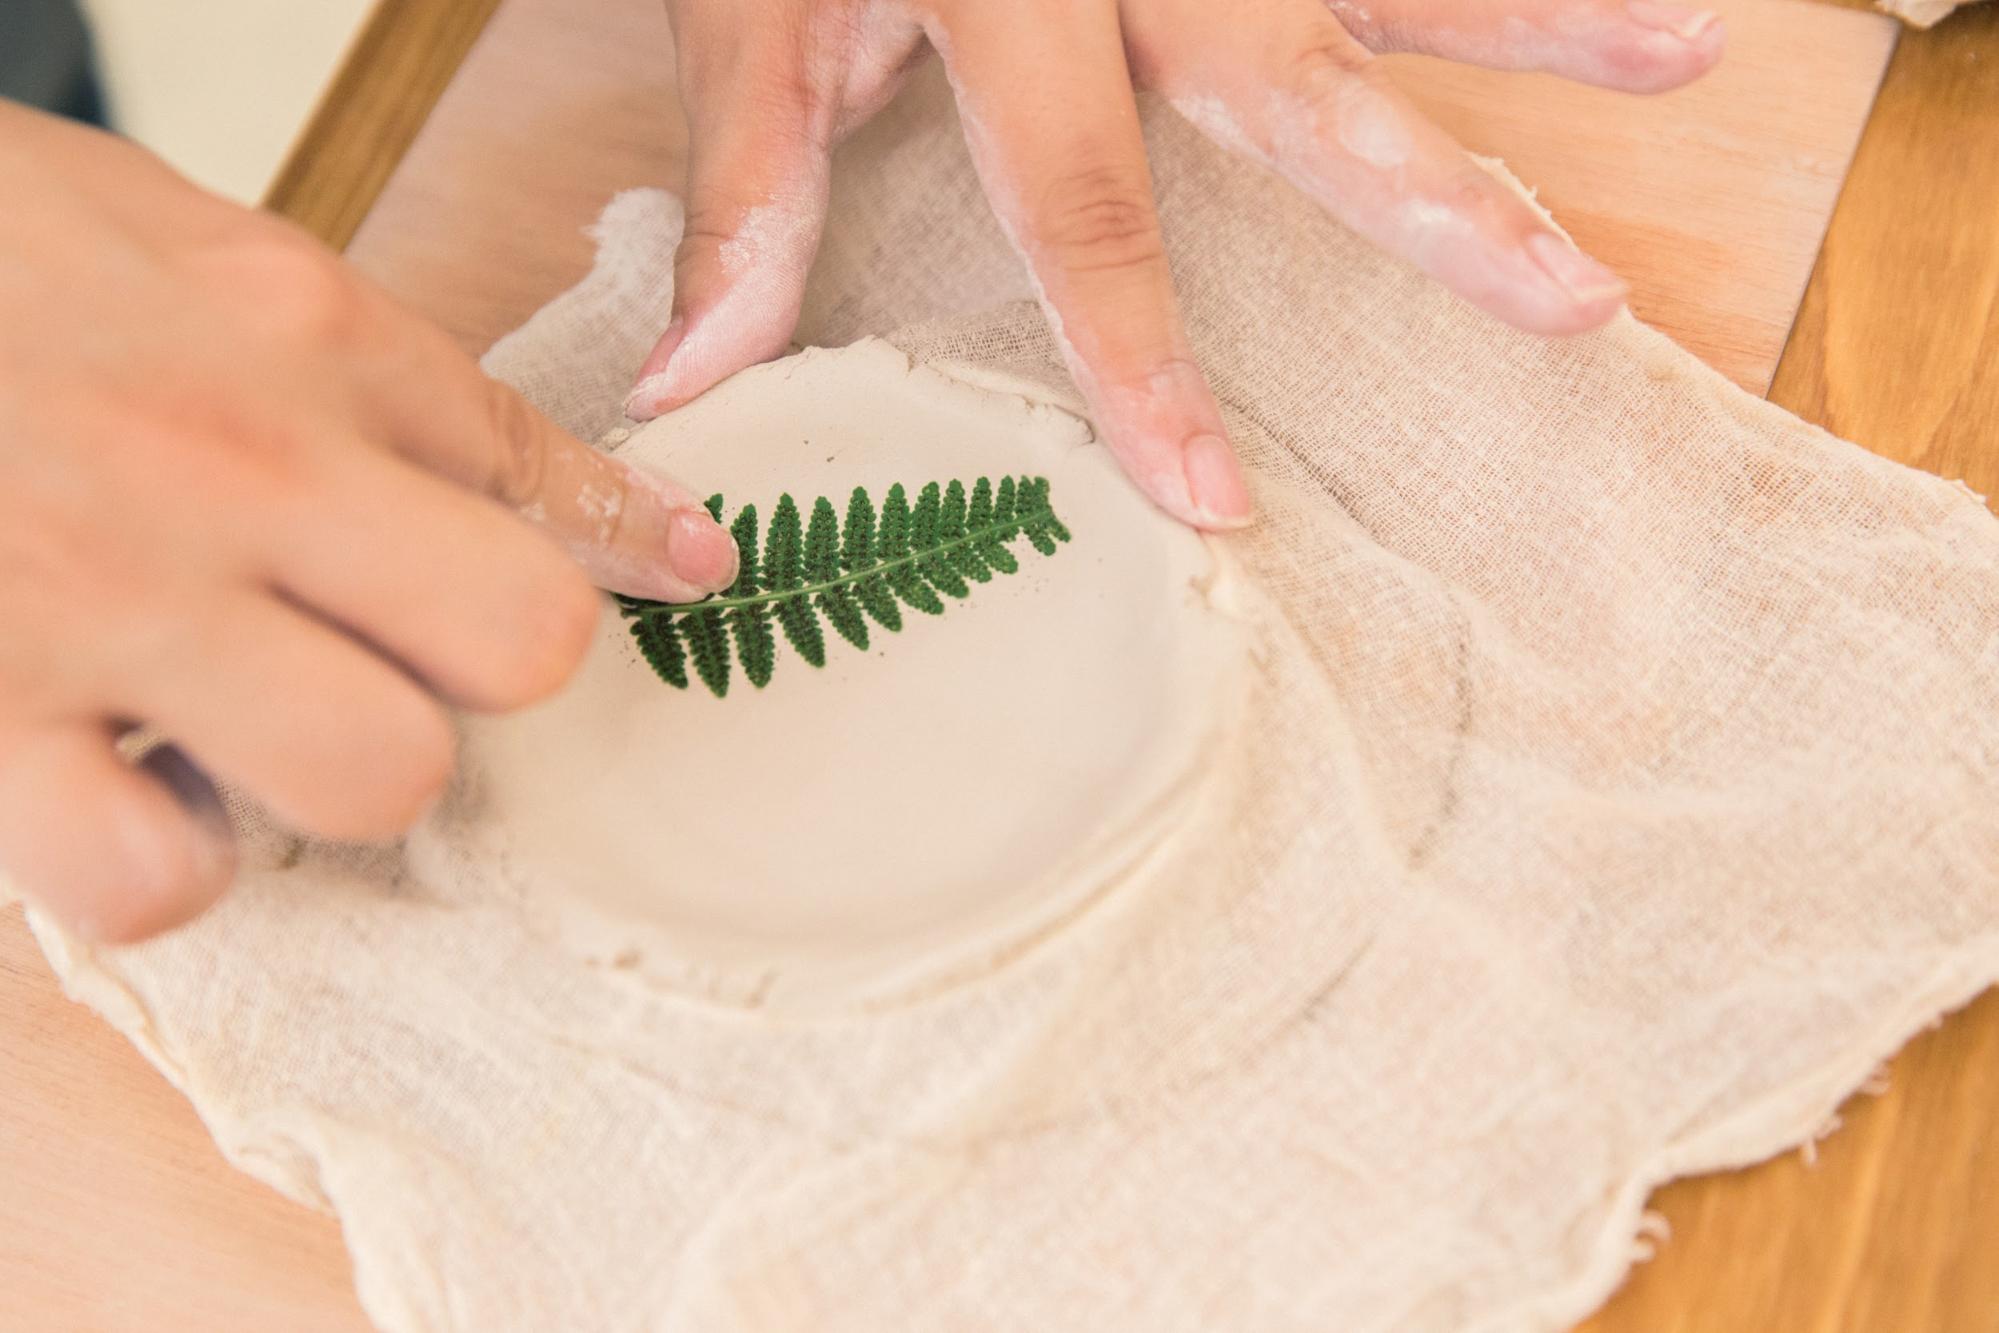
Here, we made a pattern with leaves. Just like playing with clay, you can make any shape you want. It is exciting just to think about what kind of pattern or shape you want to make.
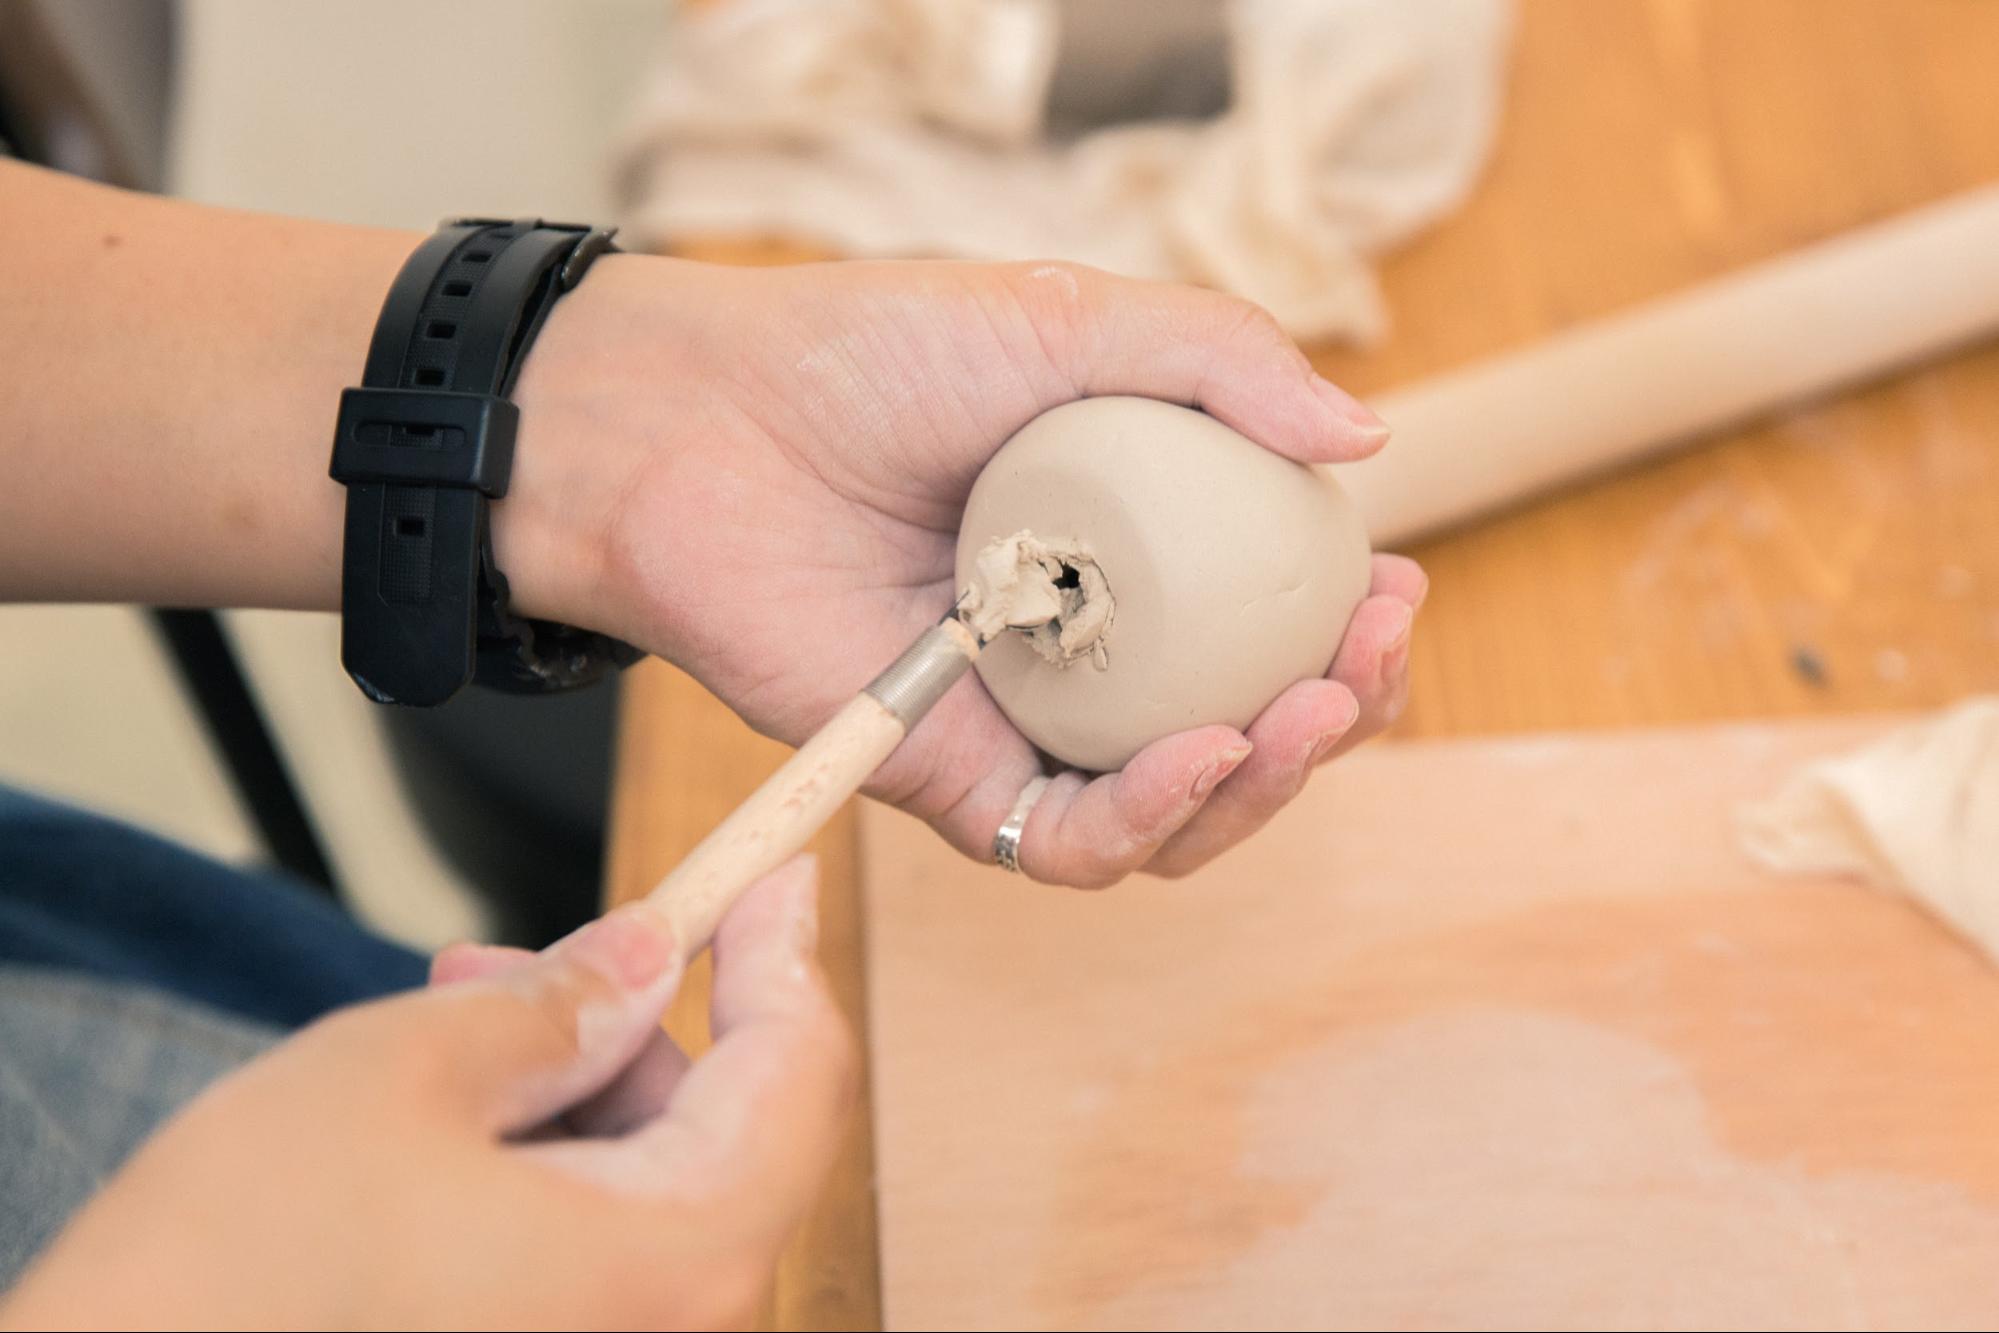
If the clay is too thick, it cannot be fired all the way through, so for three-dimensional objects, a scraping spatula is used to scrape out the clay inside. It is recommended that the thickness of the clay be within 1 cm.
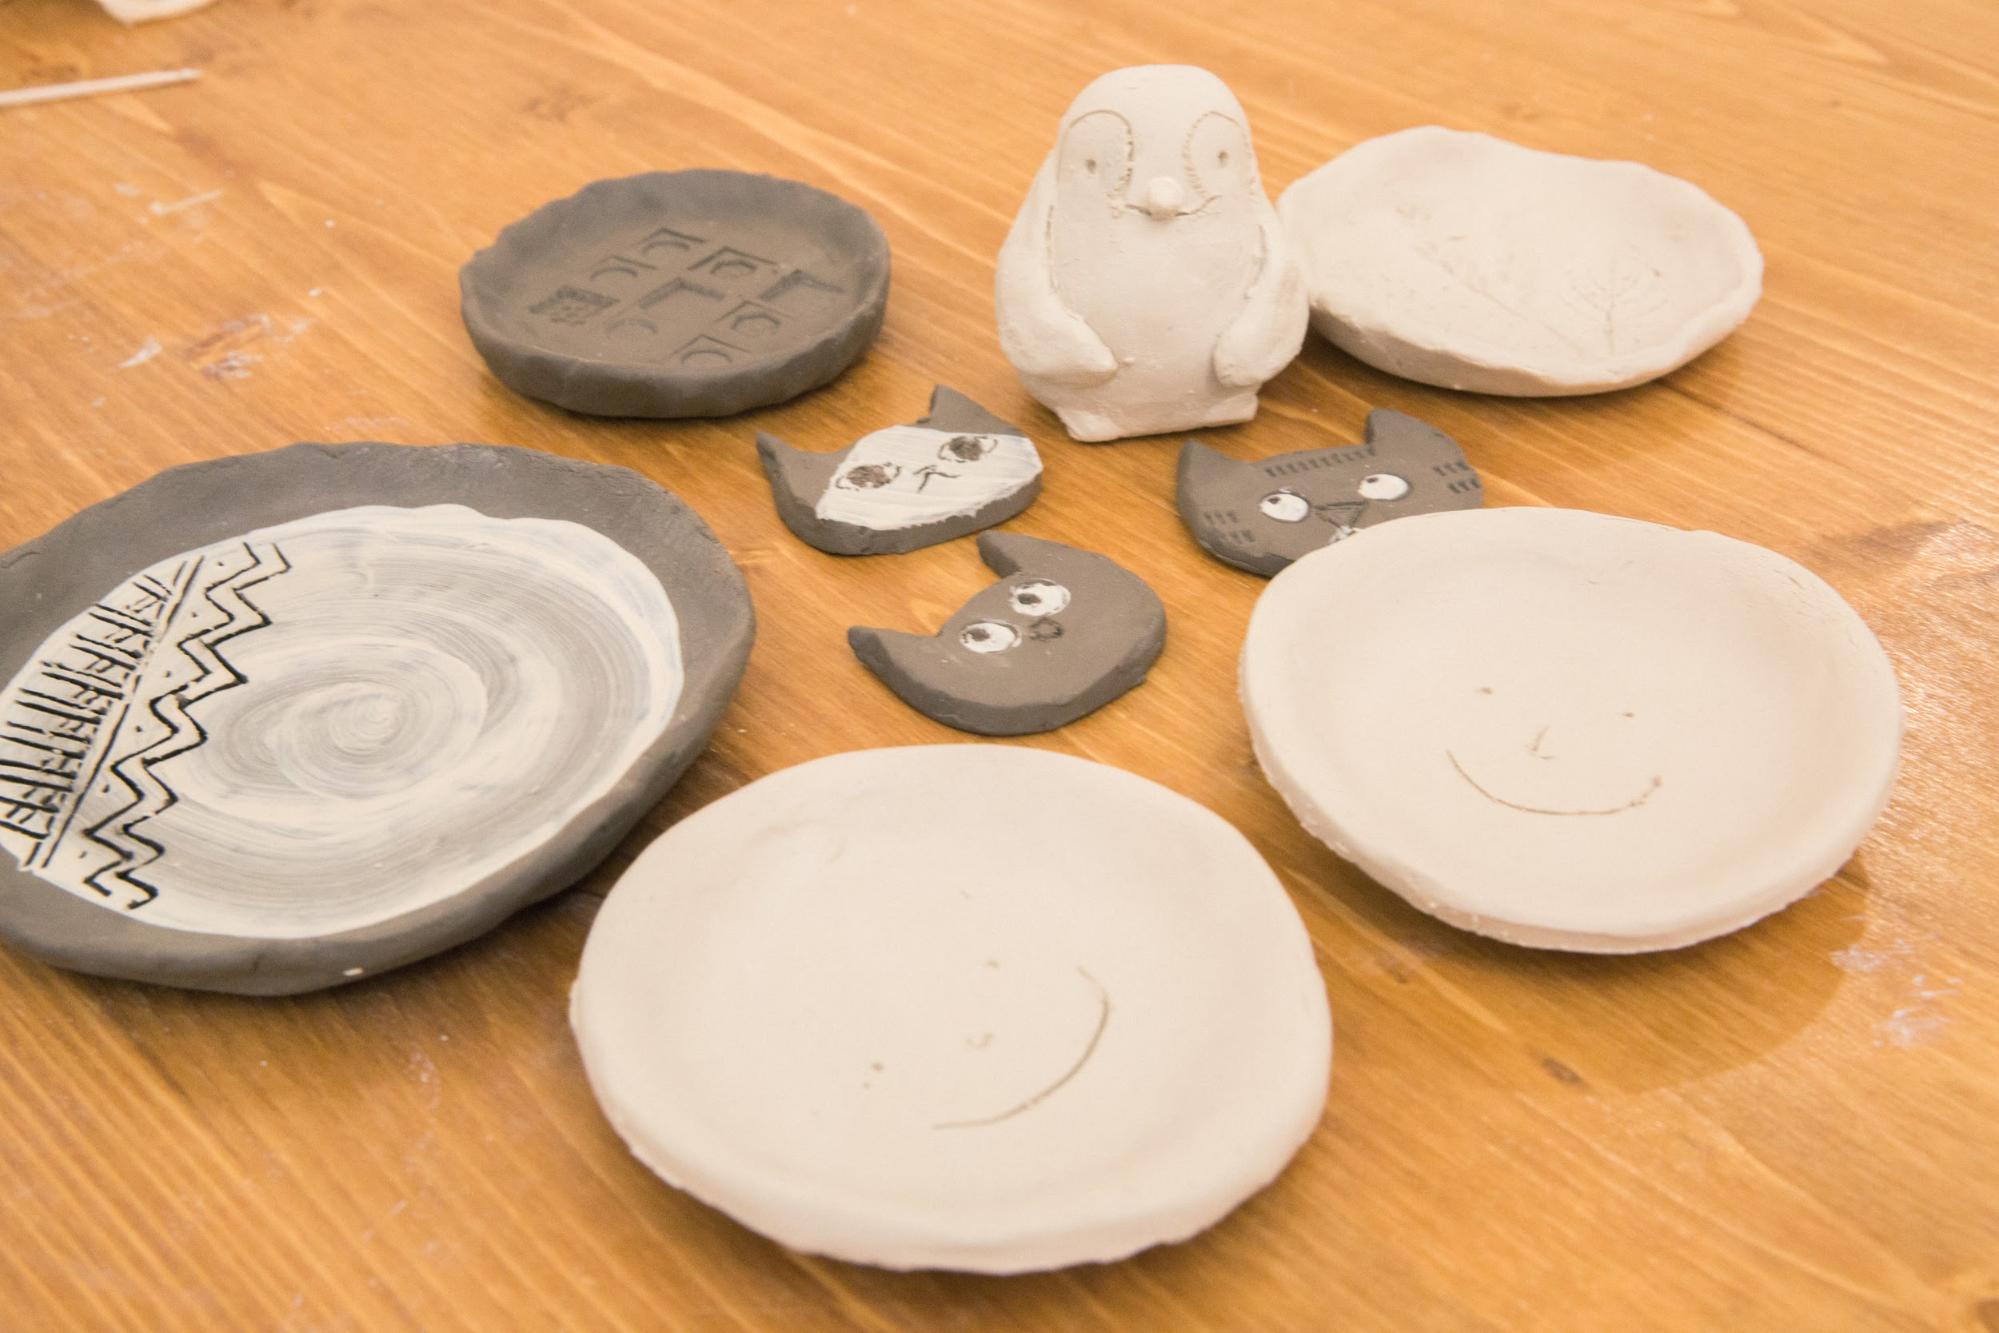
We were able to make so many with just one pottery clay! I put it in a tupperware and take it home and dry it for about a week.
I baked it in my oven at home!
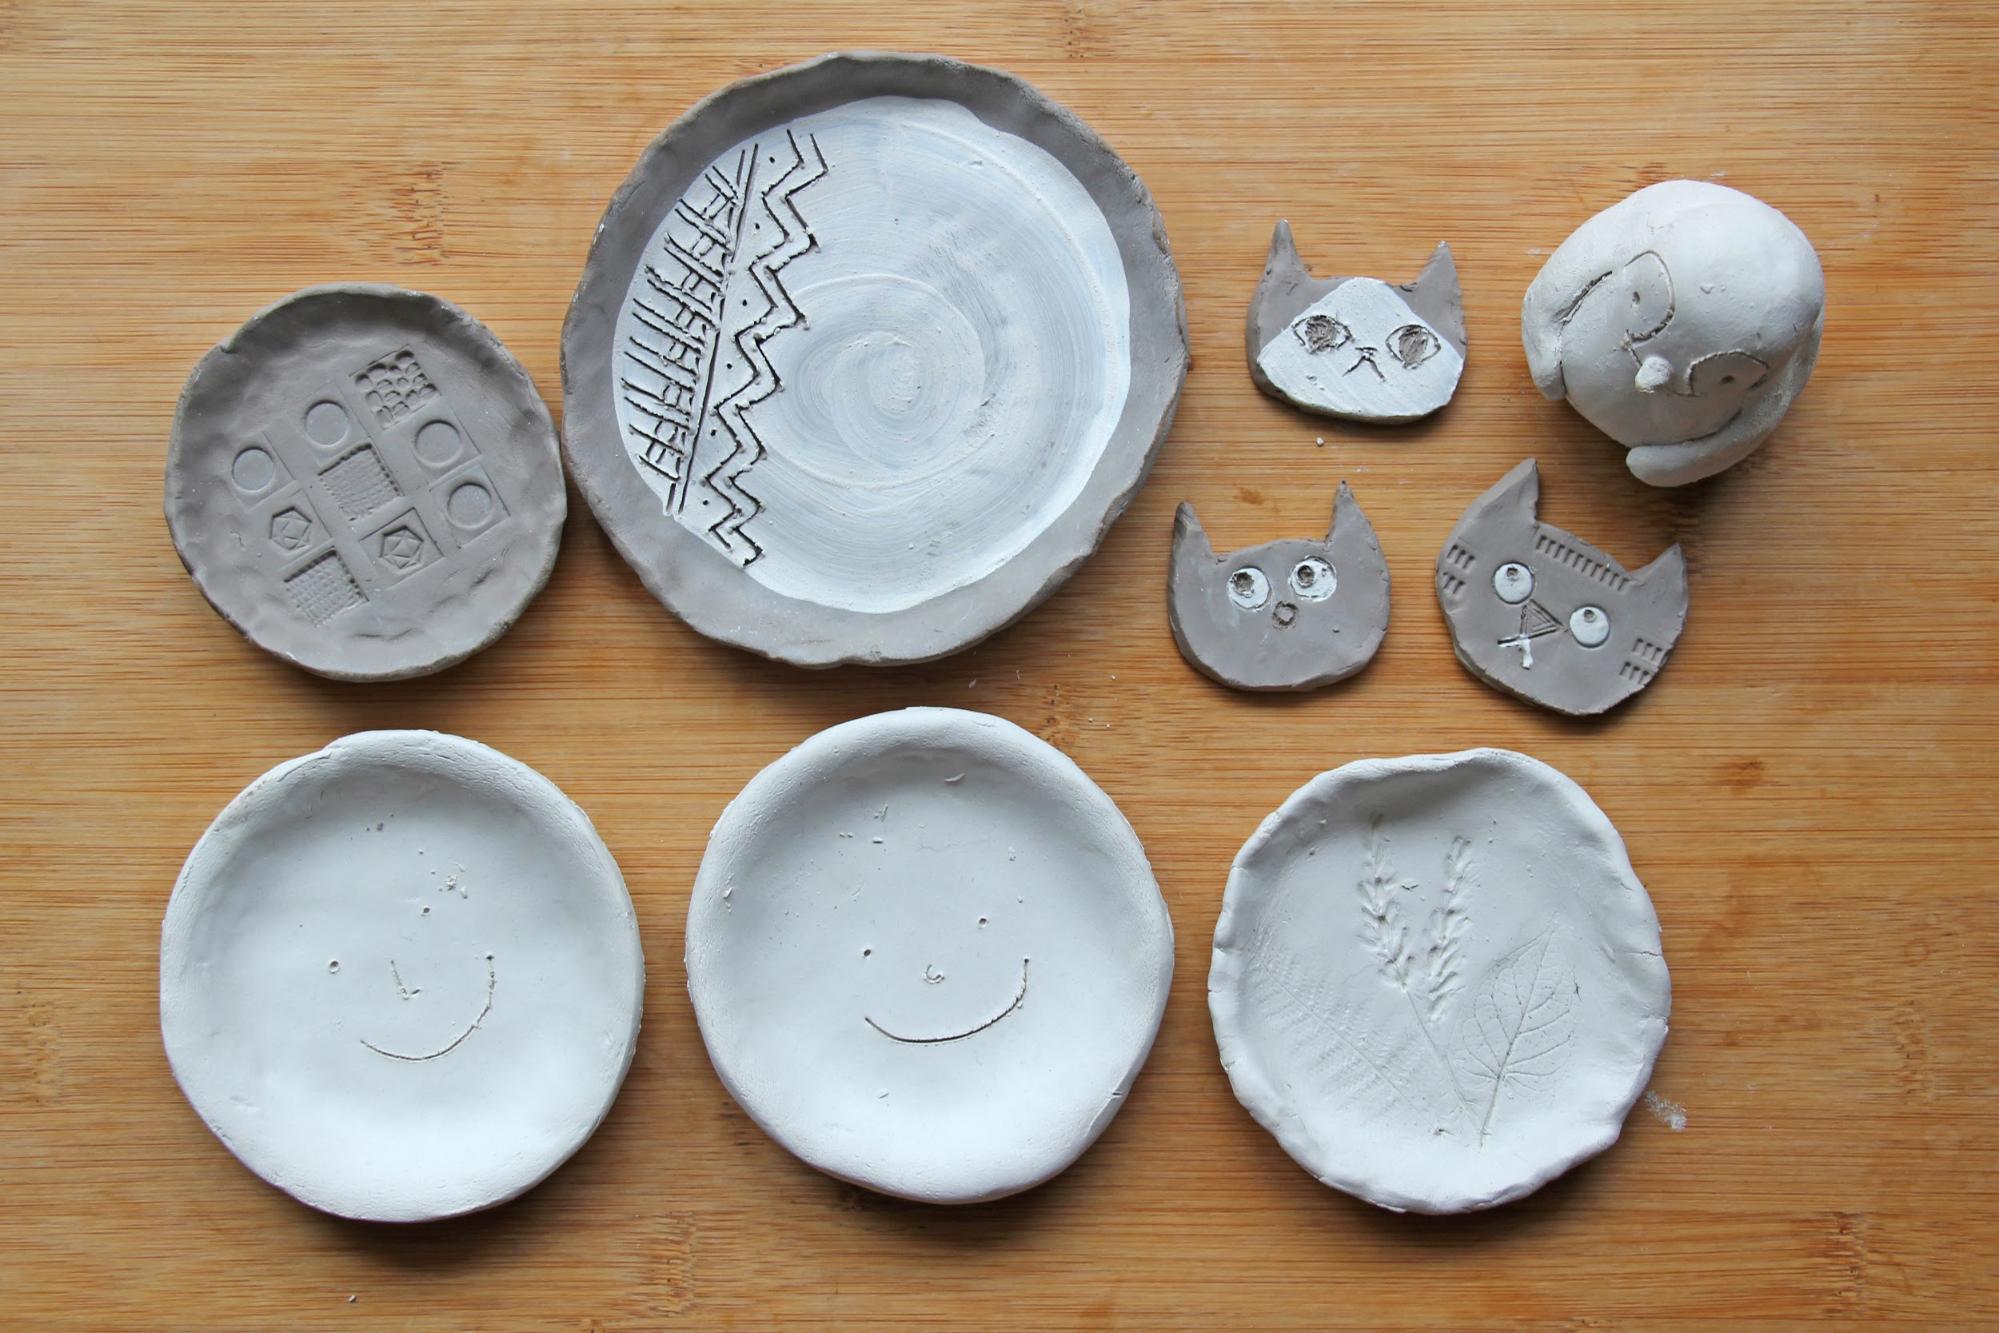
Dry in a well-ventilated place out of the sun. In the rainy season, it took about 10 days for all the pieces to dry. A standard for drying is that it is ready when the moisture is removed and the overall color becomes whitish!
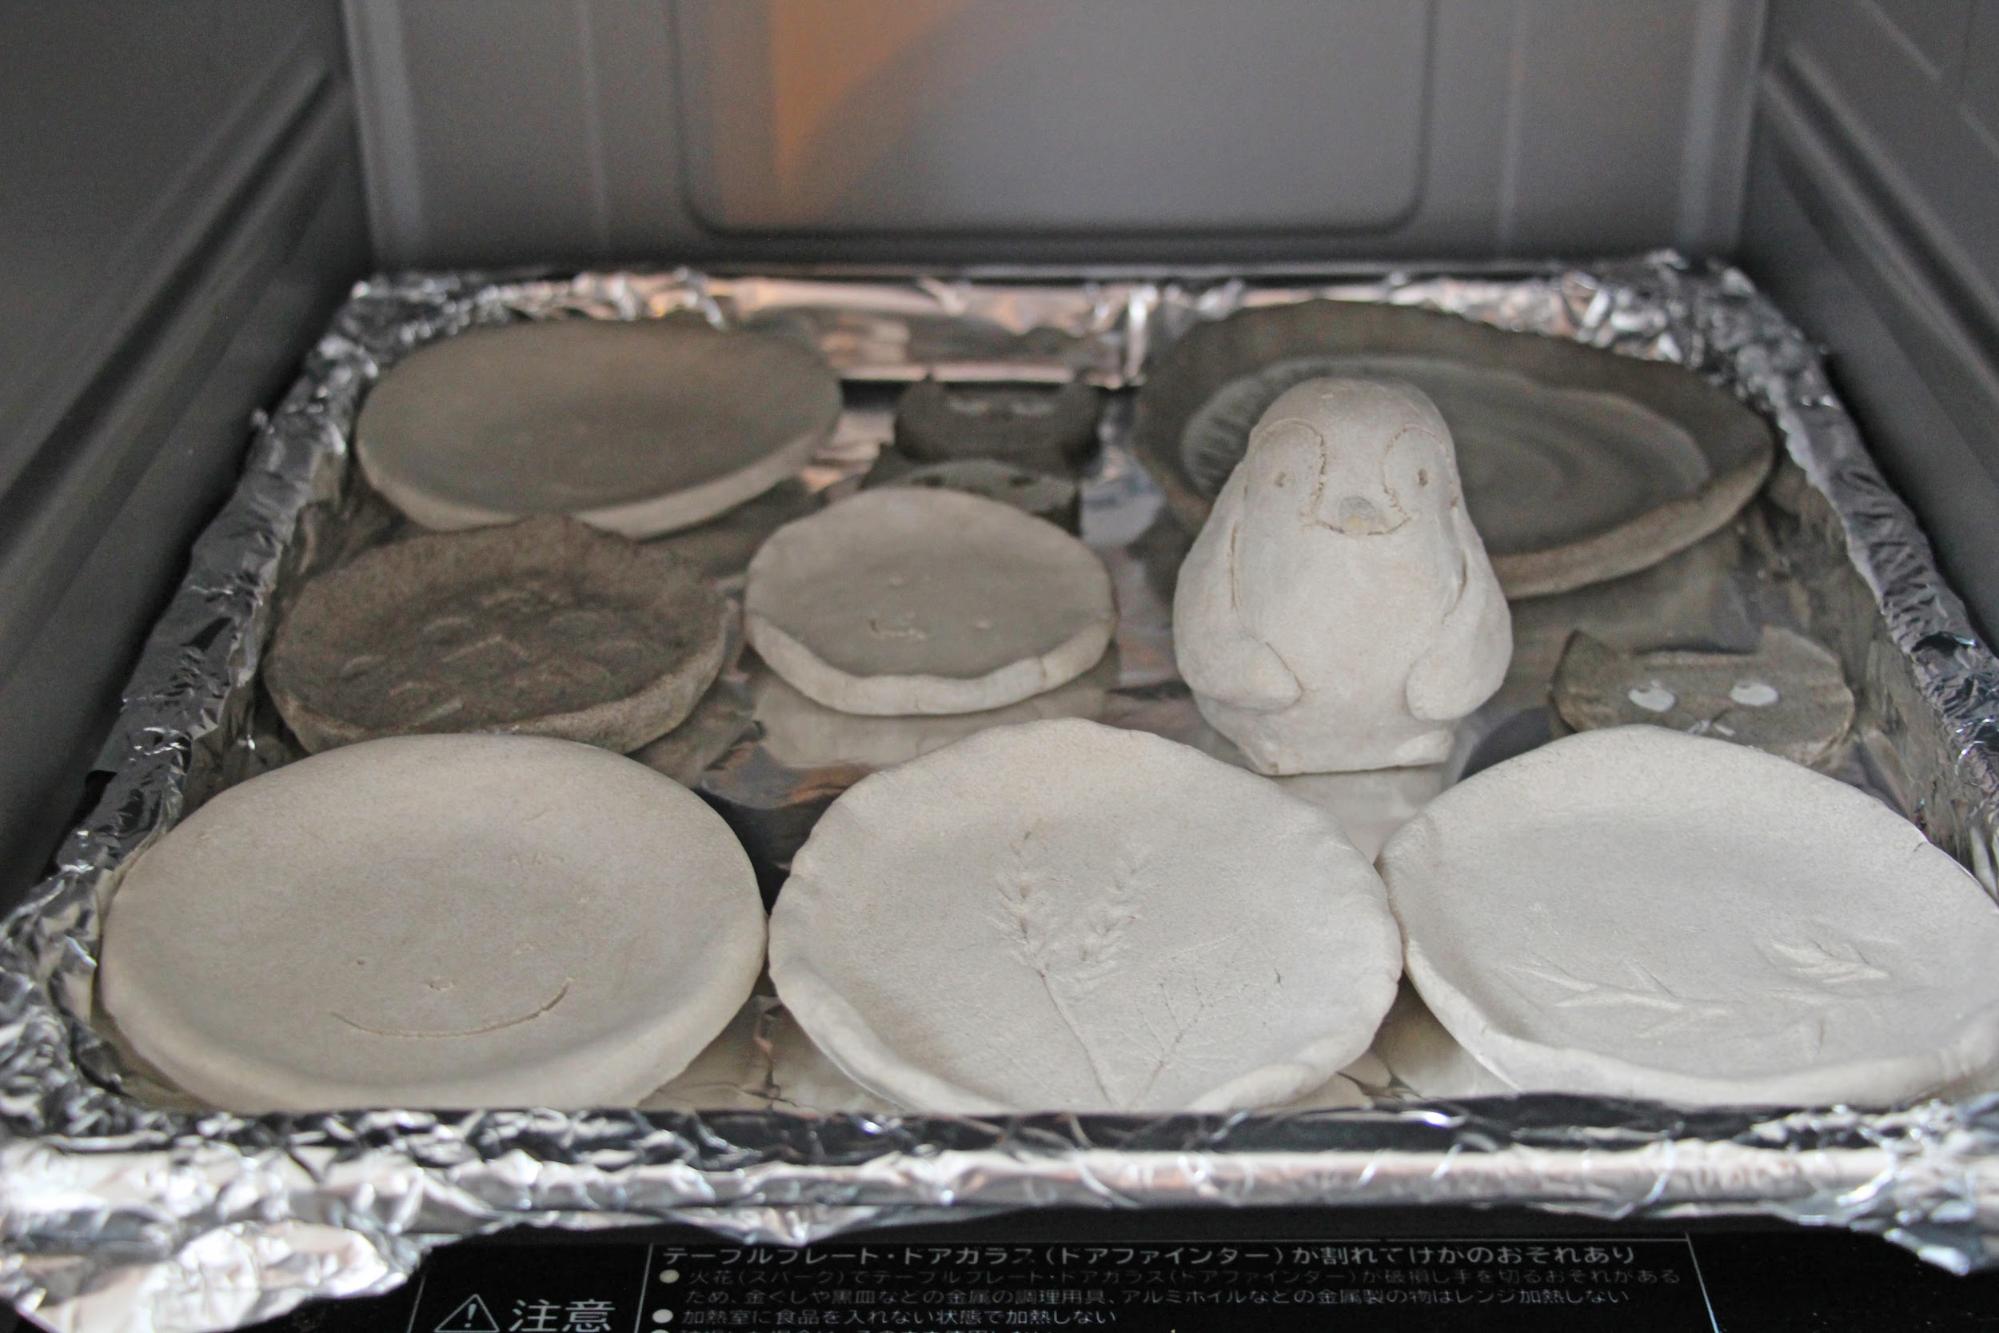
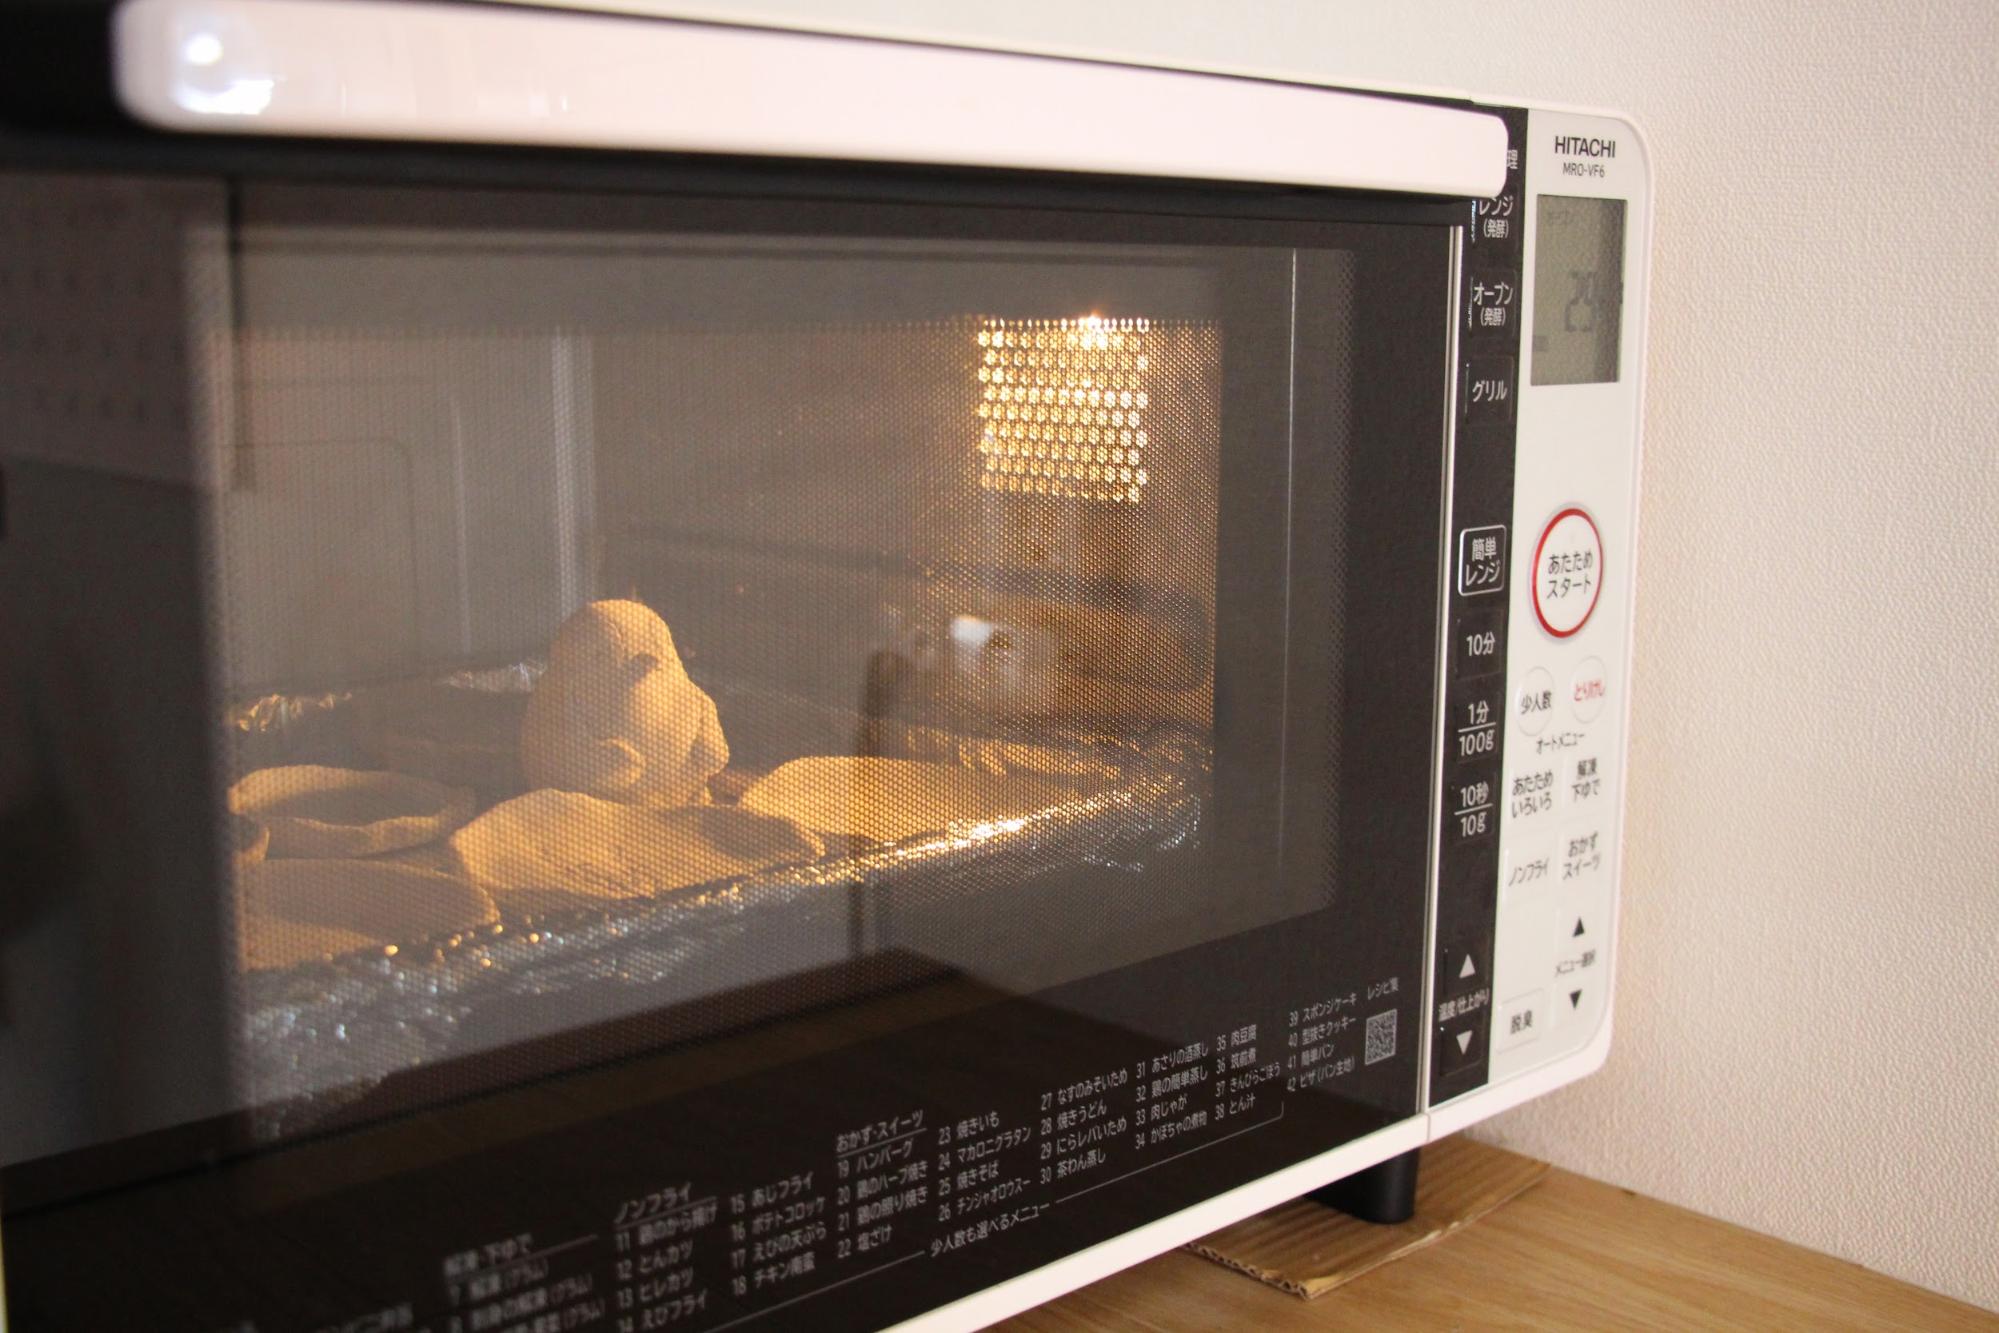
Place aluminum foil on an iron plate and bake them in the oven at 160-180°C for 30-60 minutes. Adjust the baking time as it depends on the oven.
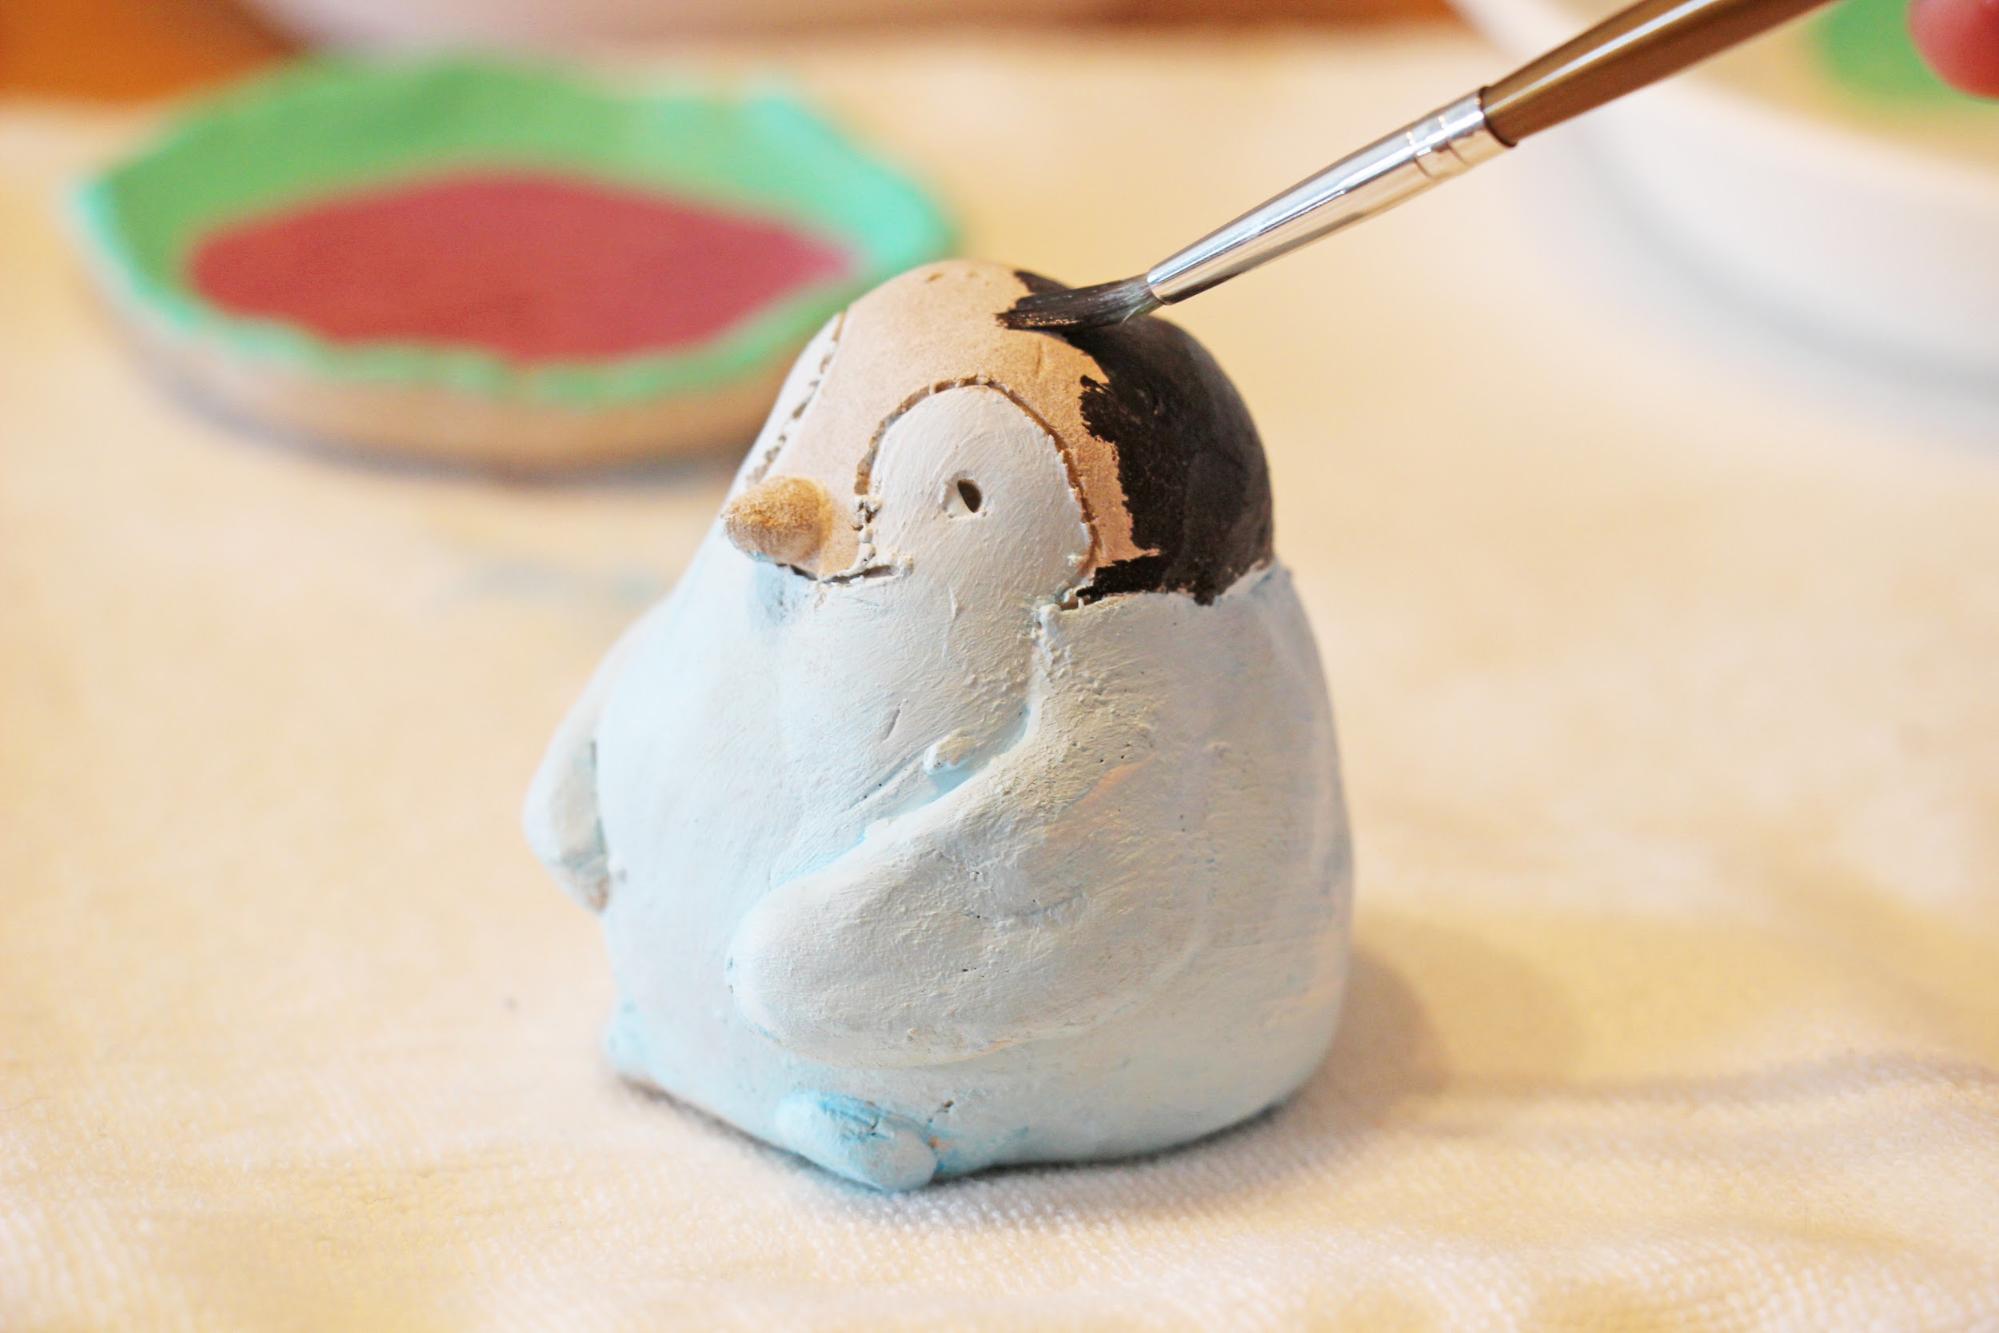
After baking, let the work cool and then color it with acrylic paint.
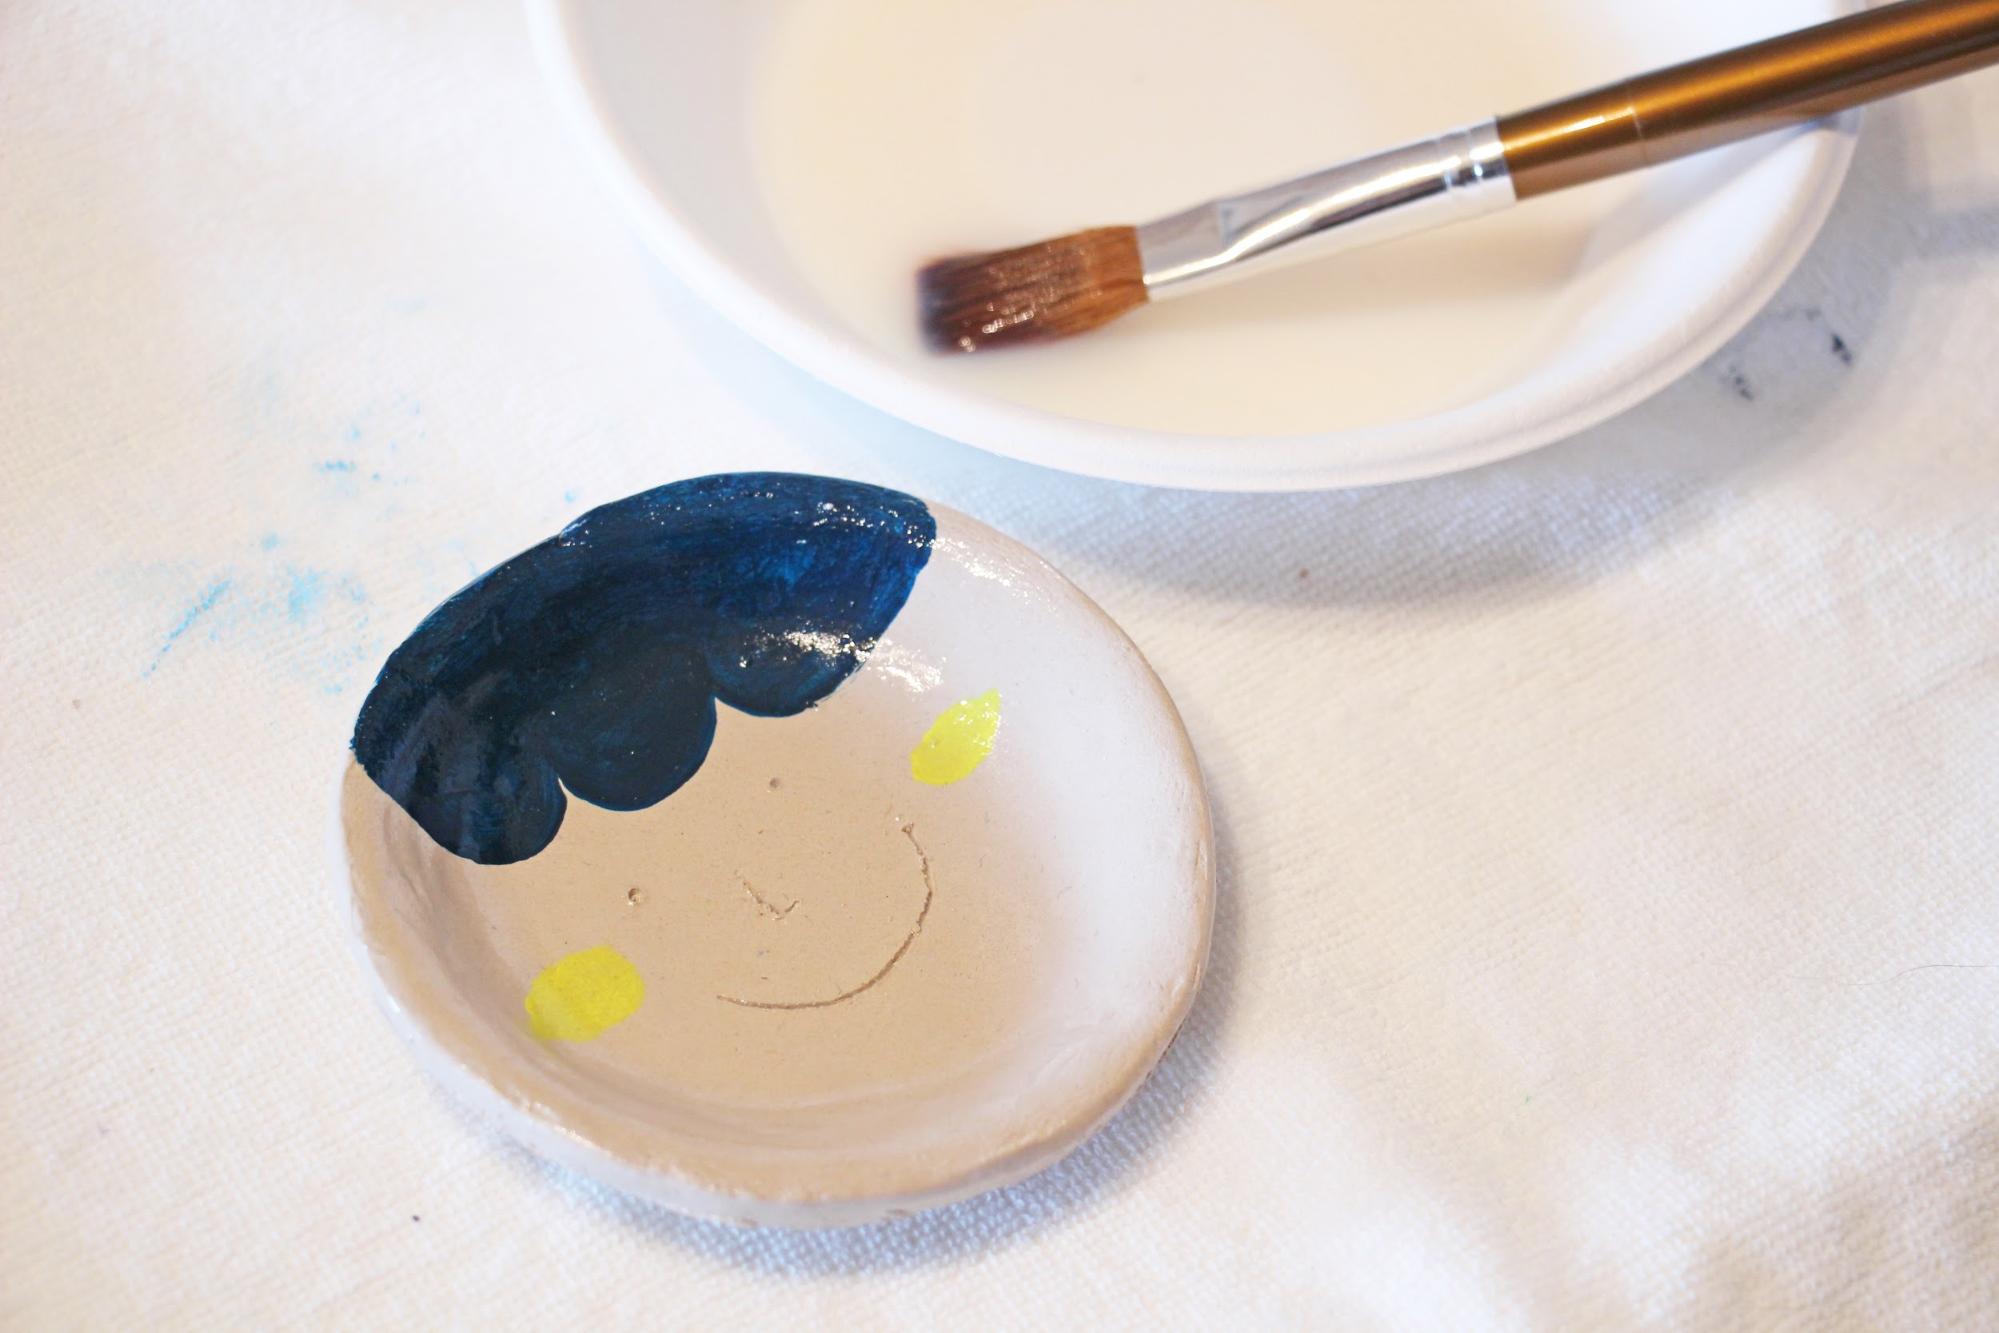
Once the paint is dry, apply the coating agent last. By applying a coating agent, you can use it as tableware!
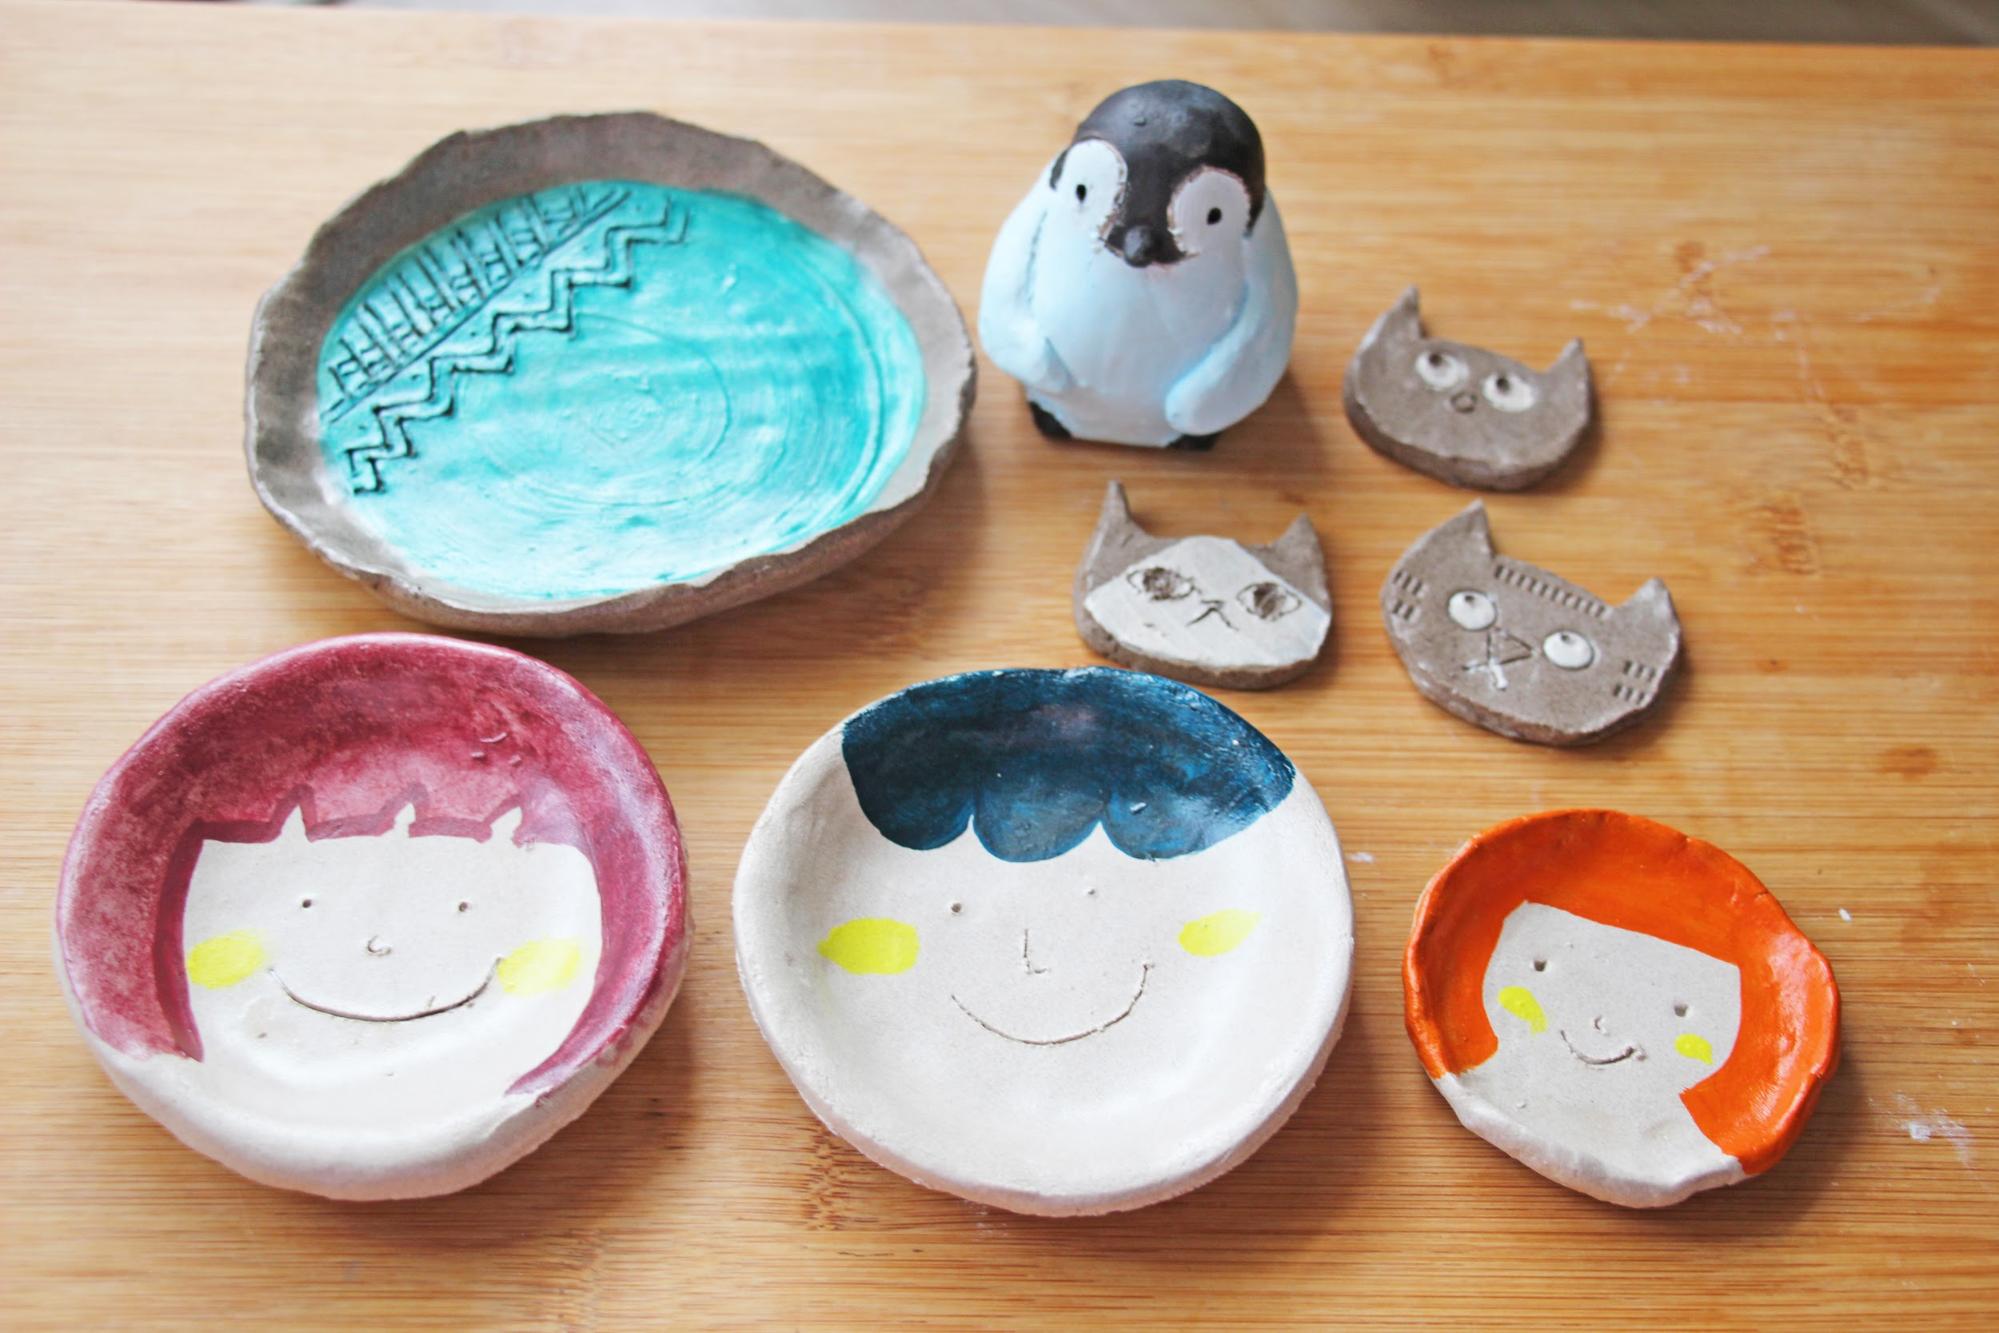
Finally, bake at 100-120℃ for about 20 minutes and you're done!
We were a little worried that it would really be possible to bake them in a home oven, but they ended up being sturdy pieces of pottery.
In the case of a typical pottery experience, the drying and firing processes are left to the professionals, but with oven ceramic clay, you can experience the entire process by yourself. It may lead to the realization, "Next time, I'll bake it a little longer, or color it this way," etc.
”Oven Pottery Clay" is an easy way for adults and children alike to experience the fun of pottery at home. We hope you will give it a try.
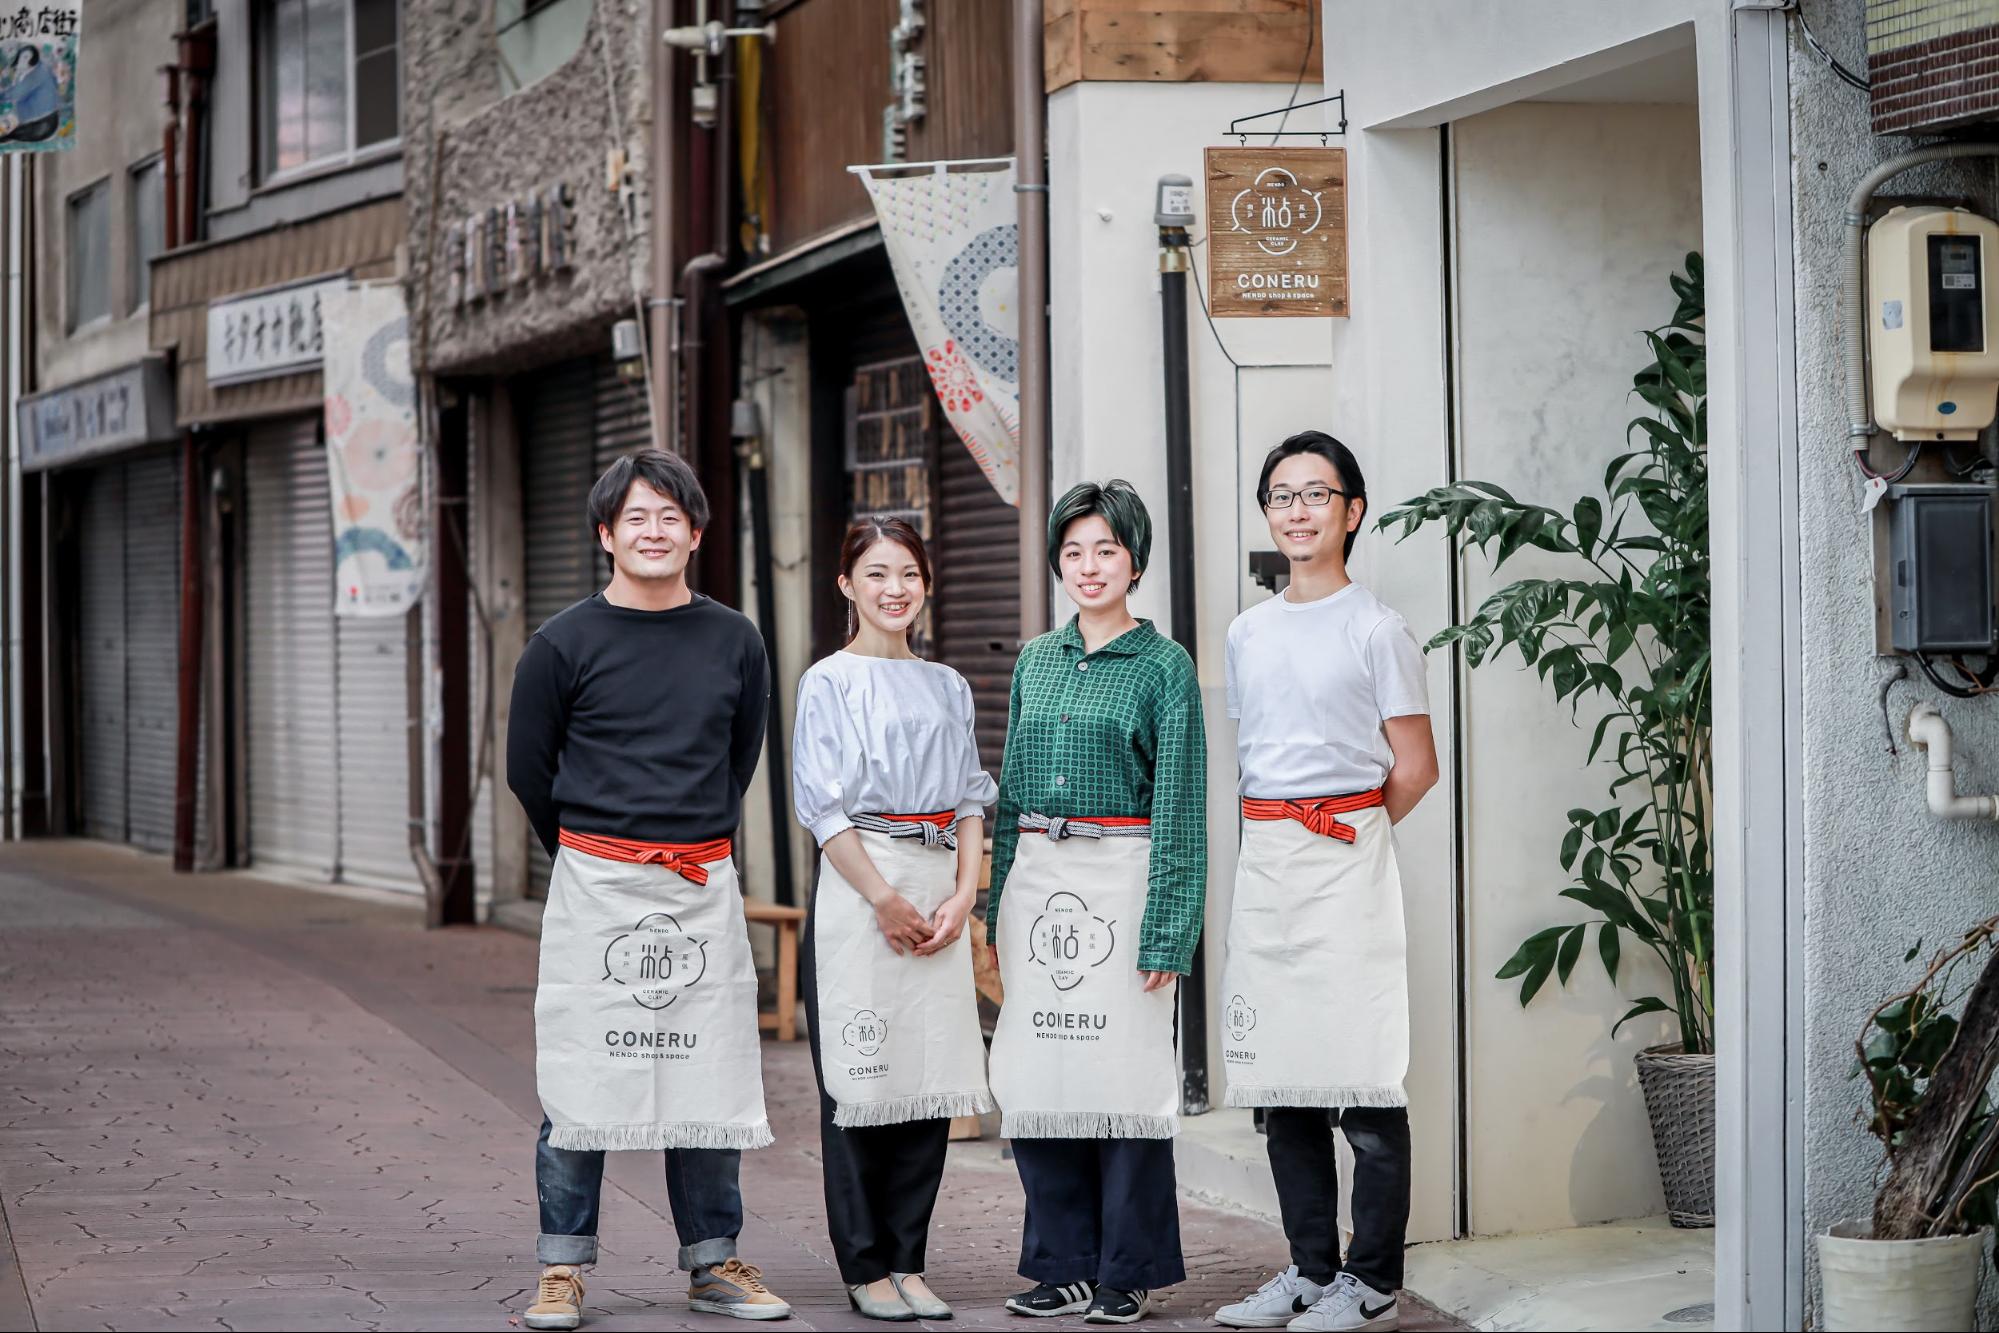
We want to do something about the clay crisis in Seto. We want people to enjoy ceramics more familiar to them. CONERU was started with these ideas in mind, and in the future, it will be used as a "shared pottery space" for those who want to create their own pottery works. It is sure to become a popular spot in Seto City!


![[Sakae] Experience the world of TV at "NHK Nagoya Broadcasting Experience Studio WAKUWAKU"!](https://life-designs.jp/wp/wp-content/uploads/2024/07/image23-1024x684.png)
![[Yamagata City] Enjoy Seasonal Fruits such as Strawberries at "Experience Farm Mitoca"](https://life-designs.jp/wp/wp-content/uploads/2021/04/image25-4-1024x819.jpg)

![[Indoor Facilities] Where to Go on Rainy Days in Tokai Area! For Family Outings!](https://life-designs.jp/wp/wp-content/uploads/2023/07/FotoJet-23.jpg)




![[Osu Special Feature] A City of History and Uniqueness](https://life-designs.jp/wp/wp-content/uploads/2022/03/01_Osu-1-768x435.png)
![[Ghibli Park] Beginner's Guide](https://life-designs.jp/wp/wp-content/uploads/2023/07/ghiblipark_w1920h1088_20240422-1024x580.png)
![[Sauna Specials] Feel Revitalized in Sauna!](https://life-designs.jp/wp/wp-content/uploads/2021/07/Sauna-1024x580.jpg)
![[Tokai Area] Scenic Spots which You'll Never Forget](https://life-designs.jp/wp/wp-content/uploads/2019/12/LD_banner_w1920x1088_prospect-1-1024x580.jpg)




















![Onigiri is hot right now! Summary of Osu's Onigiri Specialty Shops [5 selections].](https://life-designs.jp/wp/wp-content/uploads/2023/11/onigiri-1024x768.jpg)
![[28 selections] I want to get it when I go to Ghibli Park! Recommended goods & souvenirs (Ghibli’s Grand Warehouse edition)](https://life-designs.jp/wp/wp-content/uploads/2023/07/07bb34f30842ccc4c6412fc060e1966c-1024x683.jpg)
![[9 Selections] Summary of Retro Coffee Shops in Nagoya](https://life-designs.jp/wp/wp-content/uploads/2021/11/image1-30-1024x683.jpg)
![[10 selections] Recommended for Girls' Trip from Nagoya! Special feature on Hotels and Inns](https://life-designs.jp/wp/wp-content/uploads/2022/11/FotoJet-1-1024x768.jpg)
![[20 Selections] Nagoya Souvenirs: Non-Sweet & Recommended Snacks Available at Nagoya Station](https://life-designs.jp/wp/wp-content/uploads/2025/07/image3-2-1024x683.jpg)
![[Aichi, Gifu, Mie] 30 Family-Friendly Spots to Go in Winter!](https://life-designs.jp/wp/wp-content/uploads/2019/12/image21-1-768x543.png)
![[Within 2hrs by Car] 12 Outing Areas where You can Go on a Day Trip from Nagoya!](https://life-designs.jp/wp/wp-content/uploads/2023/07/odekake12_w1200h900_20240422-328x246.png)


![[Nagoya, Aichi] Recommended Shops to Buy Tablewares around Nagoya](https://life-designs.jp/wp/wp-content/uploads/2019/11/image12-26-150x100.jpg)
